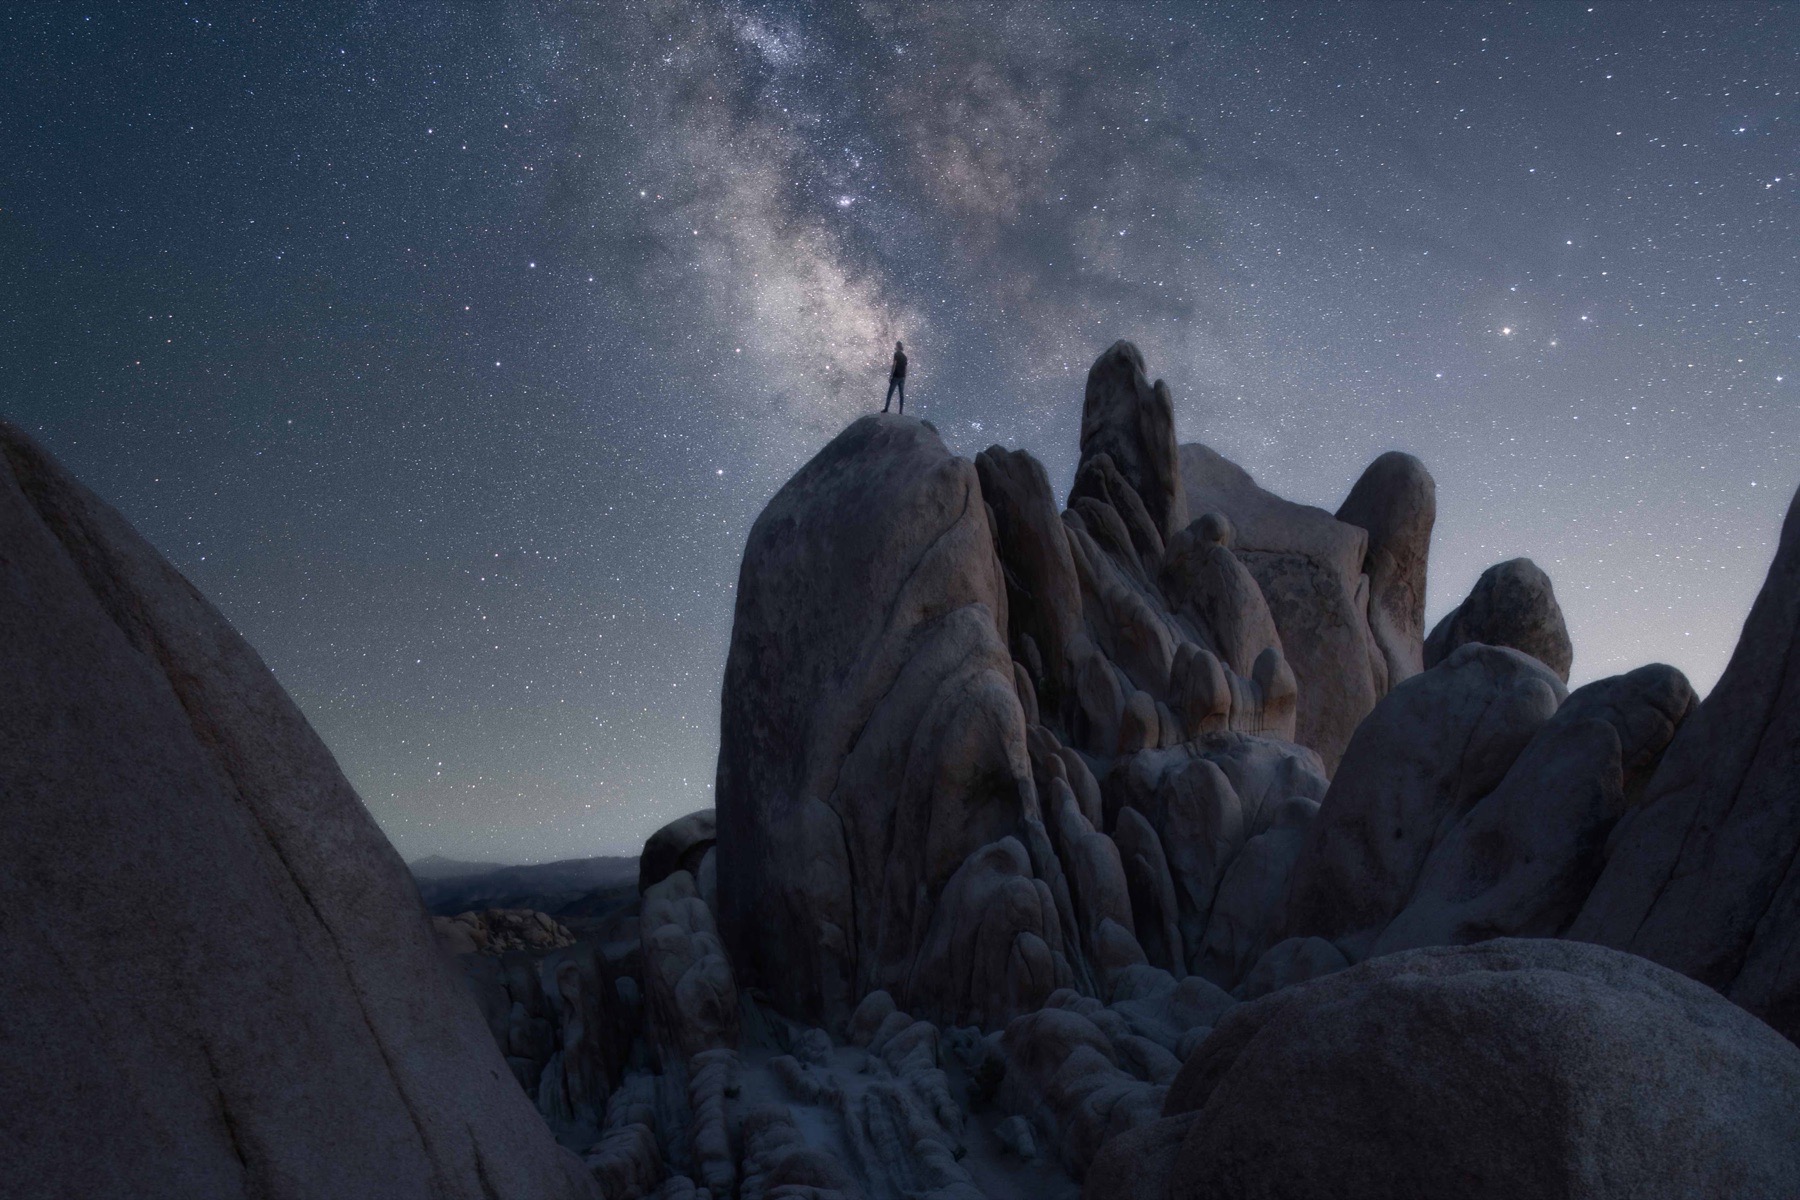
Light painting is shaping light, not adding brightness
A dark foreground does not automatically need a brighter flashlight. It needs a lighting decision. Ask where believable light could come from, which surfaces should catch it and which shadows should remain dark.
The goal is not to prove that you used a light. The goal is intentional illumination that gives the landscape shape while preserving the feeling of night. A cabin window can hold a restrained warm glow. An abandoned building can catch a narrow side light. A rock formation can reveal texture without becoming as bright as a daylight photograph.
That is the working definition throughout this guide: light painting is not simply adding light. It is shaping light so the direction, falloff and color belong to the scene.
Distinguish light painting from light drawing
The terms are often grouped together, but they describe different photographic jobs. In this guide, light painting means using an artificial source to illuminate the scene. Light drawing means recording the visible path of a moving source as a line or pattern.
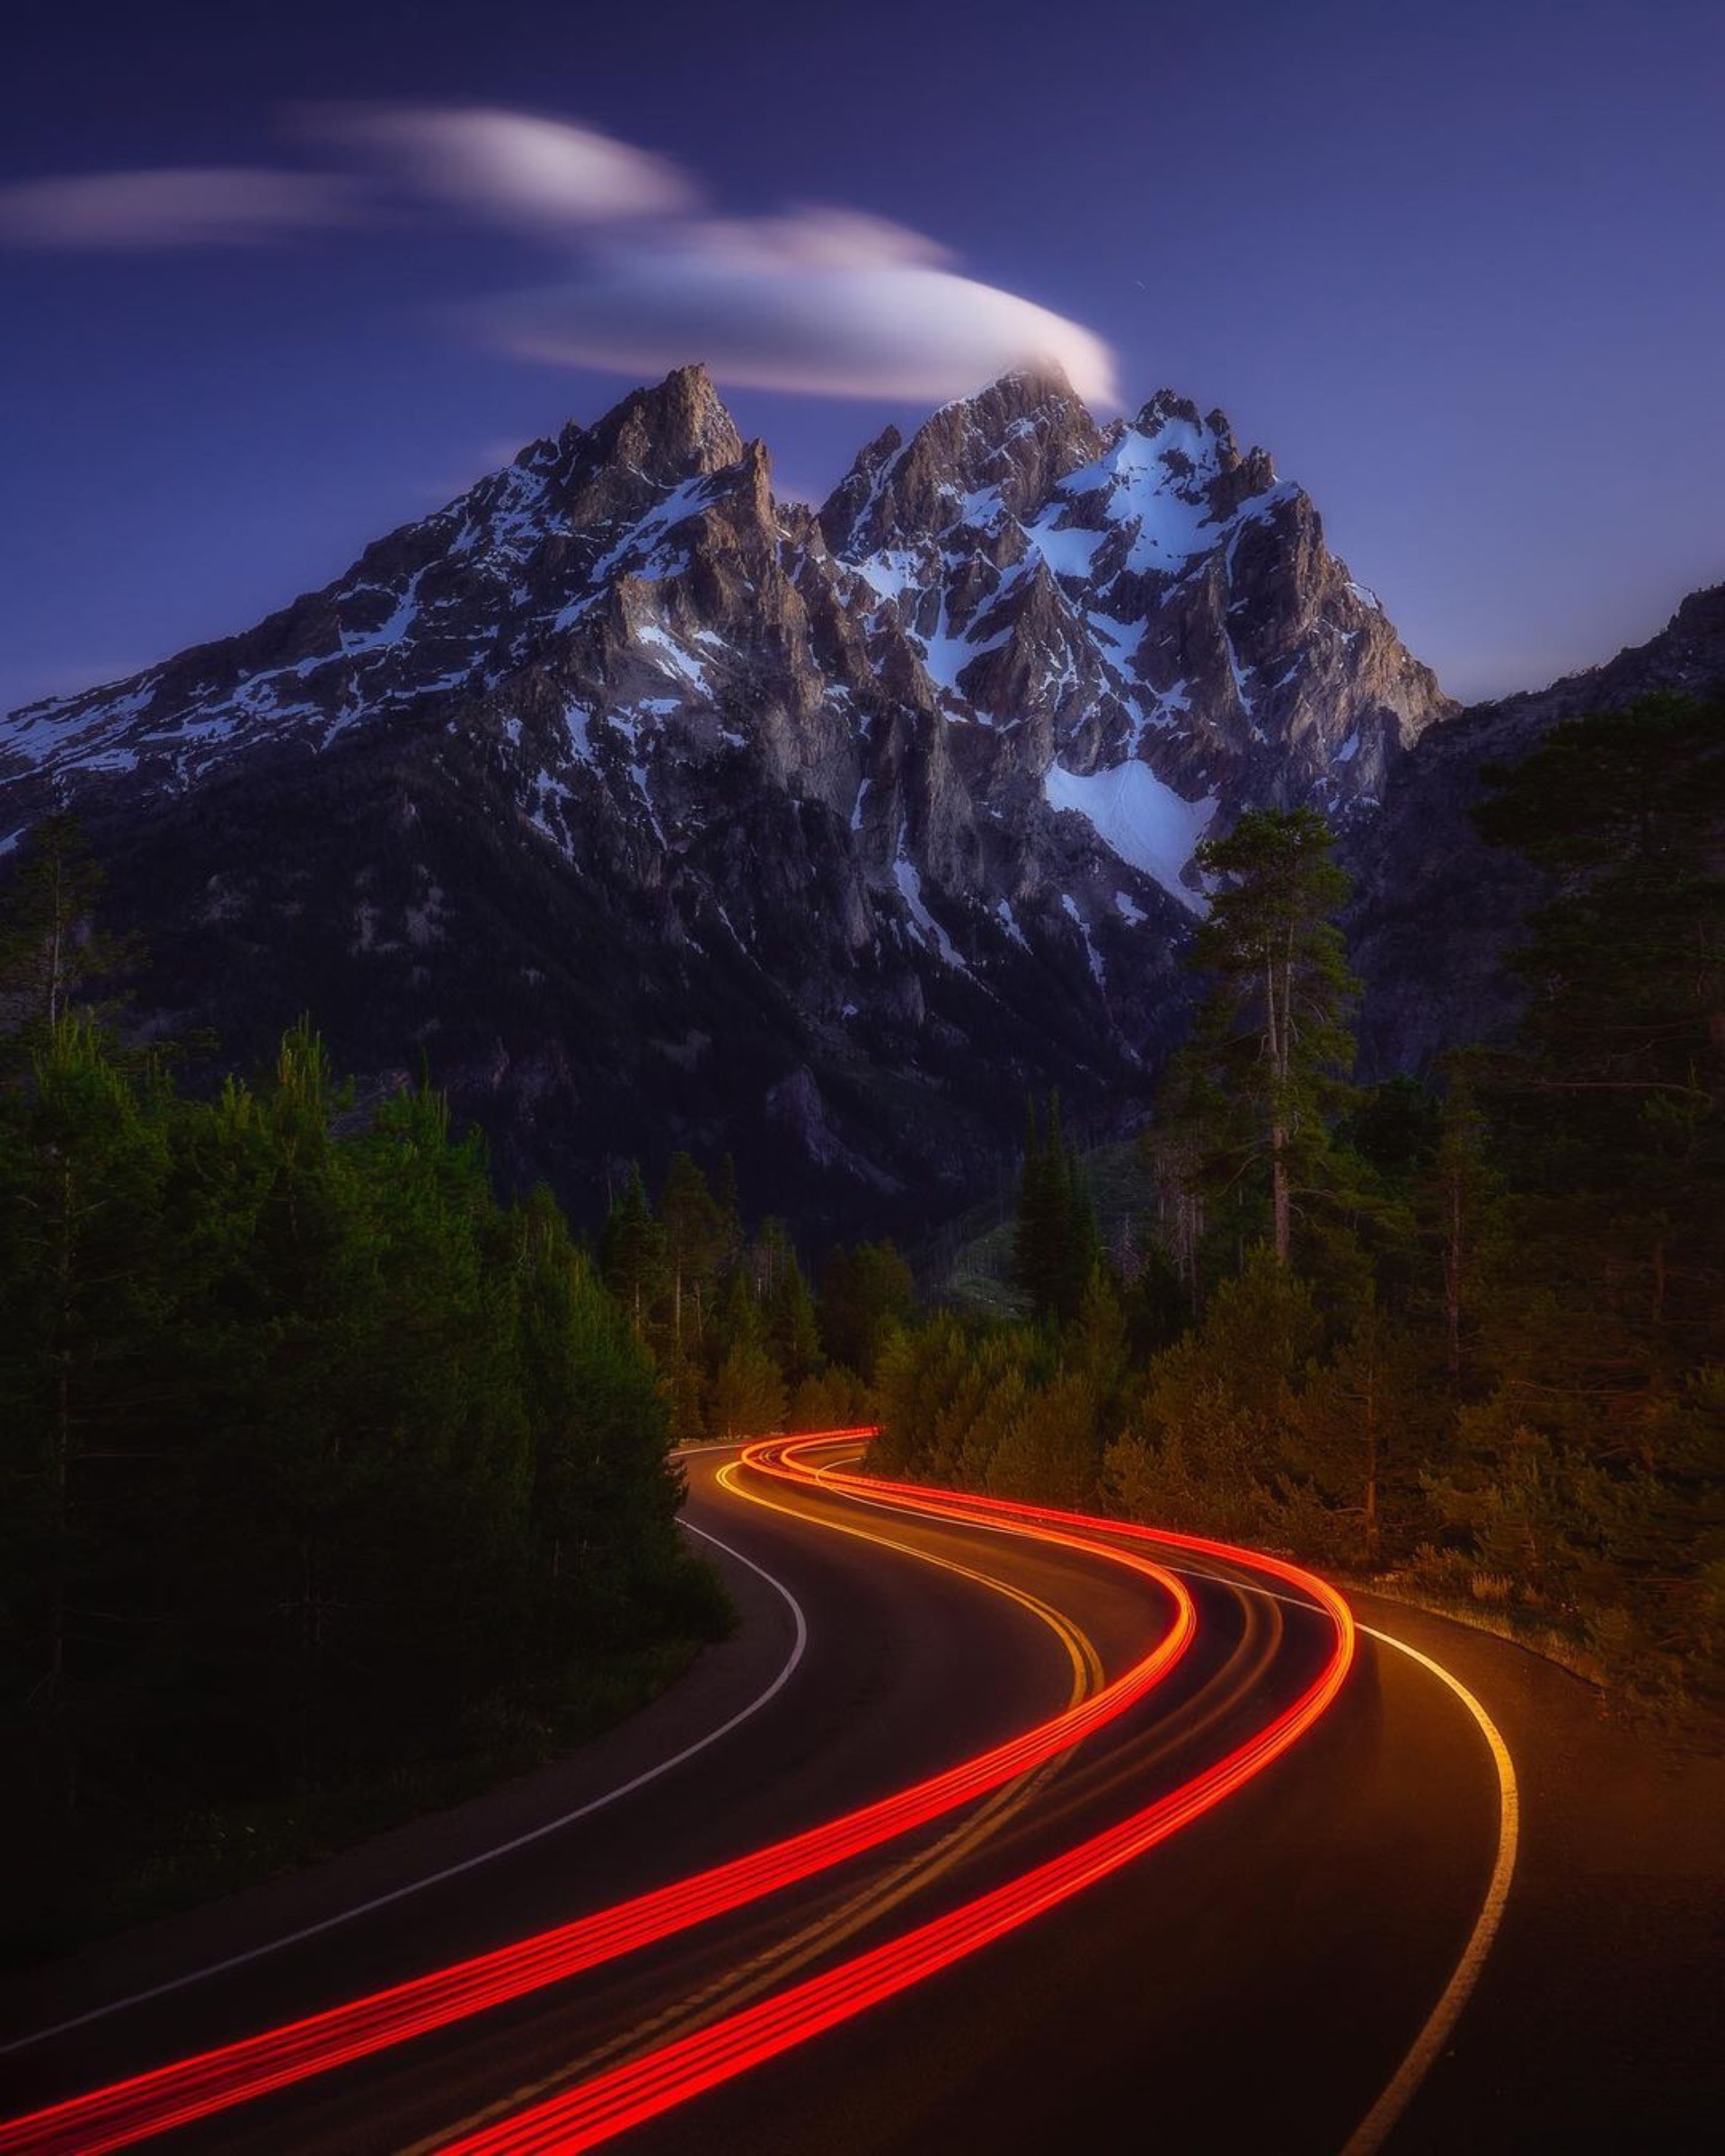
Vehicle trails are light drawing because a moving source records its path through time. In the Teton frame, the red curves follow the road and pull the eye toward the mountain. The light is not trying to look natural. It is the graphic subject of the photograph.
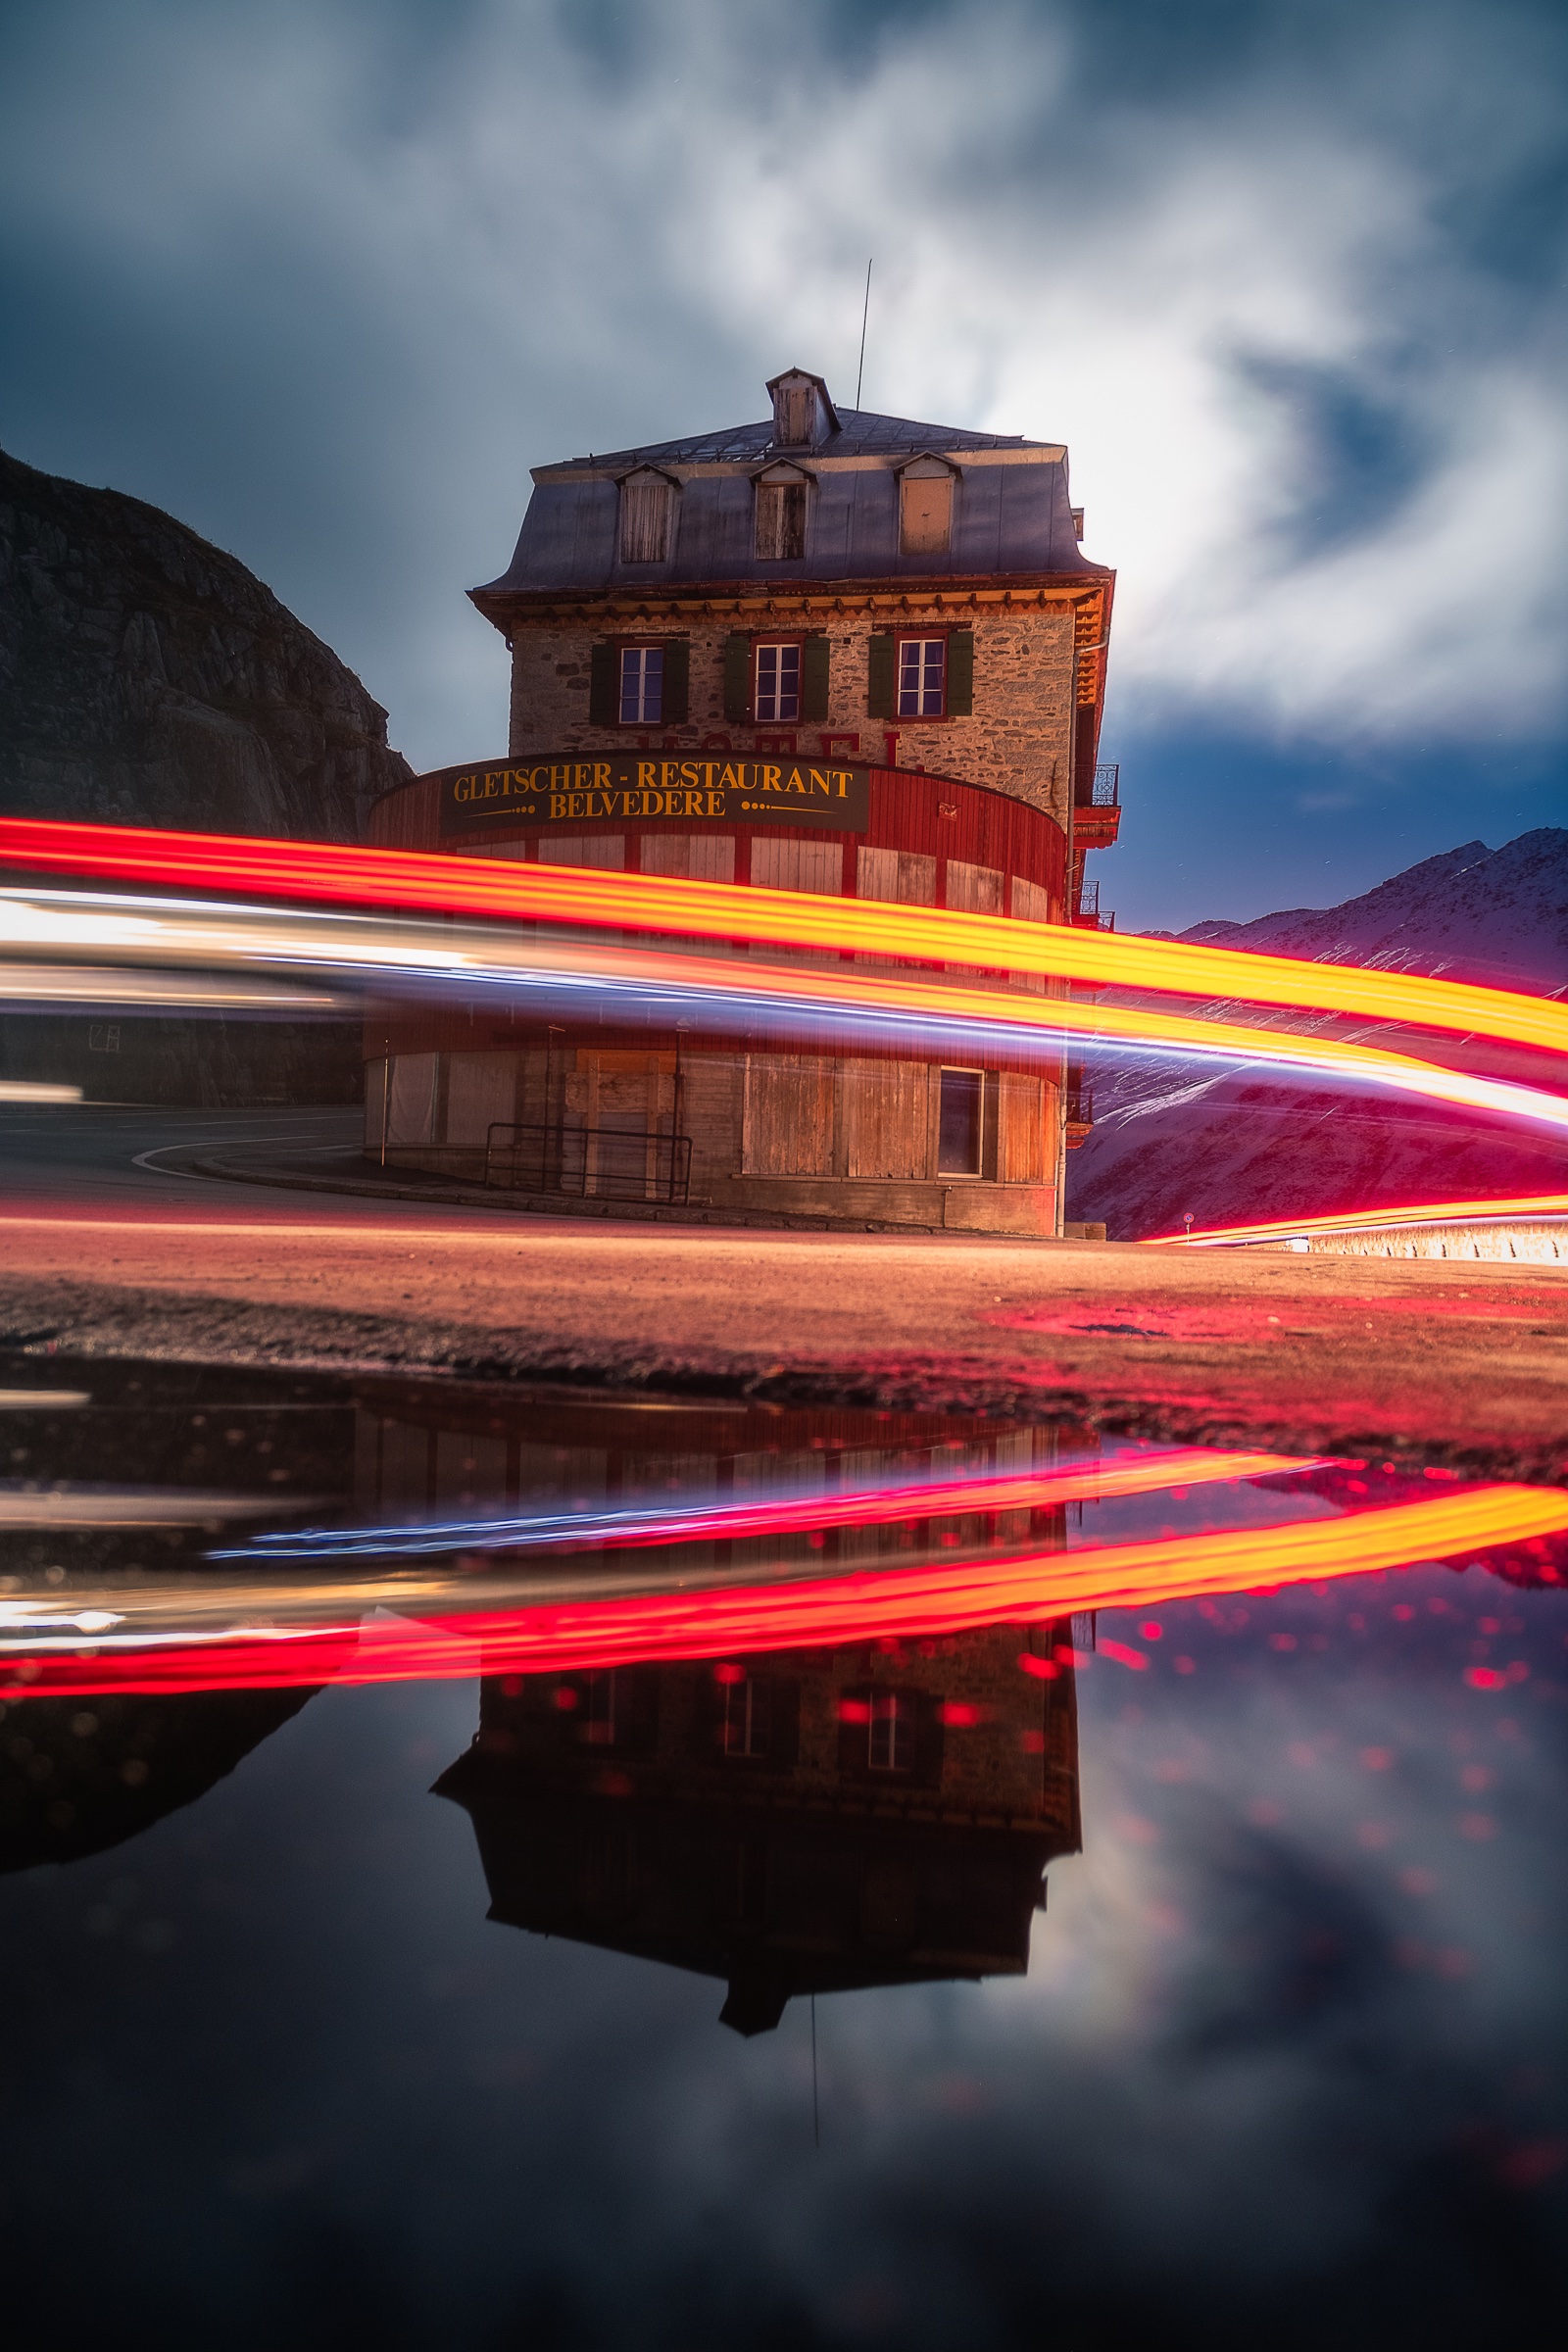
The Switzerland photograph uses light drawing differently. Red and white trails cross the building while their reflection repeats the motion below it. The reflection keeps the moving light connected to the location instead of reading like an effect placed on top of the scene.
| Approach | Primary intent | How it should read |
|---|---|---|
| Naturalistic landscape light painting | Reveal form, texture or a visual path through the foreground | The light supports the place and does not become the subject |
| Light drawing | Create visible trails, writing, patterns or another recorded path | The moving light is intentionally obvious and central to the picture |
| Hybrid approach | Combine an illuminated subject with one visible light drawn accent | The light painting shapes the place while the light drawing carries the graphic idea |
Choose the direction before the brightness
Front light comes from near the camera and travels toward the subject. It is predictable and easy to aim, but the shadows fall behind the surface and disappear from view. Use it when even information matters more than texture, then keep it restrained.
Side light crosses the subject from the left or right. This is usually my first choice for rock, weathered wood and architectural detail because small shadows reveal texture, separation and depth. Walk the light well off the lens axis when the terrain and rules allow it.
Backlight points generally toward the camera. It can create rim light, silhouette, glowing dust or separation through a doorway or window. Shield the lens and watch for flare. Backlight works best when the visible source or glow has a clear reason to exist in the composition.
- Front light: even and easy to control, but often flat
- Side light: the strongest starting point for texture, depth and form
- Backlight: useful for silhouettes, rims, atmosphere and visible beams
Move the light source before increasing its power
A fixed beam records like a spotlight. A moving beam spreads the exposure across the surface and softens the transition from light to shadow. Sweep beyond the subject at both ends of the pass so you do not pause long enough to create bright edges.
If one area is too bright, shorten the time the beam crosses it, move farther away, aim the edge of the beam across it or bounce the light from a nearby neutral surface. If the result is too flat, move laterally so the light skims the subject instead of pointing straight at it.
Increase output only after the path, angle and duration are working. More power magnifies a poor lighting decision. Movement gives you control over where the exposure accumulates.
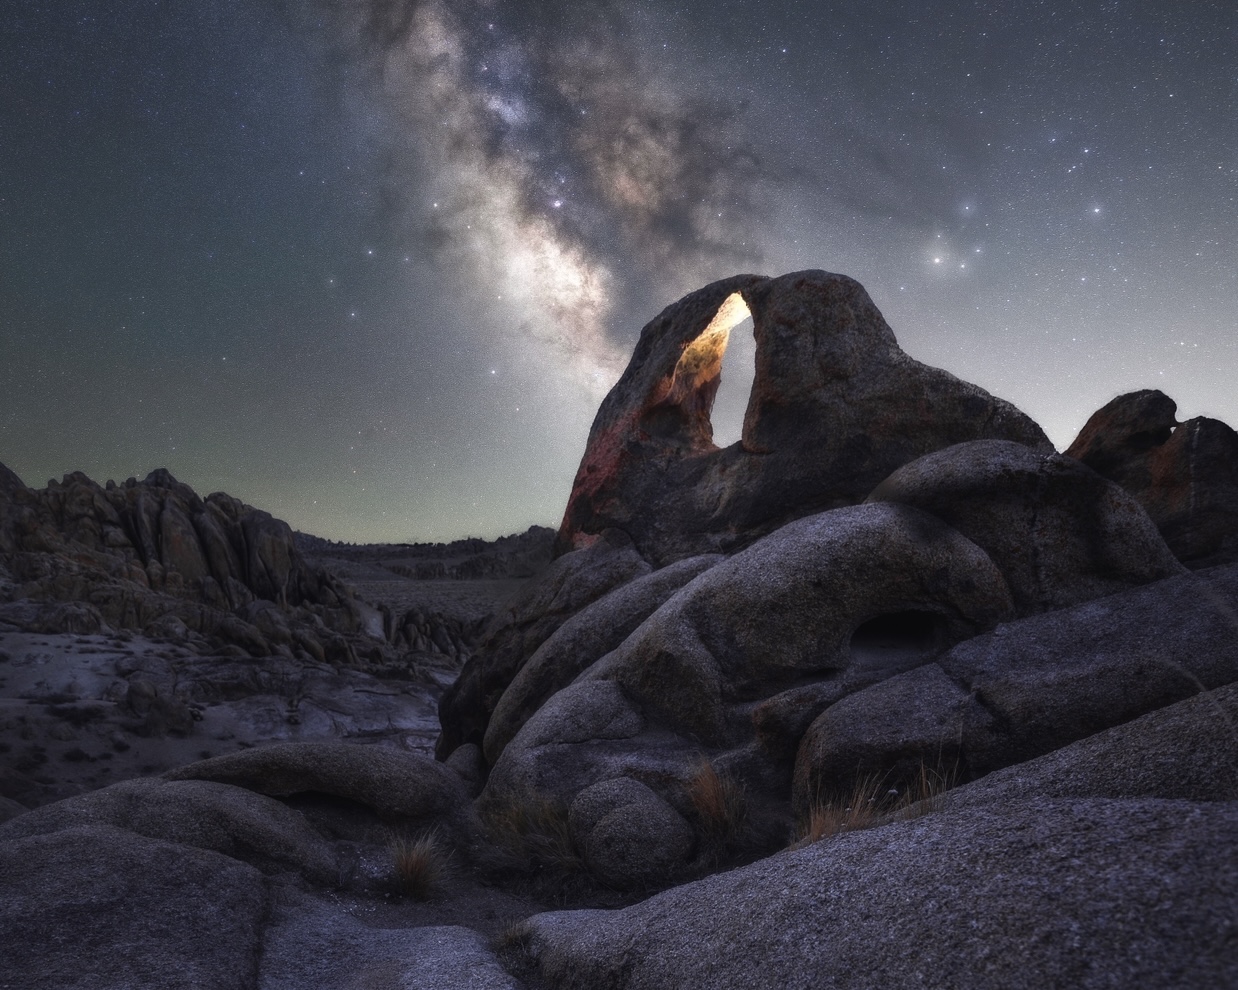
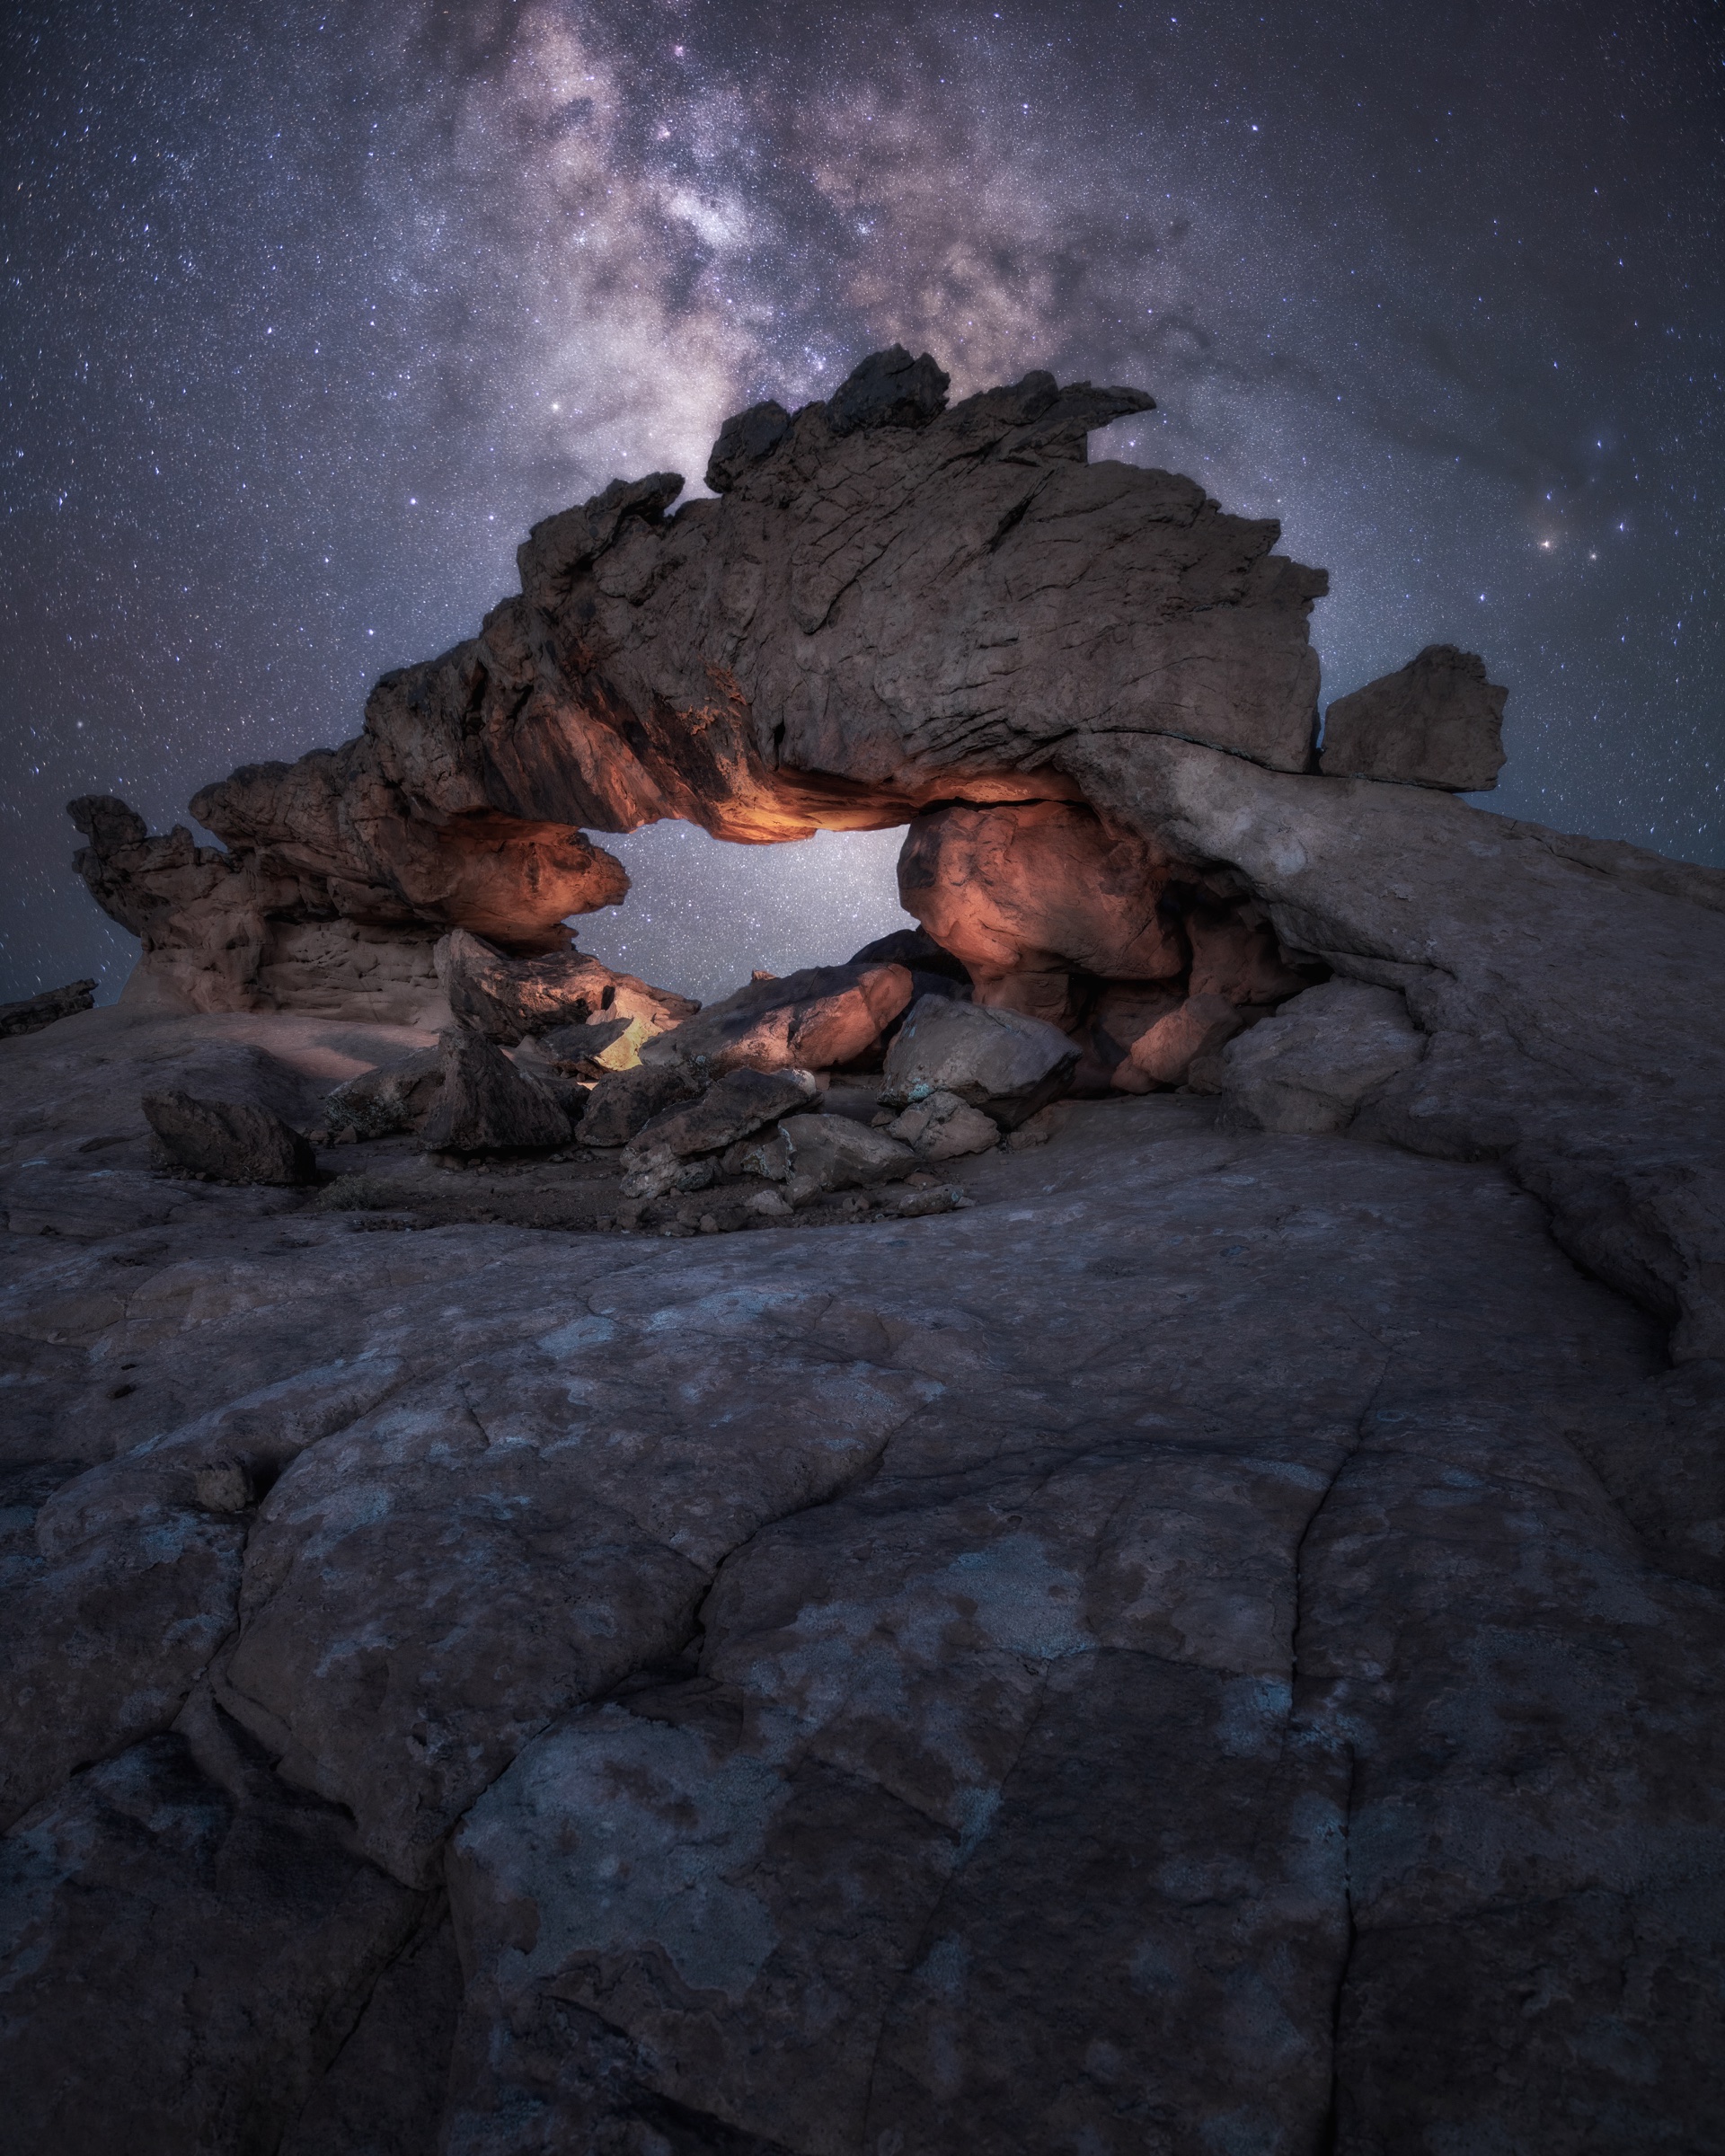
The small arch in Alabama Hills needed only one light aimed into the opening during one exposure. The Milky Way core already carried the sky. The warm interior accent separated the arch without requiring the entire formation to be illuminated.
Choose gear for control, not maximum output
A useful light painting tool starts low, changes brightness in small steps and has a beam you can direct. Maximum lumen output matters far less than repeatable control.
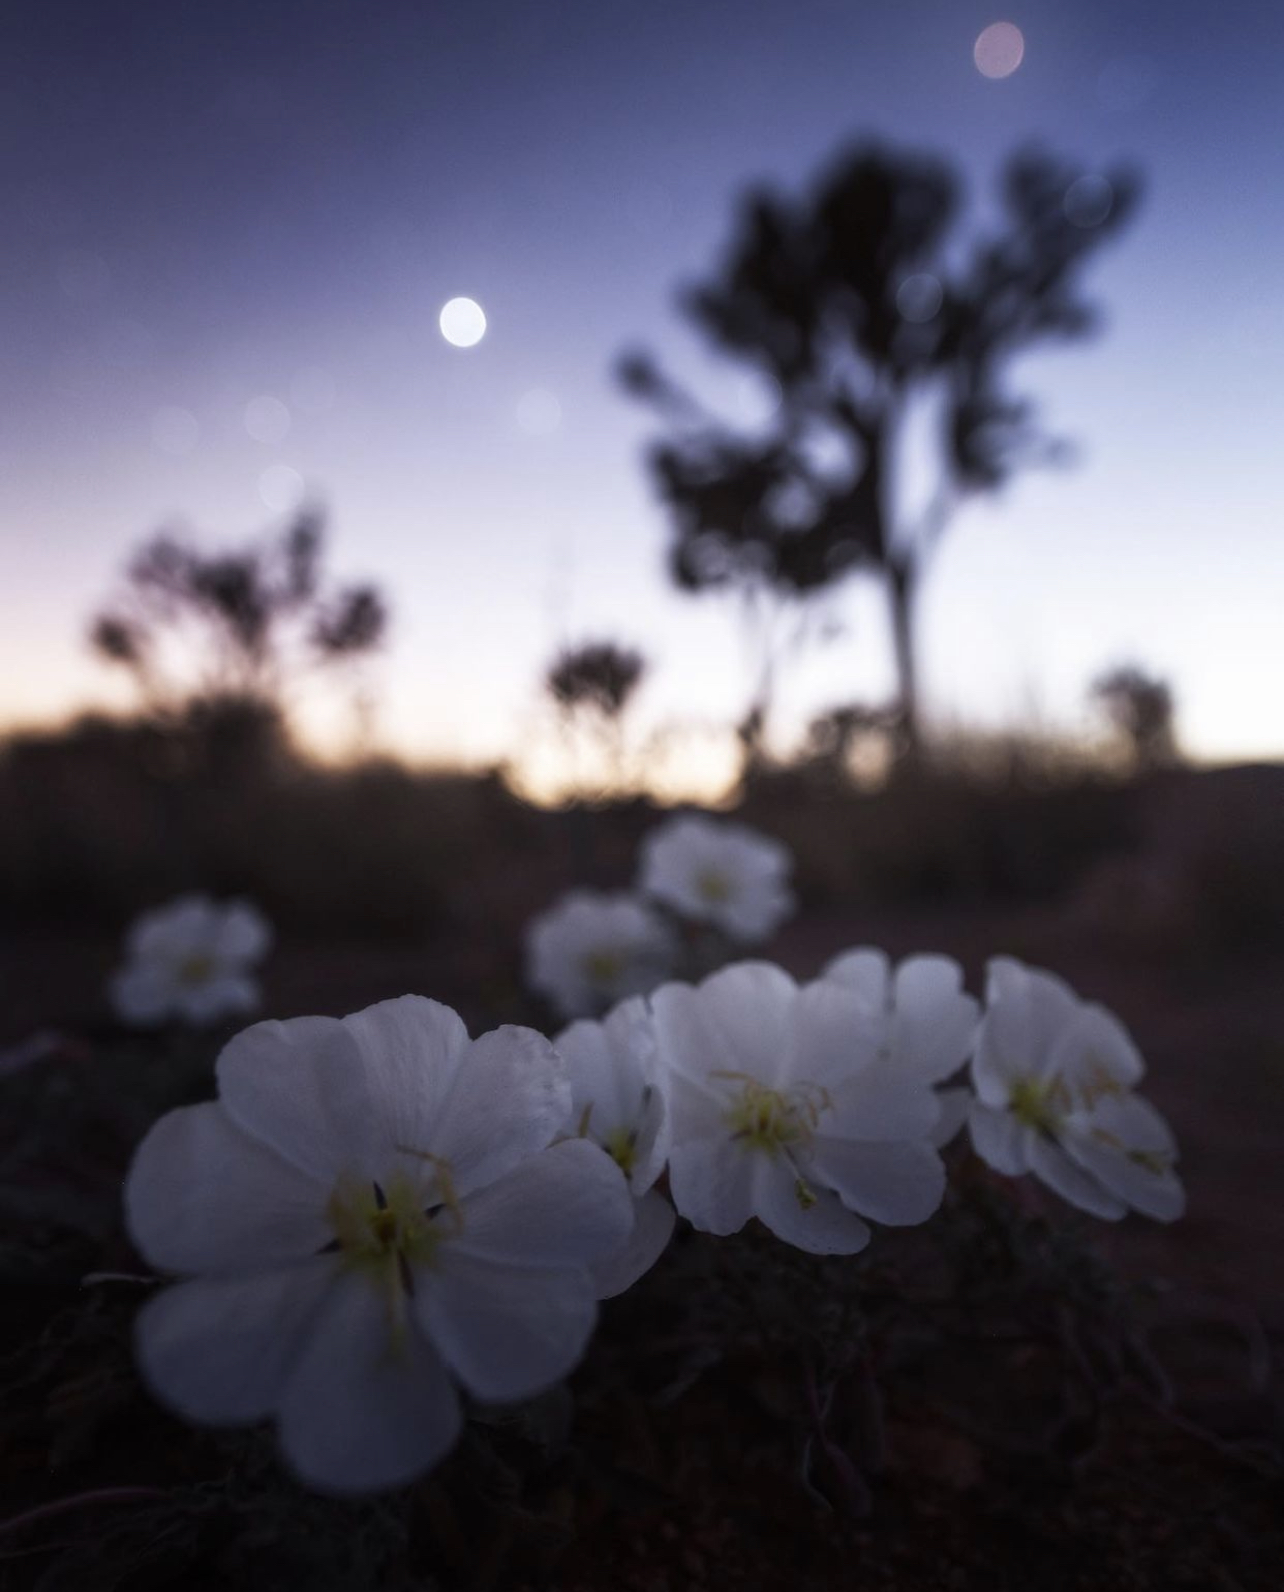
For the white primroses beneath the Joshua tree, I used the front of my iPhone screen instead of a flashlight. The screen was dim, broad and close enough to lift only the flower tips. A small source was the right tool because the subject needed separation rather than coverage.
- Flashlight: a focused, mobile source for rocks, walls and selective details; use a low mode and feather the beam edge
- Headlamp: useful for route finding, a visible person in the frame or a controlled story element; avoid sweeping other photographers and never aim it at wildlife
- LED panel: a broad source for cabins, small structures and groups; choose one with fine dimming and add diffusion when the diodes create hard patterns
- RGB light: useful when color is part of the concept; keep saturation restrained for naturalistic work
- Gels: a simple way to warm, cool or correct a flashlight whose native color does not fit the scene
Match color temperature to the scene
Warm light can make a cabin or abandoned building feel inhabited and can separate the foreground from a cooler night sky. Cool light can feel more like starlight or moonlight, but an aggressively blue source often makes rocks and vegetation look synthetic.
Mixed lighting works when the sources have separate jobs. A warm interior can sit inside a cooler exterior while a restrained warm side light guides the eye through a cool ambient landscape. Problems begin when every surface receives a different color without a visual reason.
Shoot RAW and keep white balance fixed across the sequence. Judge the added light against the ambient frame, not by itself. If the foreground looks green, magenta, orange or blue, determine whether the source, gel, local light pollution or RAW interpretation caused it before applying a global correction.
Build the ambient exposure before you add light
Compose and focus without light painting first. Set the exposure for the sky, twilight or existing ambient illumination and make one clean reference frame. That frame tells you how dark the foreground actually is and gives you a target for the added light.
Lock the tripod, focus, focal length and white balance. Then add one low power pass from the direction you chose. Review the foreground histogram and the shape of the light, not only the brightness of the LCD. Adjust one variable at a time and capture several attempts.
Do not move the camera after a usable ambient frame exists. A locked composition keeps both a single-exposure result and a later blend available. It also makes it easy to reject a frame with a hot spot, stray headlamp or poorly placed shadow without losing the rest of the sequence.
- 1. Compose, focus and expose the ambient scene
- 2. Make a clean reference frame with no added light
- 3. Lock the camera, focus, focal length and white balance
- 4. Add one low power moving pass from the chosen direction
- 5. Review, change one variable and capture multiple attempts
Choose a single exposure or a blended exposure
A single exposure is honest to the timing of one frame and can feel beautifully simple. It works when the sky settings provide enough time to move the light smoothly and the light can stay subtle at the required ISO and aperture.
A blended exposure gives the foreground its own capture decision. Keep the camera locked, make the ambient or sky frame, then lower ISO, stop down or lengthen shutter speed for cleaner landscape detail. Blend only the frames made from the same composition and keep the direction, edge transitions and brightness consistent with the original scene.
The long rock arch shown below is about 50 feet across. One pass could not light every interior surface with the same control, so I kept the camera locked and made four exposures. Each frame concentrated on a different section inside the arch. I combined those passes into one result while preserving a consistent warm direction and natural shadow between the lit areas.
Blending is not a license to light every surface. It is a way to separate technical constraints. The finished result still needs one coherent lighting idea.
| Capture method | Use it when | Main tradeoff |
|---|---|---|
| Single exposure | The sky exposure gives enough time and the source can stay very dim | High ISO and a wide aperture make small lighting errors obvious |
| Blended exposure | The foreground needs lower ISO, more depth of field or several controlled passes | The blend must preserve believable edges, shadows and direction |
| Multiple light painted foreground frames | Different parts of a complex subject need separate passes | Combining too many lit areas can remove all natural darkness |
Compare moonlight and light painting
Moonlight and artificial light can solve the same dark-foreground problem, but they behave very differently in the field. Choose from the composition backward.
| Decision | Moonlight | Light painting |
|---|---|---|
| Source | A large, distant natural source that illuminates the wider landscape | A small artificial source you place or move near the subject |
| Direction | Set by moon azimuth and altitude during the shooting window | Chosen in the field within terrain, safety and land-use limits |
| Consistency | Coherent across near and distant terrain | Easy to control locally but harder to make consistent across a large scene |
| Color | Changes with altitude, atmosphere and white balance | Controlled by the lamp, RGB setting, gel and diffusion |
| Best use | Broad natural illumination, long shadows and distant terrain | Selective emphasis on a cabin, abandoned building, rock face or foreground detail |
| Main risk | Reduced Milky Way contrast or blocked light | Hot spots, flatness, color mismatch and an artificial-looking foreground |
Apply the same lighting logic to different landscapes
For a cabin, decide whether the light belongs inside or outside. A low warm interior glow often needs less brightness than expected. If the exterior needs shape, place a dim source to the side and keep the roofline and surrounding land darker.
For an abandoned building, use openings and surface texture. A light placed through a doorway can create depth, while a low side pass across weathered boards reveals age without washing the entire facade. Do not enter, touch or place equipment on a structure unless access is explicitly allowed.
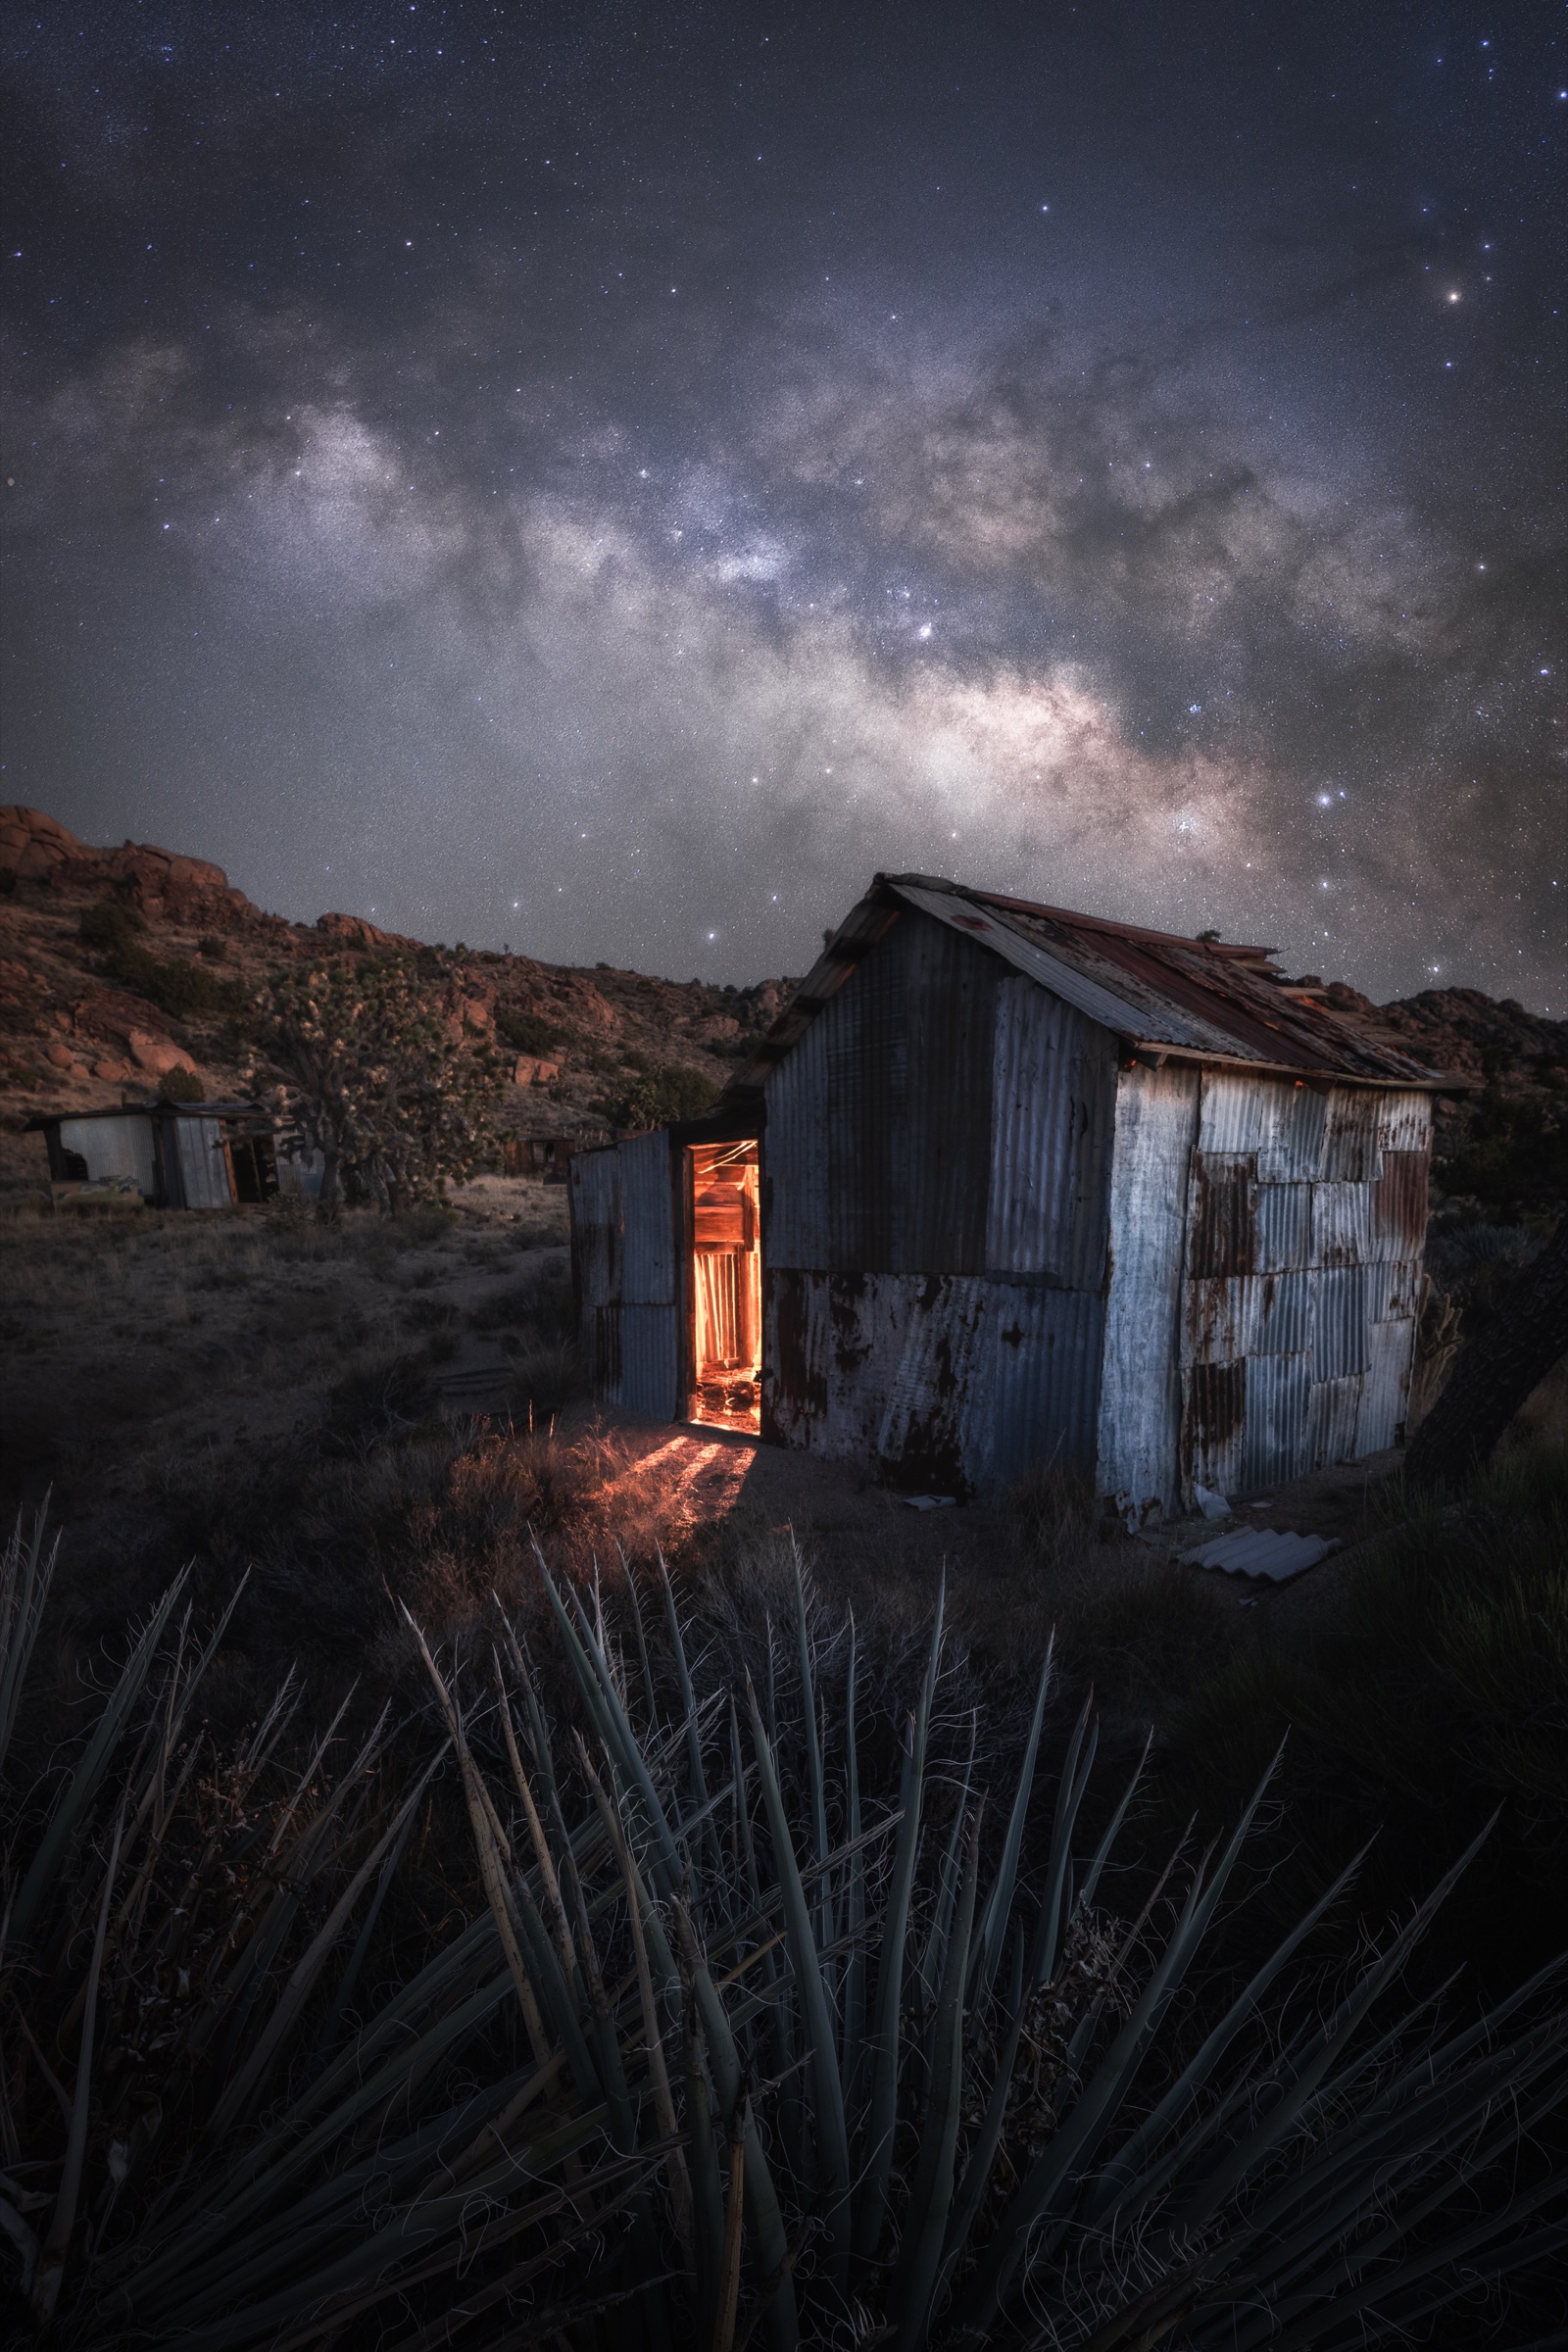
At the Mojave ghost town, the warm doorway does more than reveal the shack. It suggests a presence inside, directs the eye through the dark foreground and gives the building a role beneath the Milky Way. The light becomes part of the story without flattening the weathered exterior.
For rock formations, side light is usually the most useful starting point. Let ridges catch the beam and allow recesses to fall away. If every rock is equally bright, the light is no longer describing the formation.
Avoid the common mistakes
Most failed light painting frames come from too much certainty too early. Start dim, make one decision at a time and keep a clean ambient frame in the sequence.
- Over-lighting: the foreground becomes brighter than the sky and stops feeling nocturnal
- Flat front light: a source beside the lens erases the shadows that create texture
- Hot spots: the beam pauses or its center crosses one surface for too long
- Wrong color: the lamp, gel or white balance fights the ambient light instead of supporting it
- Excessive coverage: every surface is illuminated, leaving the eye with no hierarchy and the scene with no darkness
Troubleshoot the result in the field
Correct the capture while the tripod and lighting position are still available. A small field adjustment is usually cleaner than a complicated repair later.
| What you see | Likely cause | Field correction |
|---|---|---|
| One bright patch | The beam paused or the center of the beam hit the subject | Keep moving, use the beam edge, add diffusion or increase distance |
| The surface looks flat | The light is too close to the camera axis | Move the source farther to the side and skim it across the texture |
| The foreground looks green, orange or blue | Source color, local light pollution or white balance does not match the ambient frame | Set a fixed white balance, correct the source with a gel and retest |
| The Milky Way loses contrast | Stray light is entering the lens or illuminating haze | Flag the lens, aim away from the camera and capture the sky before the light pass |
| The blend looks cut out | Brightness, shadow direction or edge transitions differ between frames | Use a dimmer pass, preserve shadow and blend along real landscape boundaries |
| The whole frame feels busy | Too many surfaces were lit independently | Choose one visual path and leave secondary areas dark |
Check public-land rules before turning on a light
Artificial-light rules are location specific and can change. Check the current land manager page, the park or monument regulations and any superintendent's compendium before the session. Do not assume that a headlamp allowed for route finding is also allowed for illuminating a landscape.
Arches National Park, for example, prohibits using artificial light to illuminate landscapes, rock formations or other park features. Other units have their own rules. Permits or workshop conditions may be more restrictive than ordinary visitor use.
Where light painting is allowed, keep the beam away from wildlife, cultural resources, roads, camps and other visitors. Coordinate with nearby photographers before a pass, keep the duration short and preserve dark adaptation whenever possible.
Frequently asked questions
What is light painting photography?
Light painting is a long exposure technique in which an artificial source illuminates parts of a scene during the exposure. The source can move to spread the illumination, but its visible path is not the subject. When a moving source records as lines, writing or patterns, that technique is more precisely called light drawing.
What gear do I need for light painting night landscapes?
Start with a tripod, a camera that allows manual exposure, a remote or timer and one dimmable light. A flashlight, headlamp or small LED panel is enough. Fine low power control, diffusion and a predictable beam are more useful than maximum brightness. RGB lights and gels are optional color tools.
What camera settings should I use for light painting?
For a single Milky Way exposure, set aperture, shutter speed and ISO for sharp stars first, then add a brief low power pass. For a separate foreground frame, you can lower ISO, stop down for depth of field and lengthen the exposure while the camera stays locked. Use the histogram and test frames rather than one universal setting.
Do I need to blend light painting exposures?
No. A single exposure works when the sky settings give enough time to move the light and the source can remain dim. Blend locked off frames when the foreground needs a cleaner ISO, more depth of field or several controlled passes. Keep the final light direction and brightness coherent.
How do I keep light painting from looking fake?
Choose a believable source direction, use less brightness, preserve shadows and falloff, match the color to the ambient scene and avoid illuminating every surface. Side light usually gives rock and wood more natural depth than a bright front-facing beam.
Can I combine light painting with Milky Way photography?
Yes. Capture a clean sky or stacking sequence first, keep the camera locked and add the foreground light afterward. Shield the lens from stray light and keep the foreground dim enough to belong with the sky. If rules prohibit artificial light, use moonlight, twilight or a separate ambient foreground instead.
Is light painting allowed on public land?
It depends on the unit and the activity. Check the current land manager rules and any superintendent's compendium before the session. Some locations, including Arches National Park, prohibit artificial light used to illuminate landscapes or park features even though personal route-finding lights are allowed.
Continue through the night landscape workflow
Build the sky and ambient scene first, then choose natural moonlight or controlled artificial light for the foreground. Finish with the editing workflow that matches the source frames you actually captured.
Light painting is not simply adding light. It is shaping light so the direction, falloff and color belong to the scene.