Plan for the light instead of avoiding it
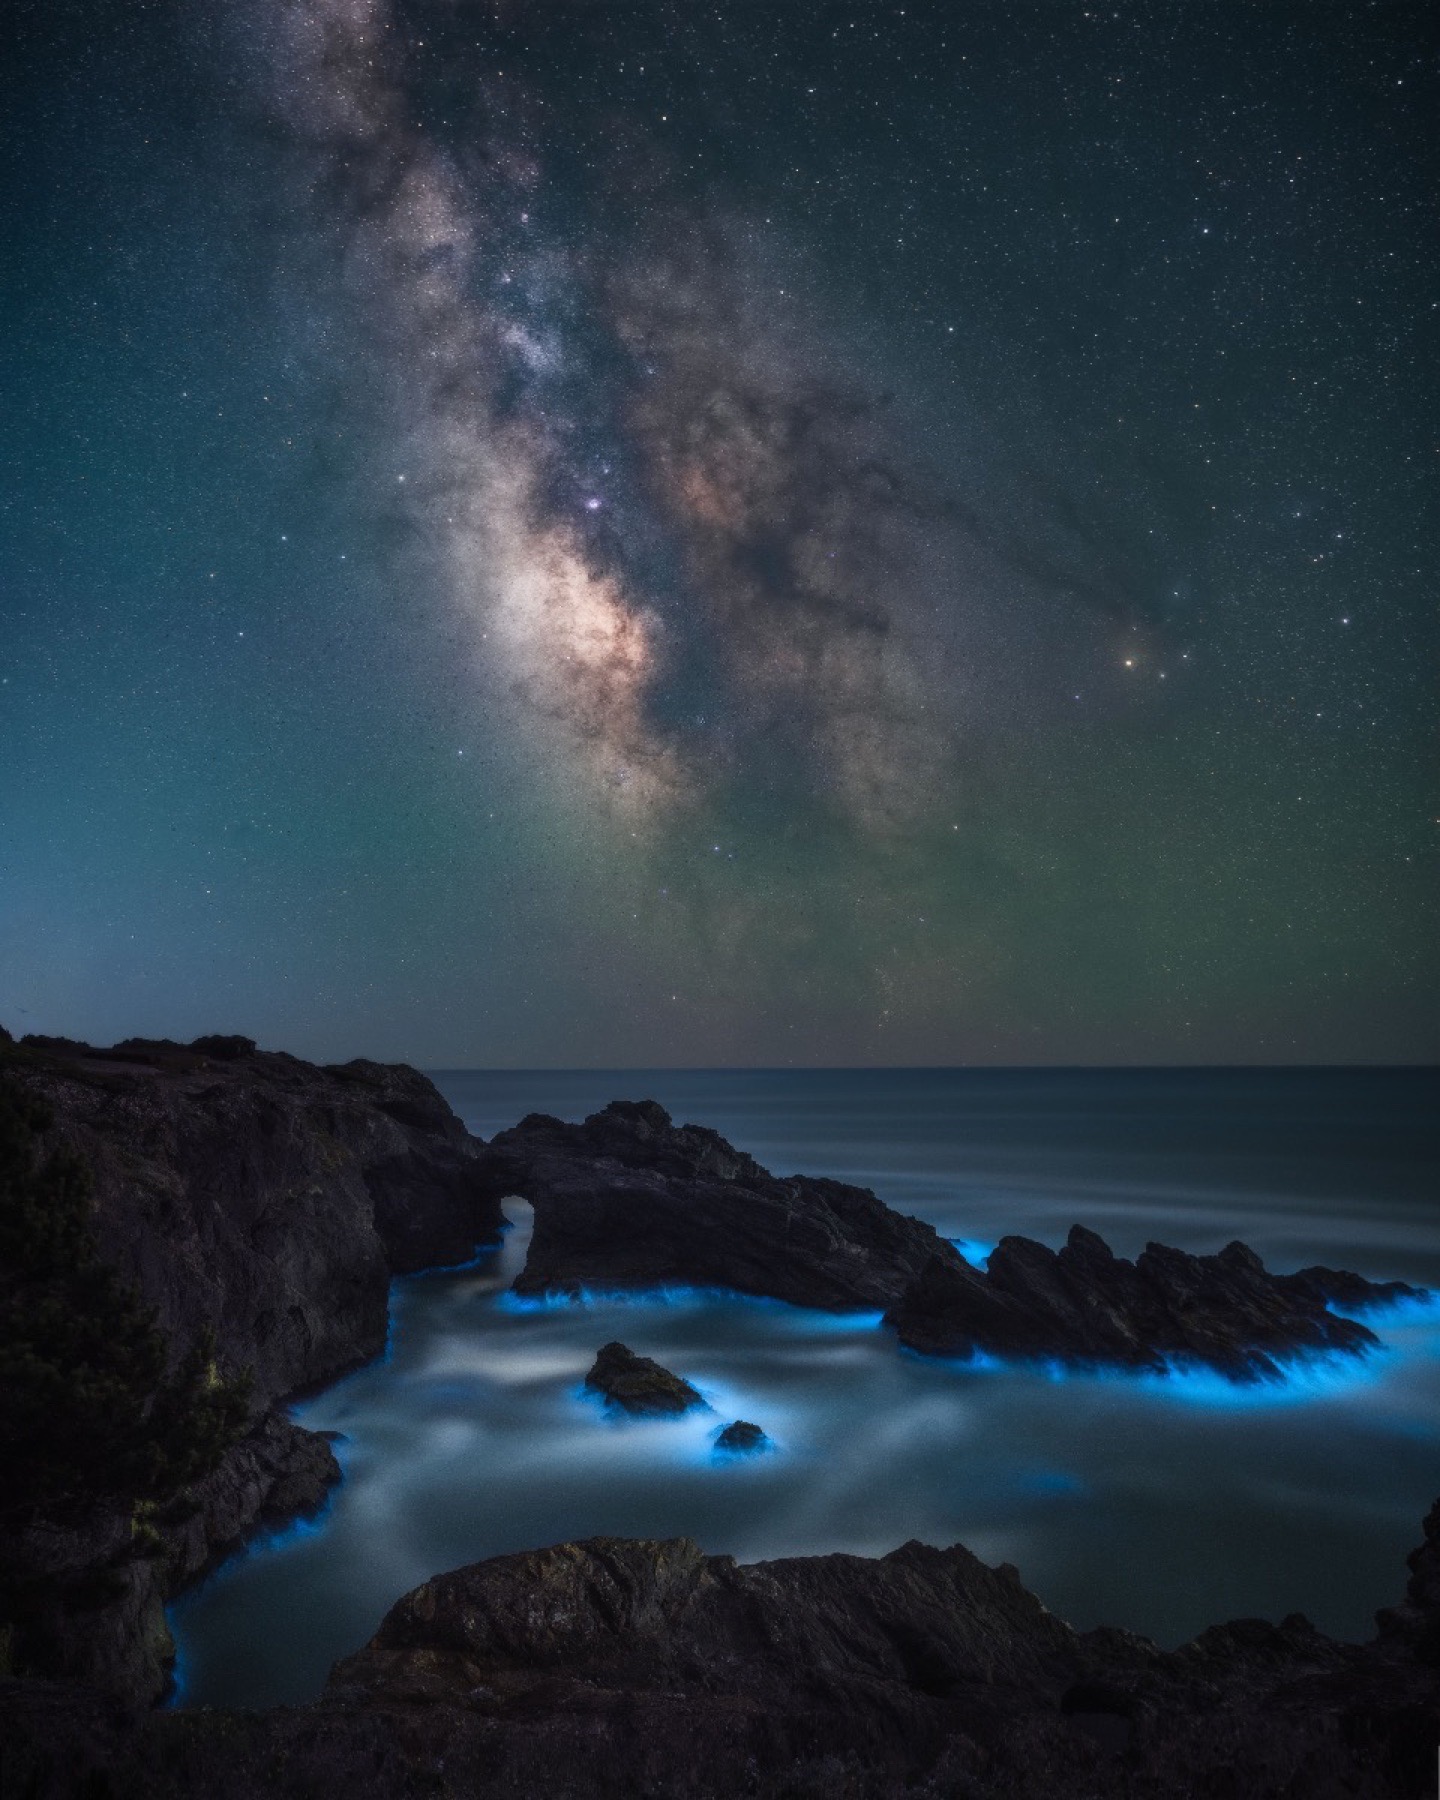
Most night photographers begin by asking how to avoid the moon. I begin by asking what its light can do for the landscape. Do not plan around avoiding the moon. Plan where you want its light to come from.
Moonlight is sunlight reflected from the lunar surface. It follows the same broad lighting logic as daylight, but at a much lower intensity. Phase changes how much light is available. Position changes its direction. Clouds, terrain and atmosphere decide how that light reaches the subject.
That makes the moon more than a calendar condition. It can reveal a foreground, separate a ridge, build a reflection or create the dimensional light that connects a dark landscape to the stars above it.
Check five things before the field session
A useful moon plan needs more than illumination percentage. Check phase or illumination, moonrise and moonset, azimuth, altitude and the moon's relationship to the subject or Milky Way during the exact shooting window.
Moonrise and moonset tell you when the light becomes available. Azimuth tells you its compass direction. Altitude tells you how steeply it will strike the landscape. Plot those values against the composition, not only against your location. A 50 percent moon from a useful side angle can be more valuable than a 20 percent moon hidden behind the subject or blocked by terrain.
When the Milky Way matters, check whether the moon will illuminate the foreground while remaining away from the galactic core. A moon near the core can reduce contrast even at a modest phase. A moon behind you or off to the side can light the land while leaving a cleaner part of the sky in frame.
Use moon direction like sunlight
Moon behind the camera creates front light. It gives the foreground even illumination, dependable color and an easier exposure. It can also flatten texture because the shadows fall away from the camera.
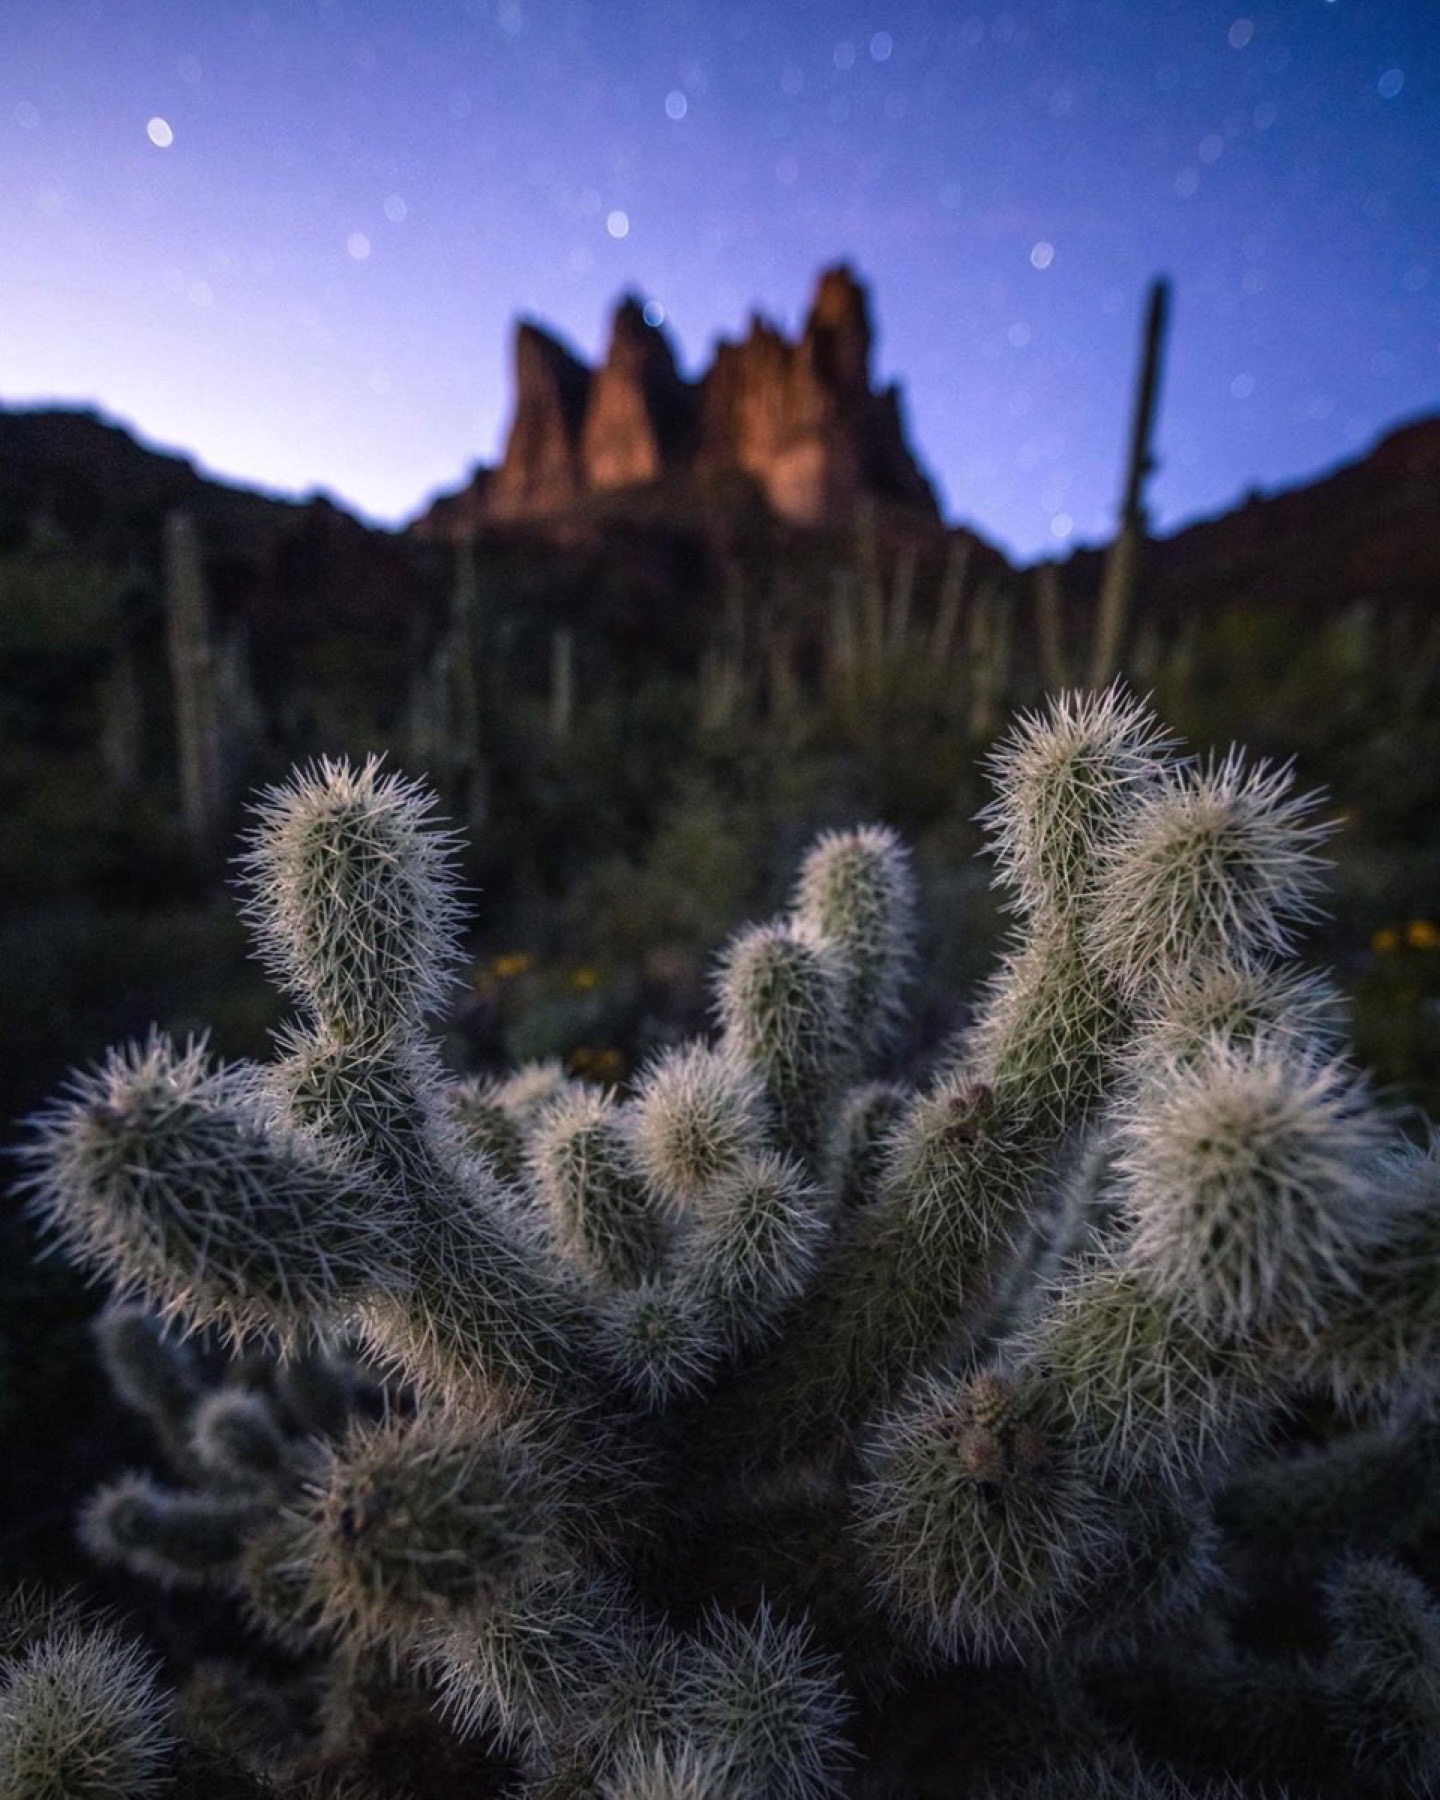
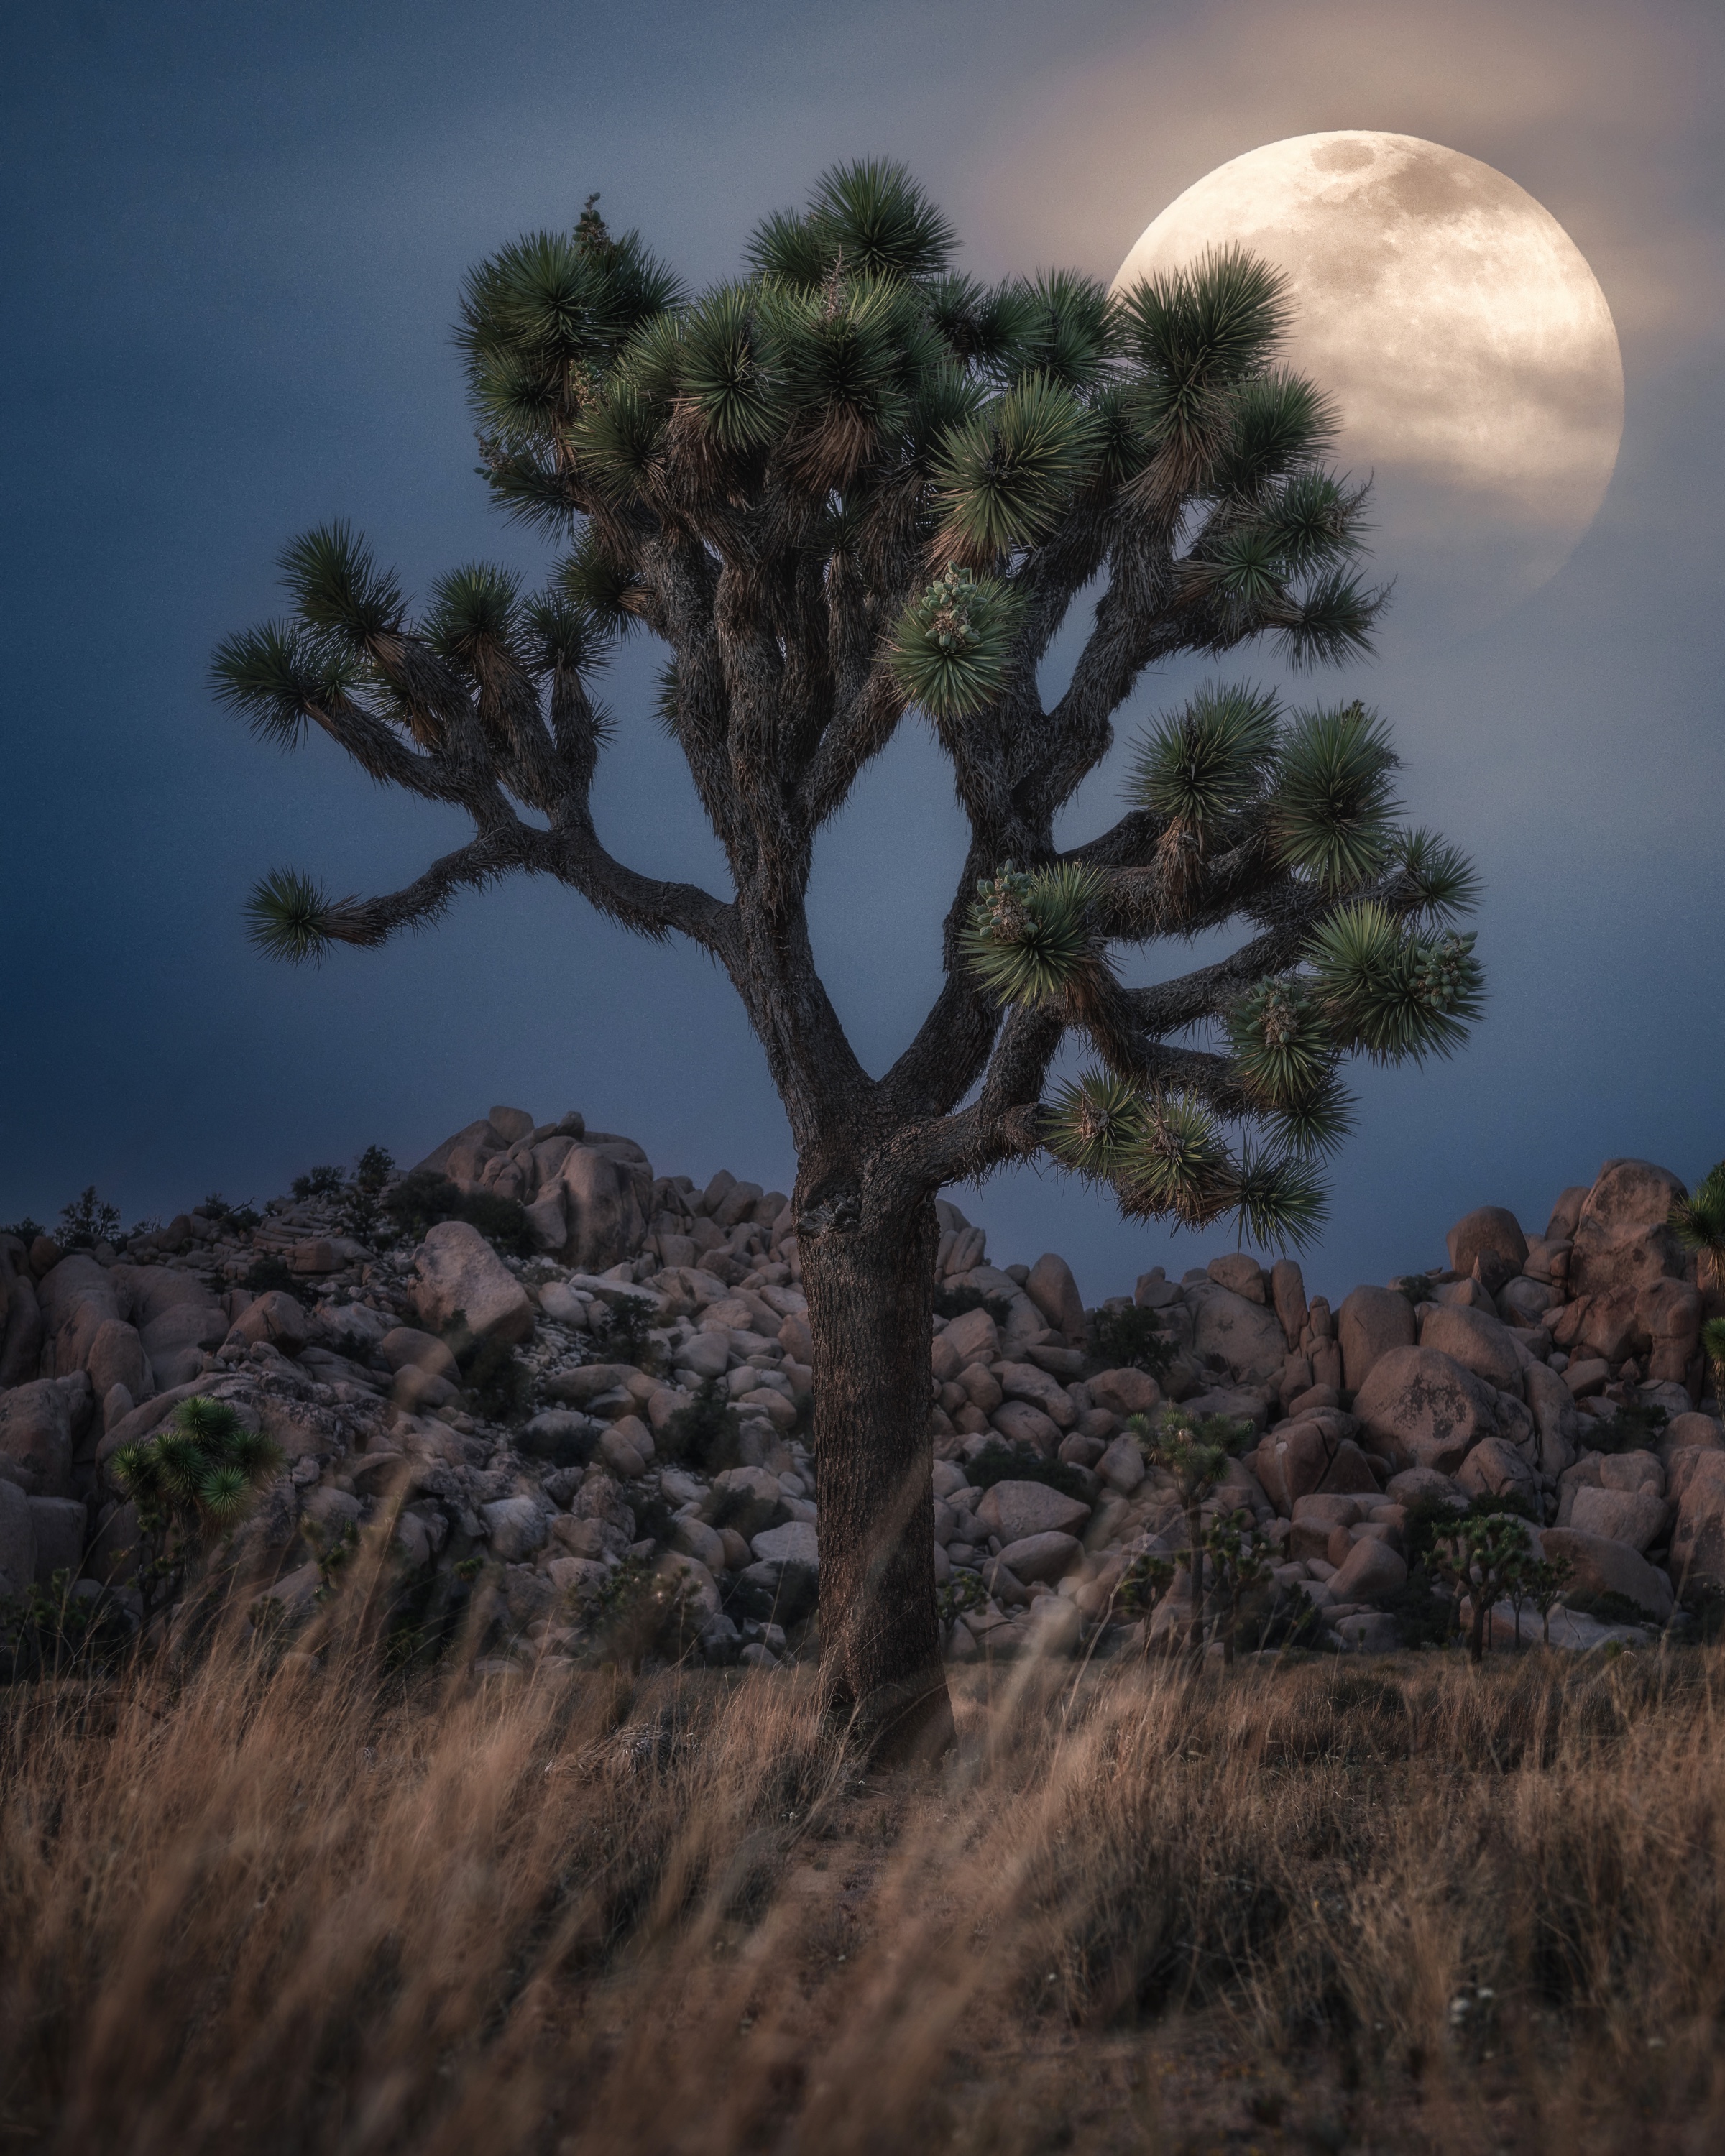
Moon roughly 90 degrees to the composition creates side light. This is often my favorite position for landscapes because shadows reveal texture, depth and separation. Cactus spines glow, rock faces gain shape and mountains stop reading as flat silhouettes.
Moon in front of the camera creates backlight. Use it for silhouettes, rim light, glowing clouds and visible atmosphere. Keep the Moon just outside the frame or behind a solid object when flare and clipped highlights become distracting. If the Moon belongs in the composition, treat its exposure as a separate decision.
Choose the moon altitude for the landscape
A low moon produces long shadows, strong direction and often warmer light because it travels through more atmosphere. That angle can reveal texture beautifully, but a ridge, canyon wall or forest may block it before it reaches the foreground.
A high moon produces shorter shadows and broader coverage. It can look flatter, especially over open terrain, but it may be exactly what a canyon, grove or enclosed basin needs. High light can reach places that remain black under a low moon.
Low is not automatically better and high is not automatically worse. Choose altitude from the subject backward. Ask where the light must clear the terrain, which surfaces should catch it and how much shadow the composition needs.
Use moon phase as a decision table
Phase changes the amount of available light and the balance between sky contrast and foreground detail. These are expectations, not fixed rules. Direction, altitude, atmospheric clarity and surface reflectivity can change the result substantially.
| Moon phase | What it gives you | What to watch |
|---|---|---|
| Thin crescent | Subtle foreground fill with a dark sky | May not reveal enough terrain without a separate exposure |
| Quarter moon | A strong balance of stars and landscape detail | Direction matters as much as illumination |
| Gibbous moon | Clear foreground color, texture and shadows | Milky Way contrast falls as the moon brightens |
| Full moon near the horizon | Powerful directional light with long shadows | Bright pale surfaces and nearby clouds can clip quickly |
| Full moon high overhead | Broad illumination that reaches enclosed terrain | Short shadows can make open landscapes feel flatter |
Expose for stars or for the landscape
There is no single moonlight setting because a crescent, quarter moon and full moon can differ by several stops. Build the exposure around the priority in the photograph, then use the histogram and highlight warning to evaluate the test frame.
For a moonlit landscape with stars, protect star sharpness first. Choose aperture and a shutter speed that keeps the stars round, then raise ISO until the useful sky and foreground data separate from the left edge without clipping bright moonlit surfaces. If the land still needs more, capture a separate foreground exposure or a short aligned stack instead of lengthening the star exposure.
When stars are not the priority, use the tripod to lower ISO, stop down for the depth of field you need and lengthen shutter speed. Wind, moving leaves, clouds and water may still set a practical time limit. The goal is not a prescribed number. It is a clean histogram with protected highlights and enough shadow detail for the edit you intend to make.
Use the moon as a natural light painter
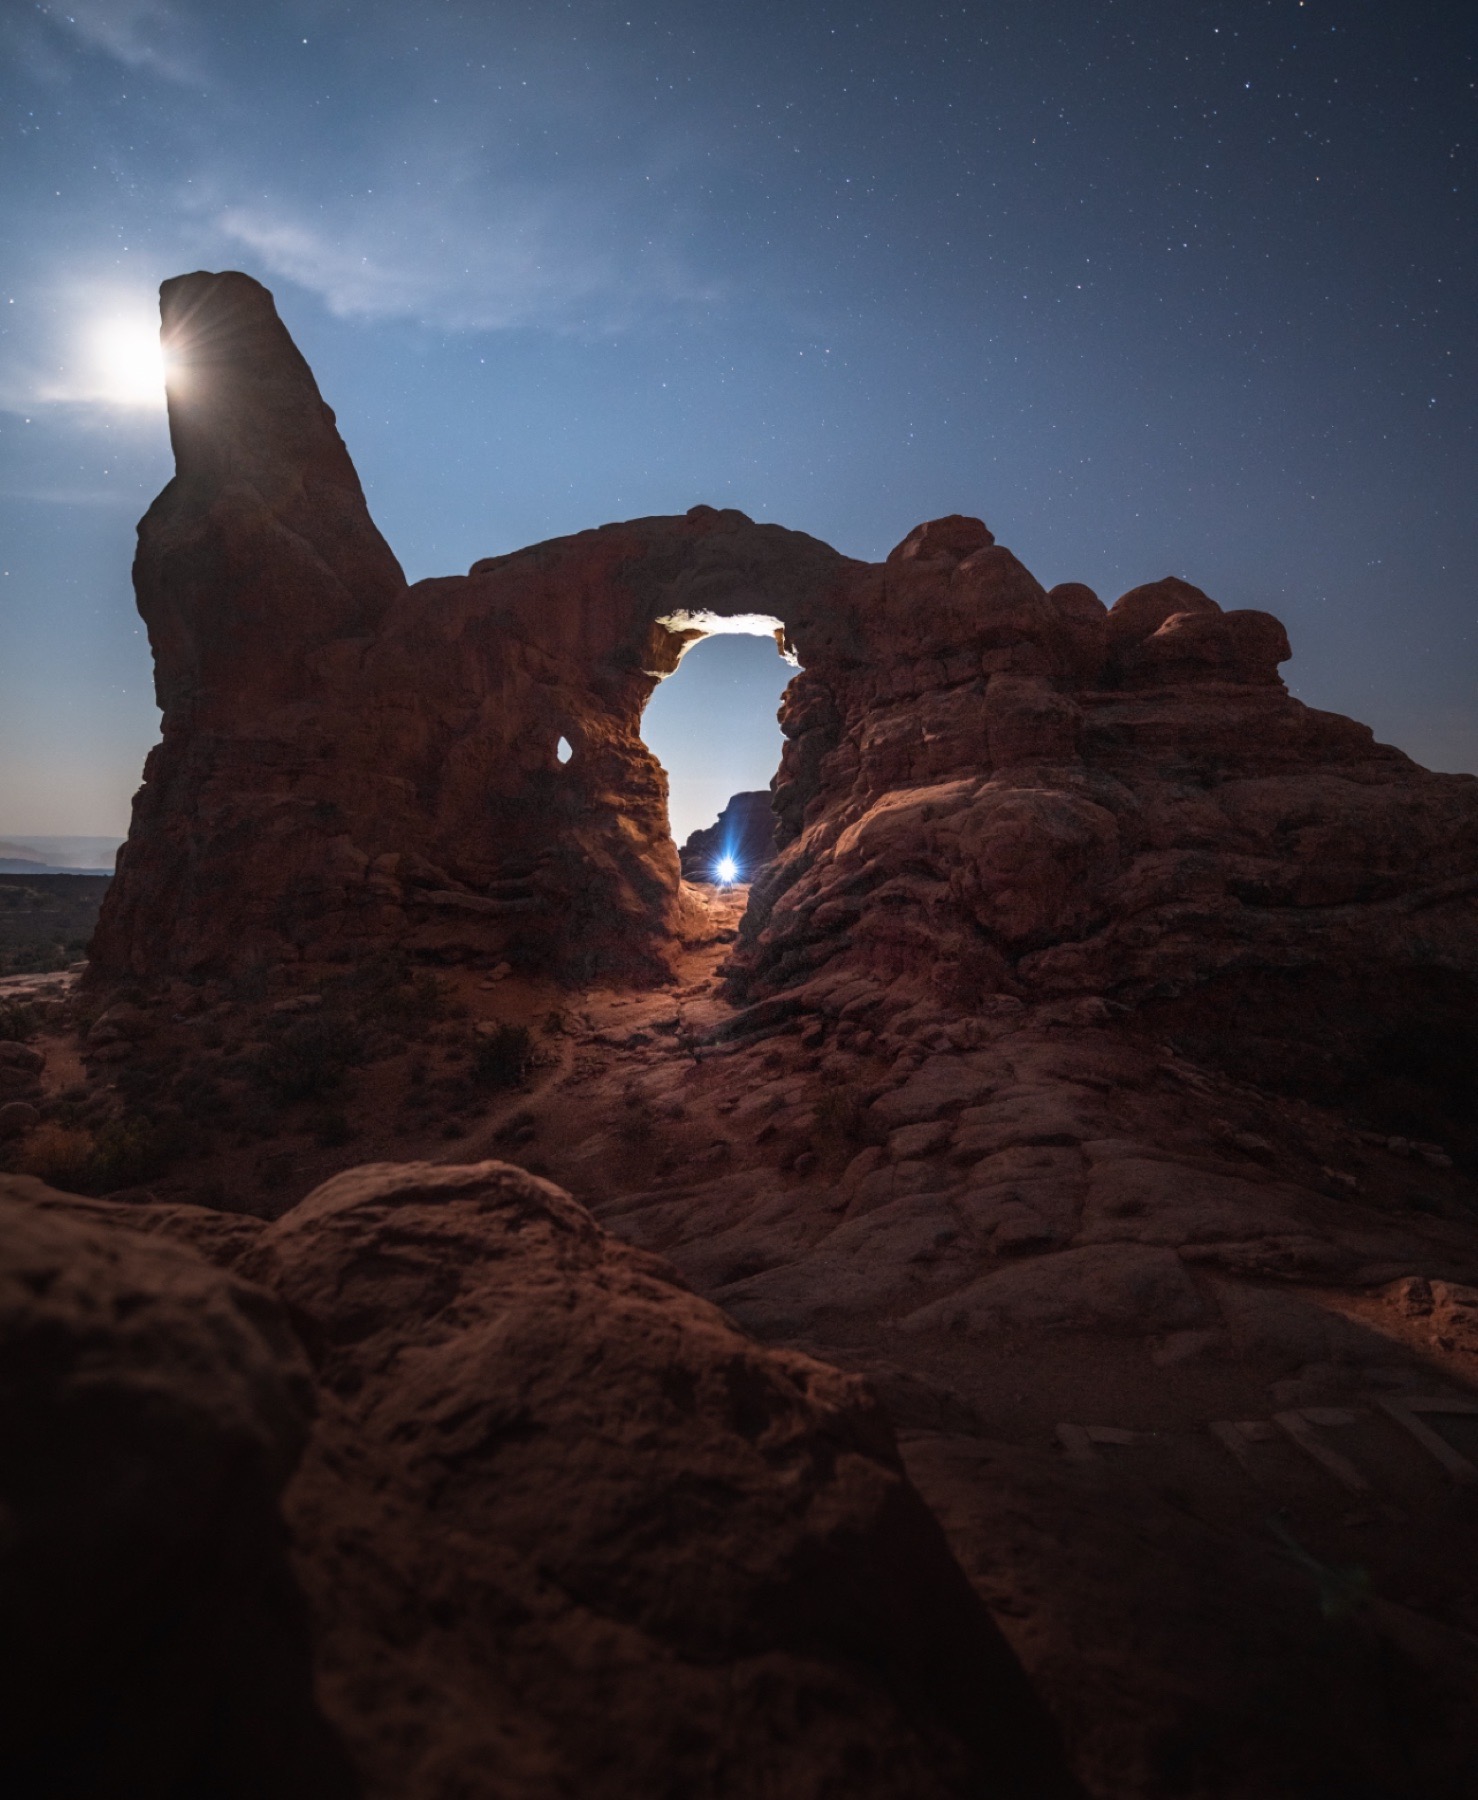
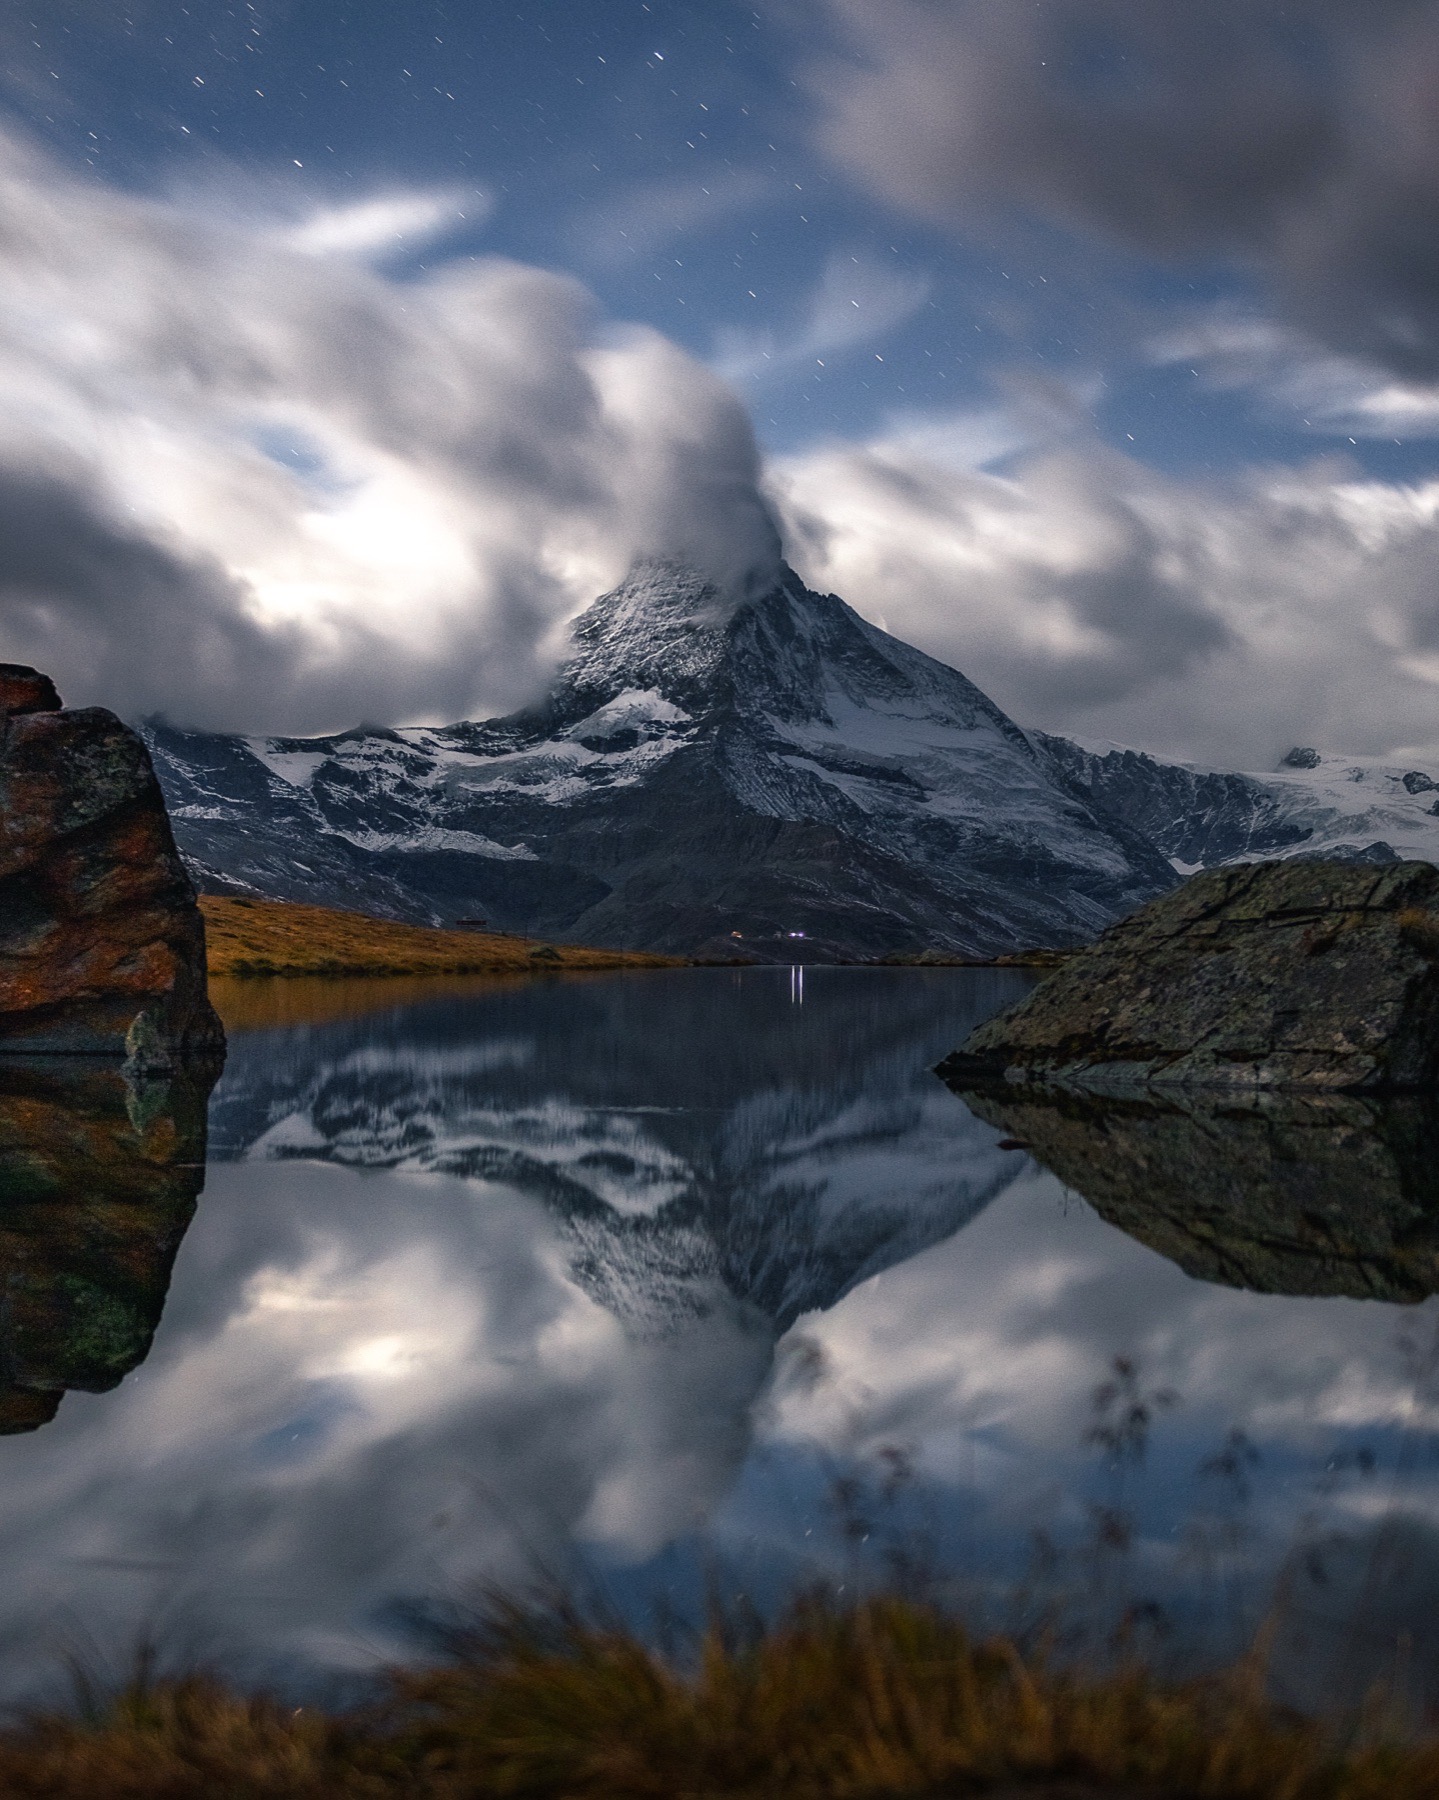
The moon can do the work of a large, distant light source. It can skim across foreground texture, separate trees from a ridge, catch the inside edge of an arch, shape mountains from the side or place a clean reflection on quiet water.
Its biggest advantage is consistency. The direction remains coherent across a large landscape, so distant terrain and close foreground receive light that belongs to the same scene. Plan the tripod position around that direction. A small move can change whether a rock face catches light or disappears into shadow.
When the moon cannot provide the direction or intensity you need, controlled artificial light is another option. Keep it subtle, match its color to the scene and use the same side-light principle that makes moonlight feel dimensional.
Let clouds, fog and haze shape the light
Thin clouds can soften moonlight, spread it across the landscape and create a halo around the source. Broken clouds can produce moving pools of illumination. A long exposure may record those transitions as broad soft shapes while a shorter frame preserves more cloud structure.
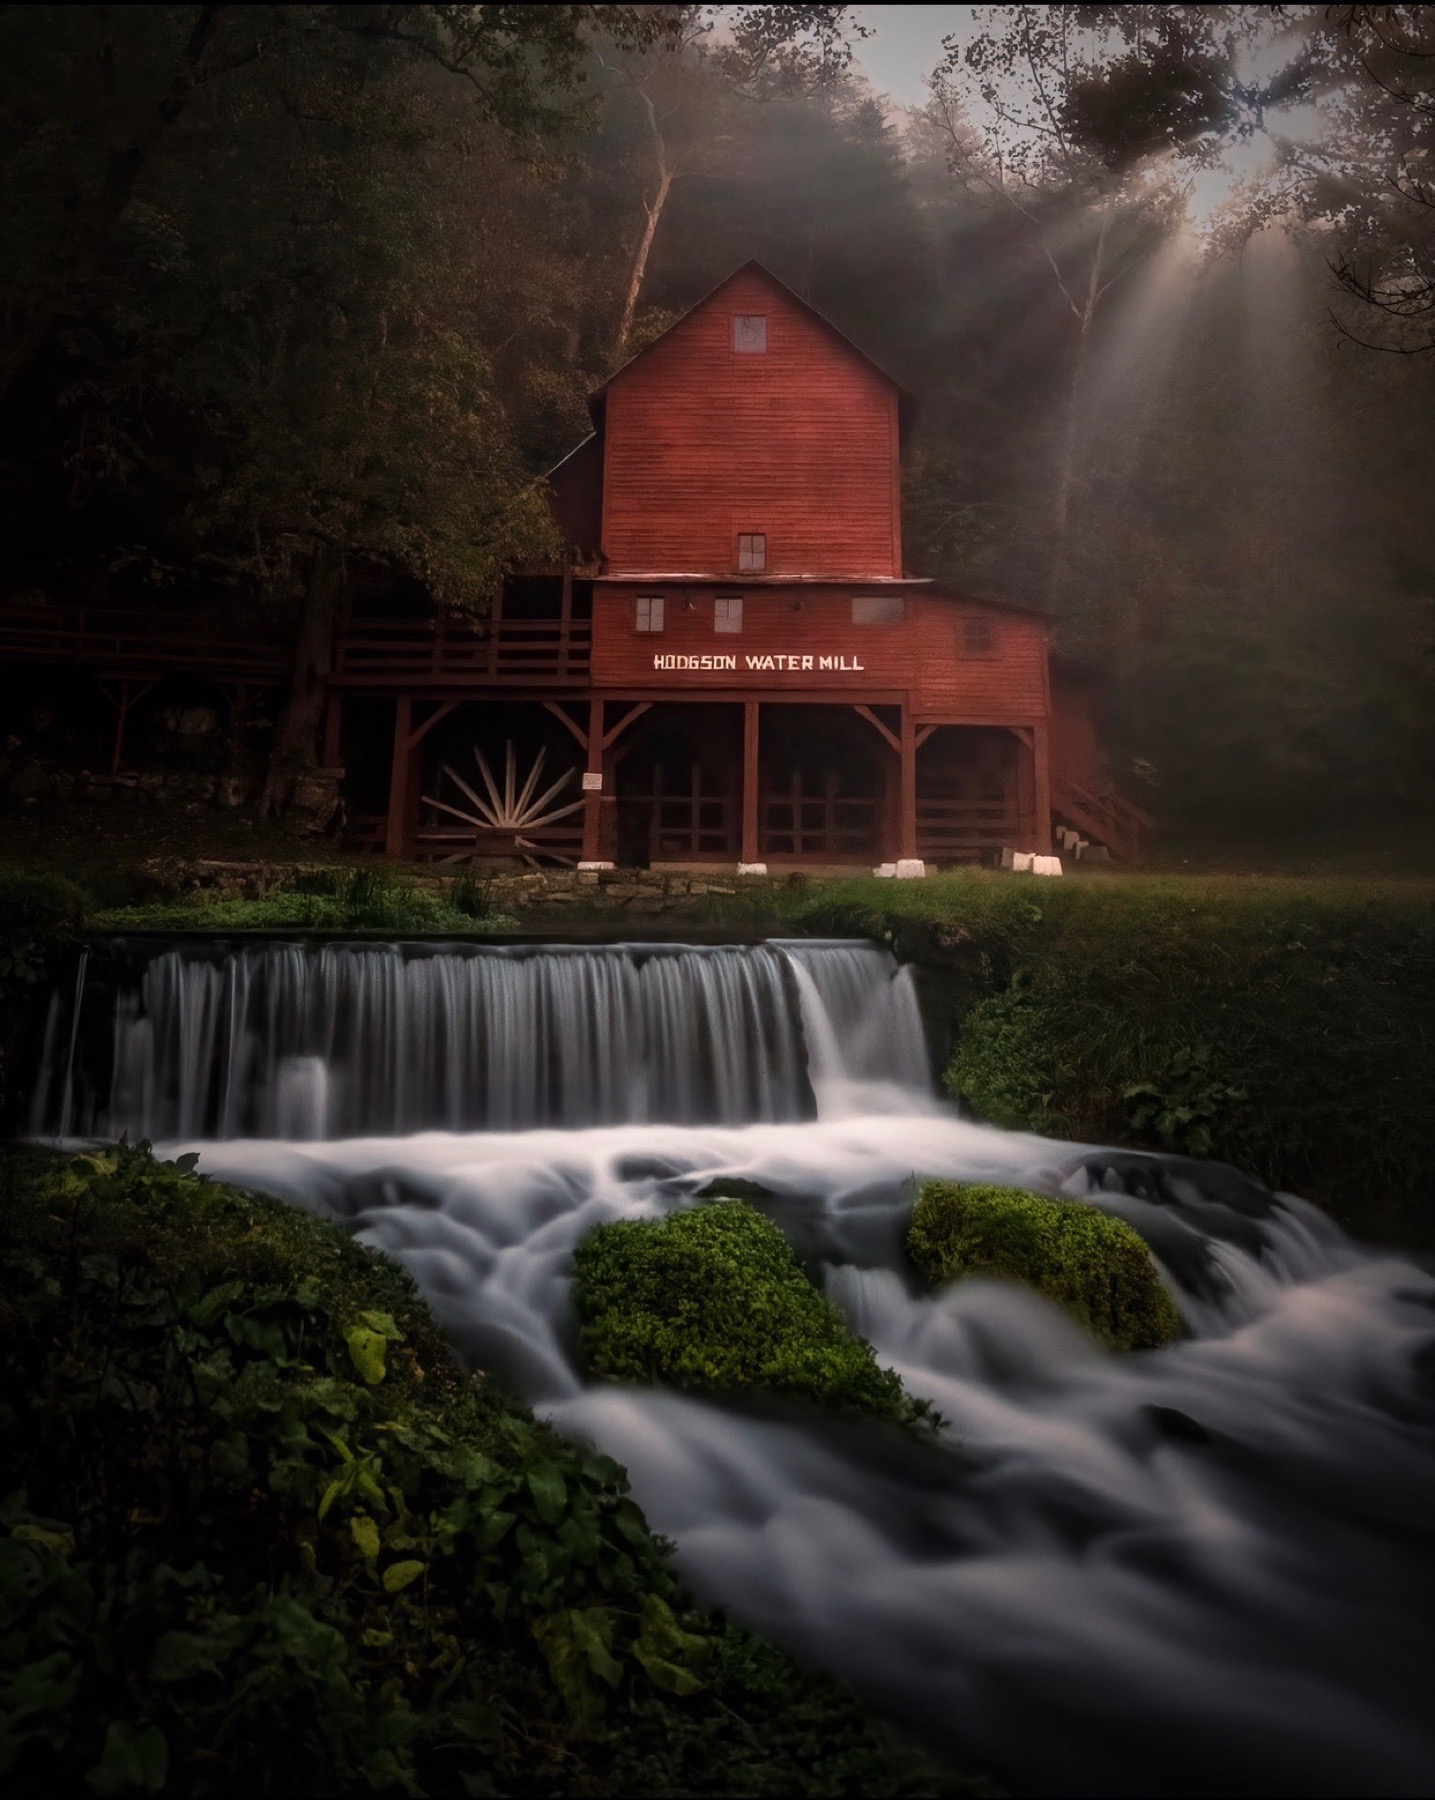
Fog or mist makes the light path visible. It can create beams, separate depth layers and turn a familiar landscape into a study of atmosphere. Expose for the brightest part of the beam first because the surrounding mist can remain darker without losing the effect.
Haze or dust increases scattering and can create a luminous sky near the moon. That glow may be useful, but it also lowers star contrast and can hide distant terrain. Treat weather as part of the lighting design rather than labeling it good or bad before you see what it does.
Diagnose moonlight color before correcting it
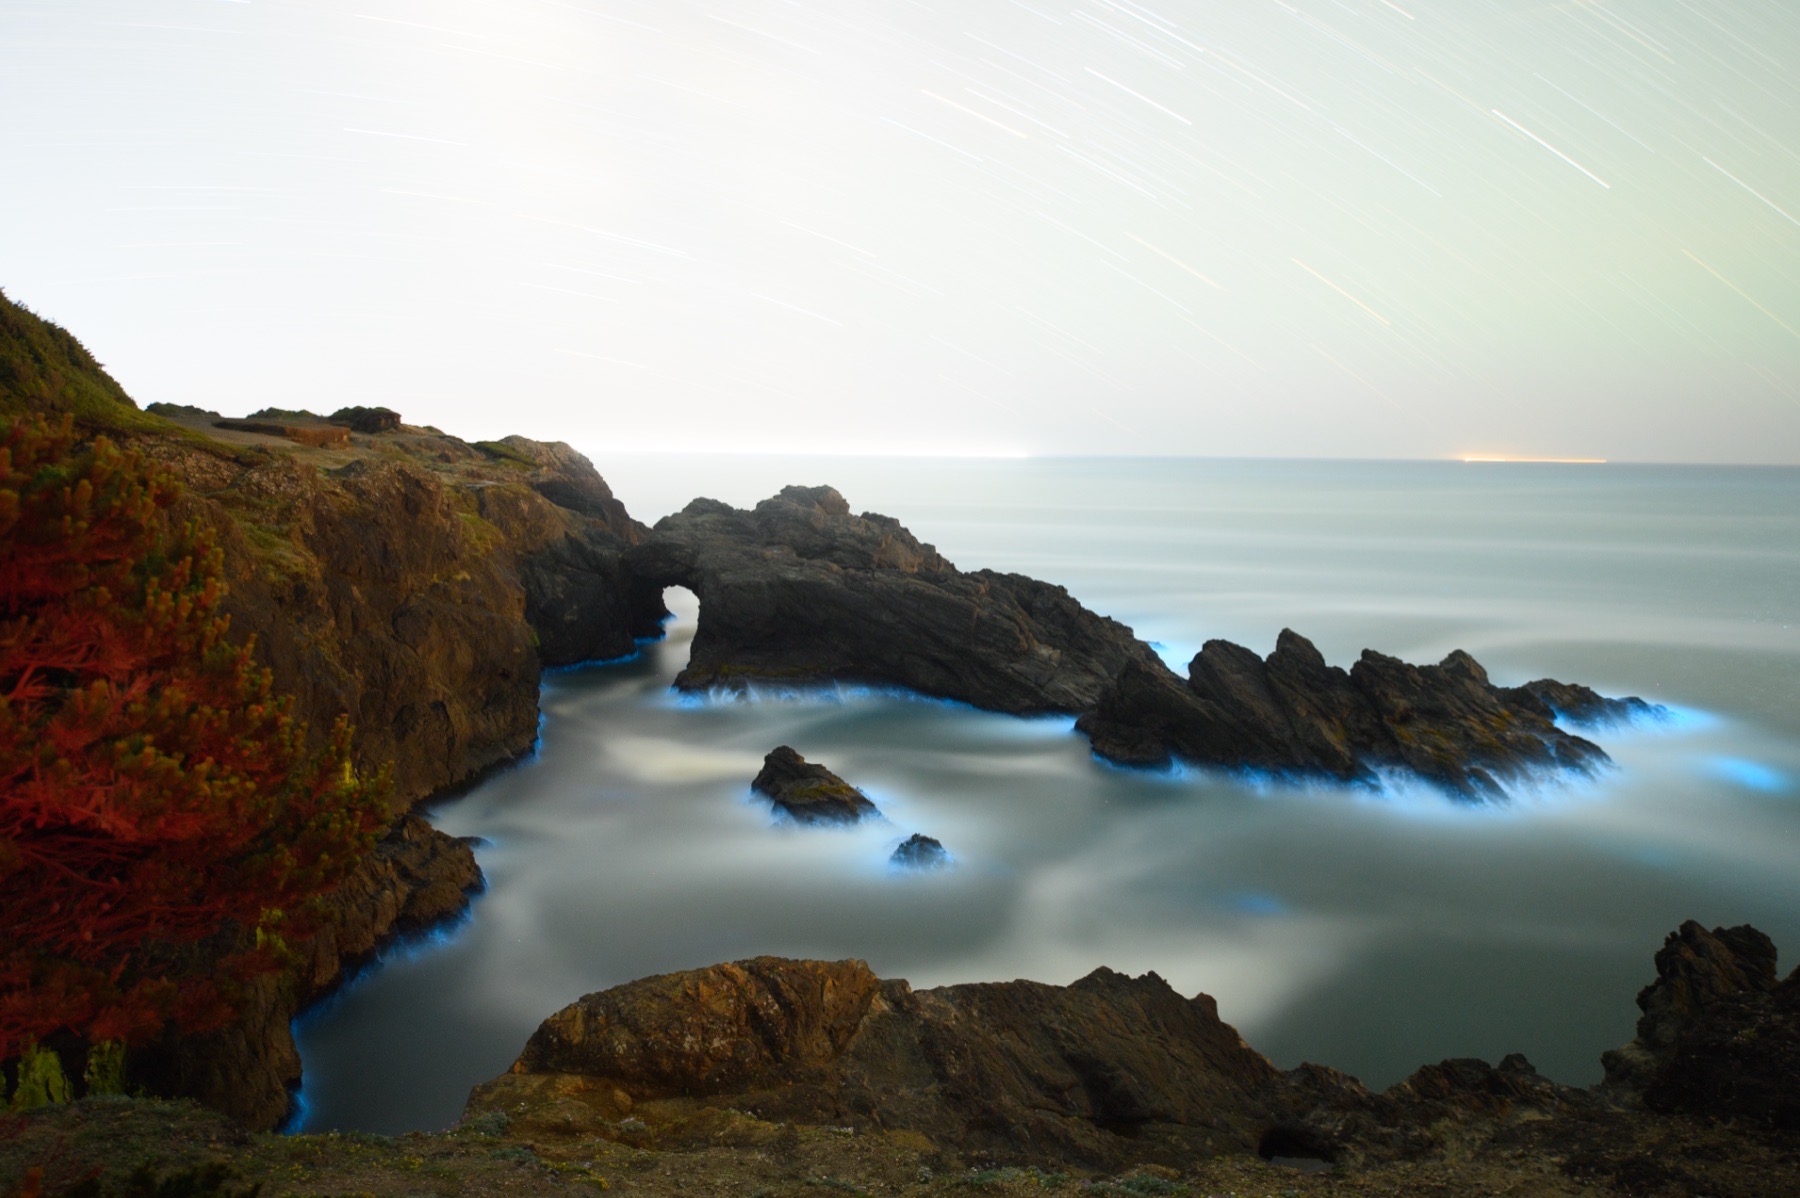
Moonlight is reflected sunlight, so it is not inherently a green light source. A green or cyan foreground can come from the white balance, vegetation, sensor response, mixed artificial light or the way a very dark RAW file is lifted in editing.
Shoot RAW and set a fixed white balance as a repeatable starting point. Auto white balance can make consecutive frames look different even when the light has not changed. I do not use one mandatory Kelvin value because moonlight, starlight, airglow and light pollution can all appear in the same composition.
Evaluate the sky, foreground and neutral surfaces separately. If the foreground is genuinely too green, move Tint toward magenta with a local mask and watch rocks or vegetation for overcorrection. Green and magenta are complementary colors, but that relationship is a correction tool rather than proof that every moonlit photograph needs magenta.
Edit moonlight without turning night into day
The common mistake is lifting every shadow, flattening every color difference and making the land as bright as a daytime frame. The result may contain stars, but the light no longer feels nocturnal.
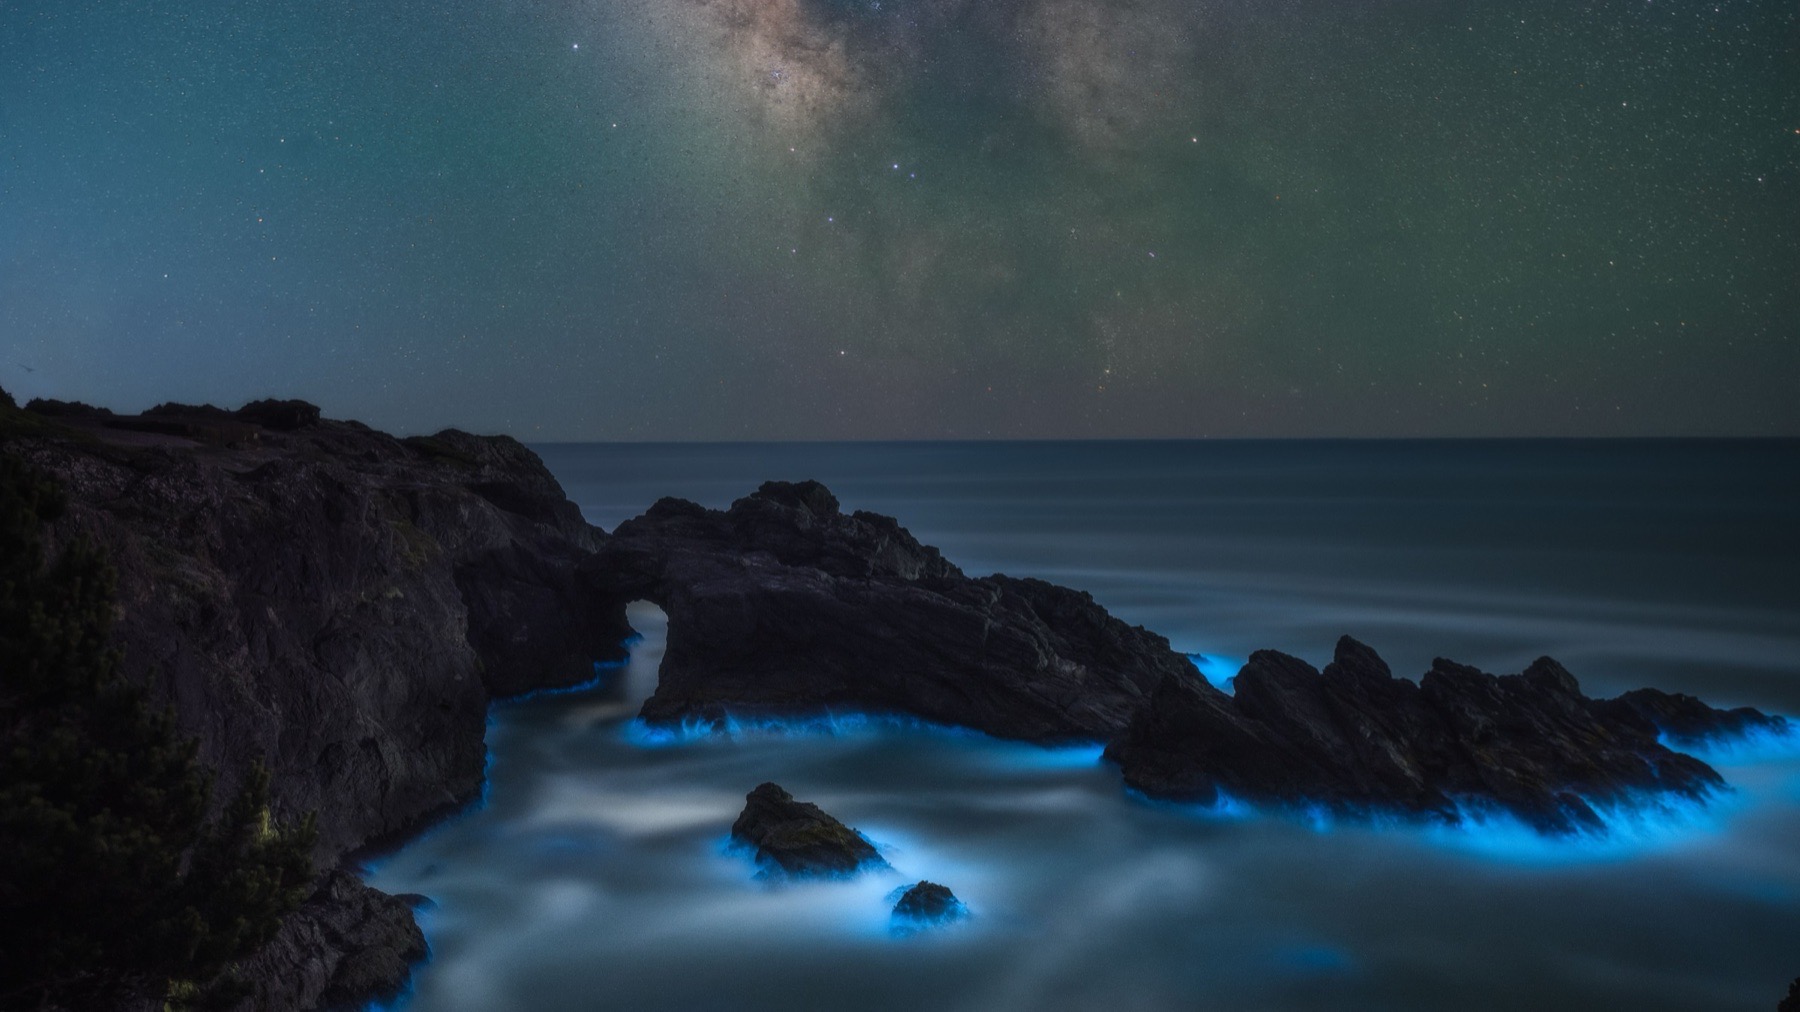
Let moonlight reveal the landscape without eliminating the night. Protect selective highlights, keep some shadows deep and preserve the falloff away from the light source. Use local masks to shape the surfaces that actually caught moonlight instead of applying equal brightness everywhere.
Cool color can support the feeling of night, but it should not become a blanket blue grade. Keep warm and neutral relationships where they belong. Check the image at a low screen brightness, then step away and ask whether the eye still follows the direction of the original light.
Separate moonlit landscapes from lunar-detail photography
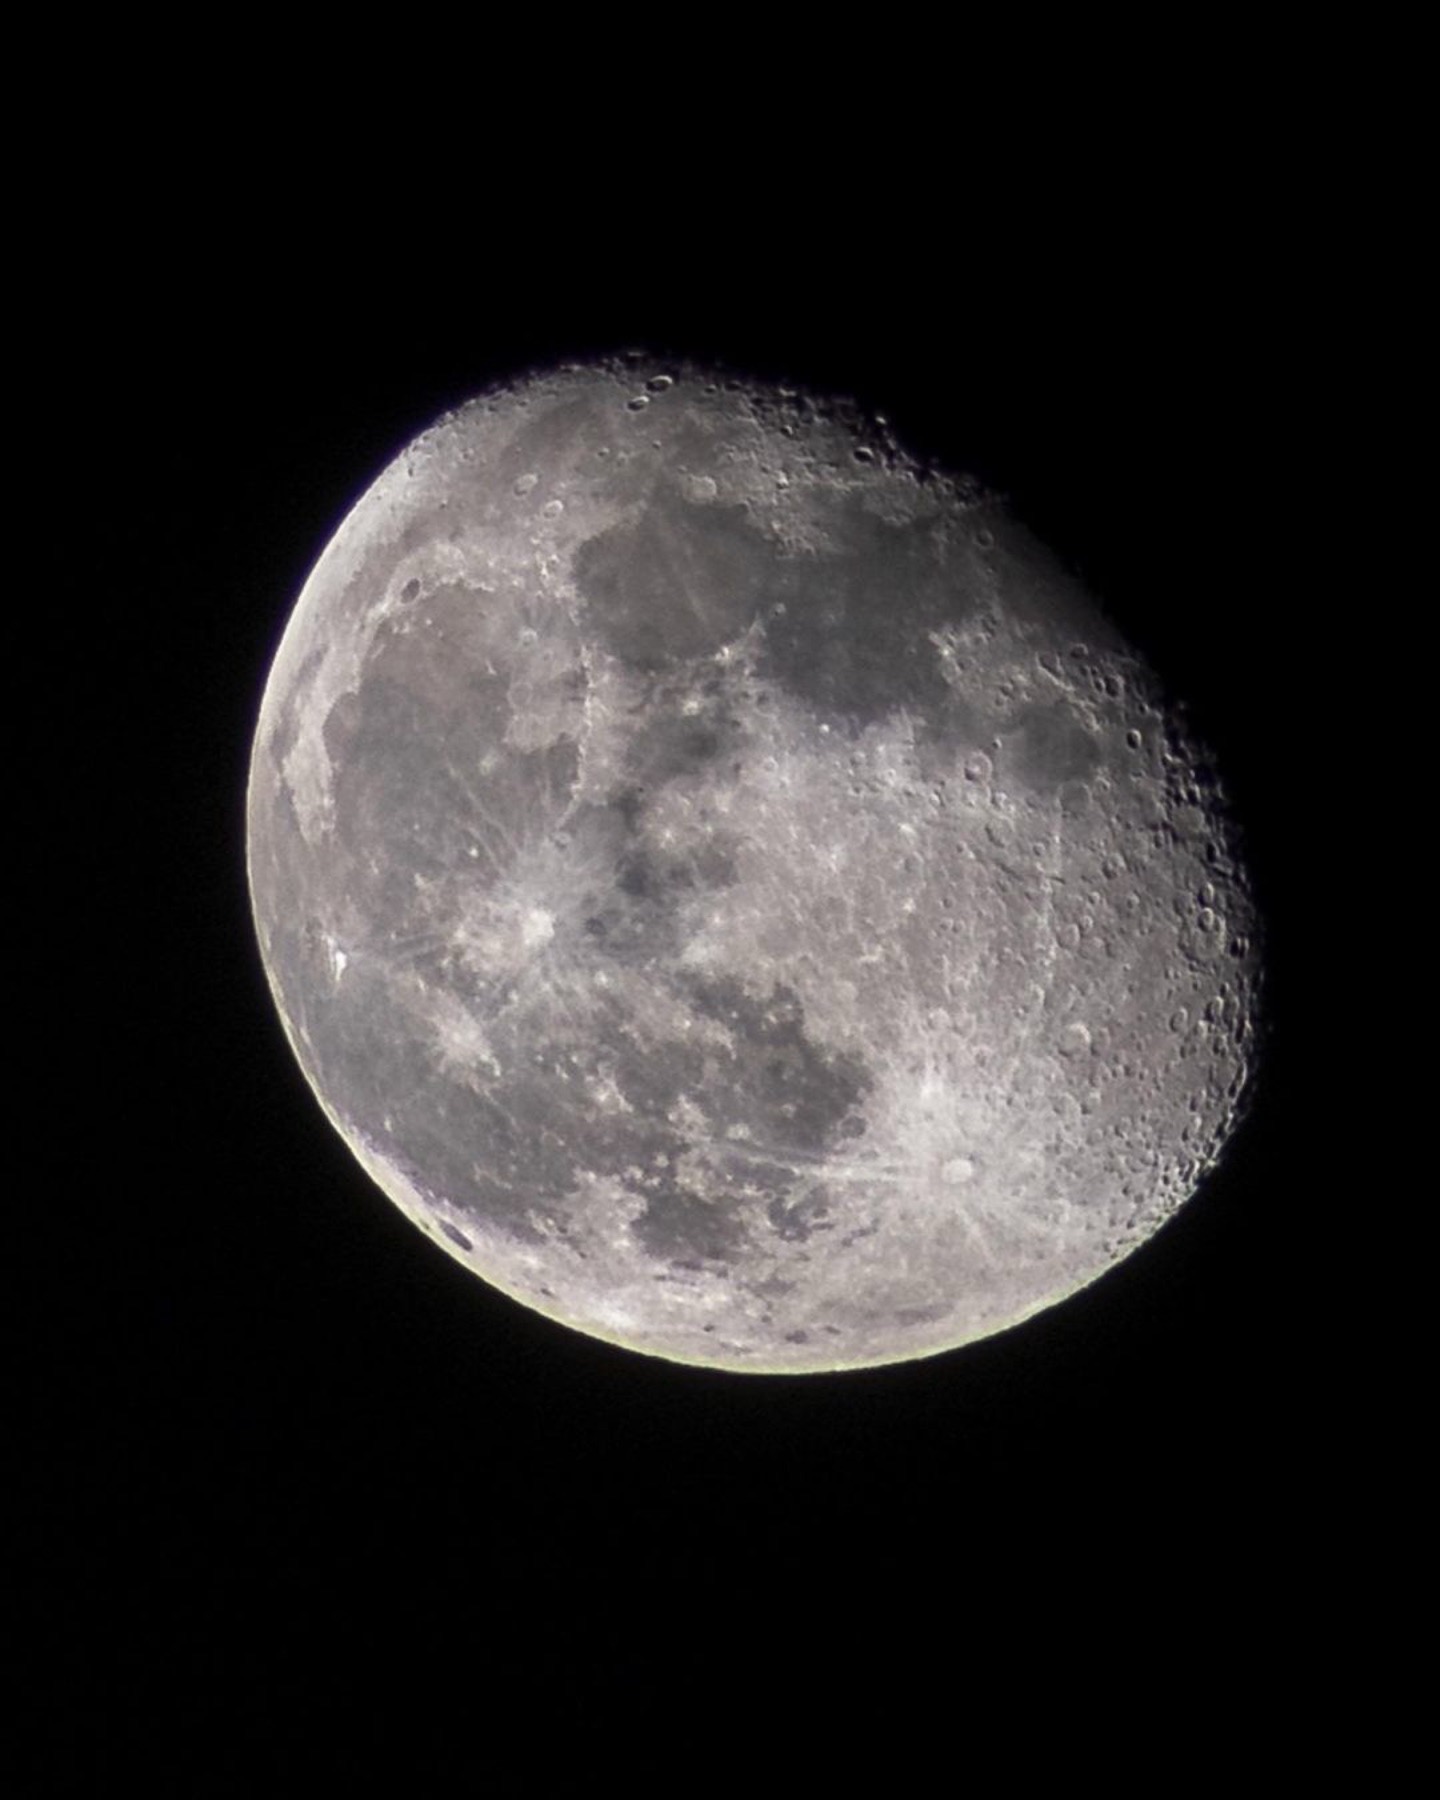
Moonlight photography records a scene illuminated by reflected moonlight. Photographing the Moon itself records the bright lunar surface, often with a telephoto lens. Those are different exposure problems, not two versions of the same camera setting.
The Moon is dramatically brighter than the landscape it illuminates. If the Moon is in the frame and crater detail matters, a landscape exposure will often clip it to white. Bracket the scene or make a separate shorter exposure for the Moon while the camera remains locked. Blend carefully only when that approach matches your photographic intent.
| Photographic problem | Primary subject | Exposure priority |
|---|---|---|
| Moonlit landscape photography | A scene illuminated by reflected moonlight | Set shutter for stars or motion, then expose the land from the histogram |
| Lunar-detail photography | The bright lunar surface itself | Use a much shorter exposure to retain crater detail |
| Moon inside a landscape frame | A bright disk plus a much darker scene | Bracket or make separate locked off exposures |
Match the field strategy to the situation
Use the table as a starting decision, then confirm the direction and histogram with a test frame. The subject still decides whether the plan works.
| Situation | Field strategy | Main risk |
|---|---|---|
| Crescent behind the camera | Preserve the stars and use the moon as subtle foreground fill | The land may still need a separate exposure |
| Quarter moon from the side | Build the composition around texture, shadow and depth | Bright rock can outrun the darker sky |
| Full moon rising from the side | Use the low angle for strong directional landscape light | Foreground highlights can clip quickly |
| Full moon overhead | Choose subjects that need broad coverage such as canyons or forests | Open terrain may look flat |
| Moon behind a ridge | Expose for silhouettes, rim light or glowing clouds | Flare and blocked foreground light |
| Moon through fog | Protect the beam highlights and let the layers recede | Mist can wash out contrast |
| Moonlight with the Milky Way | Keep the moon away from the core when possible and expose stars first | Sky contrast falls near the moon |
| Foreground remains too dark | Capture a separate exposure or add restrained light painting | An aggressive lift can create noise and false color |
Frequently asked questions
Is a full moon useful for night photography?
Yes. A full moon can create bright foreground detail, strong shadows and a nearly daylight-level landscape exposure. Keep it low for direction or use it high when terrain needs broad coverage. Expect less star and Milky Way contrast.
Can I photograph the Milky Way when the moon is out?
Yes. Check moonrise, moonset, azimuth and altitude for the actual shooting window. A partial moon away from the core can light the foreground beautifully. A moon near the core can reduce contrast even when it is not full.
What camera settings should I use for moonlight photography?
For stars, choose aperture and a shutter speed that keeps them round, then set ISO from the histogram. When stars are not important, lower ISO, stop down as needed and lengthen the exposure on a tripod. Protect bright moonlit surfaces in both cases.
What white balance should I use for moonlight?
Shoot RAW and use a fixed Kelvin or custom white balance so test frames and stacks remain consistent. There is no universal correct number. Refine the sky and foreground separately based on moonlight, airglow, light pollution and the nighttime feeling you want.
Why does my moonlit foreground look green?
The cause may be white balance, vegetation, sensor response, mixed artificial light or aggressive shadow recovery. Diagnose neutral surfaces first. If the cast is real, use a local foreground mask and move Tint toward magenta without forcing the same correction onto the sky.
Should the moon be behind me or in front of me?
Put it behind you for even front light, about 90 degrees to the composition for texture or in front for silhouettes, rim light and glowing atmosphere. Side light is often the most dimensional landscape choice, but the subject should decide.
Continue through the night-photography workflow
Use the moon plan to solve the foreground light, then move into the guide that matches the rest of the photograph. Keep the same priority throughout: direction first, exposure second and editing in service of the light you actually had.
Do not plan around avoiding the moon. Plan where you want its light to come from.