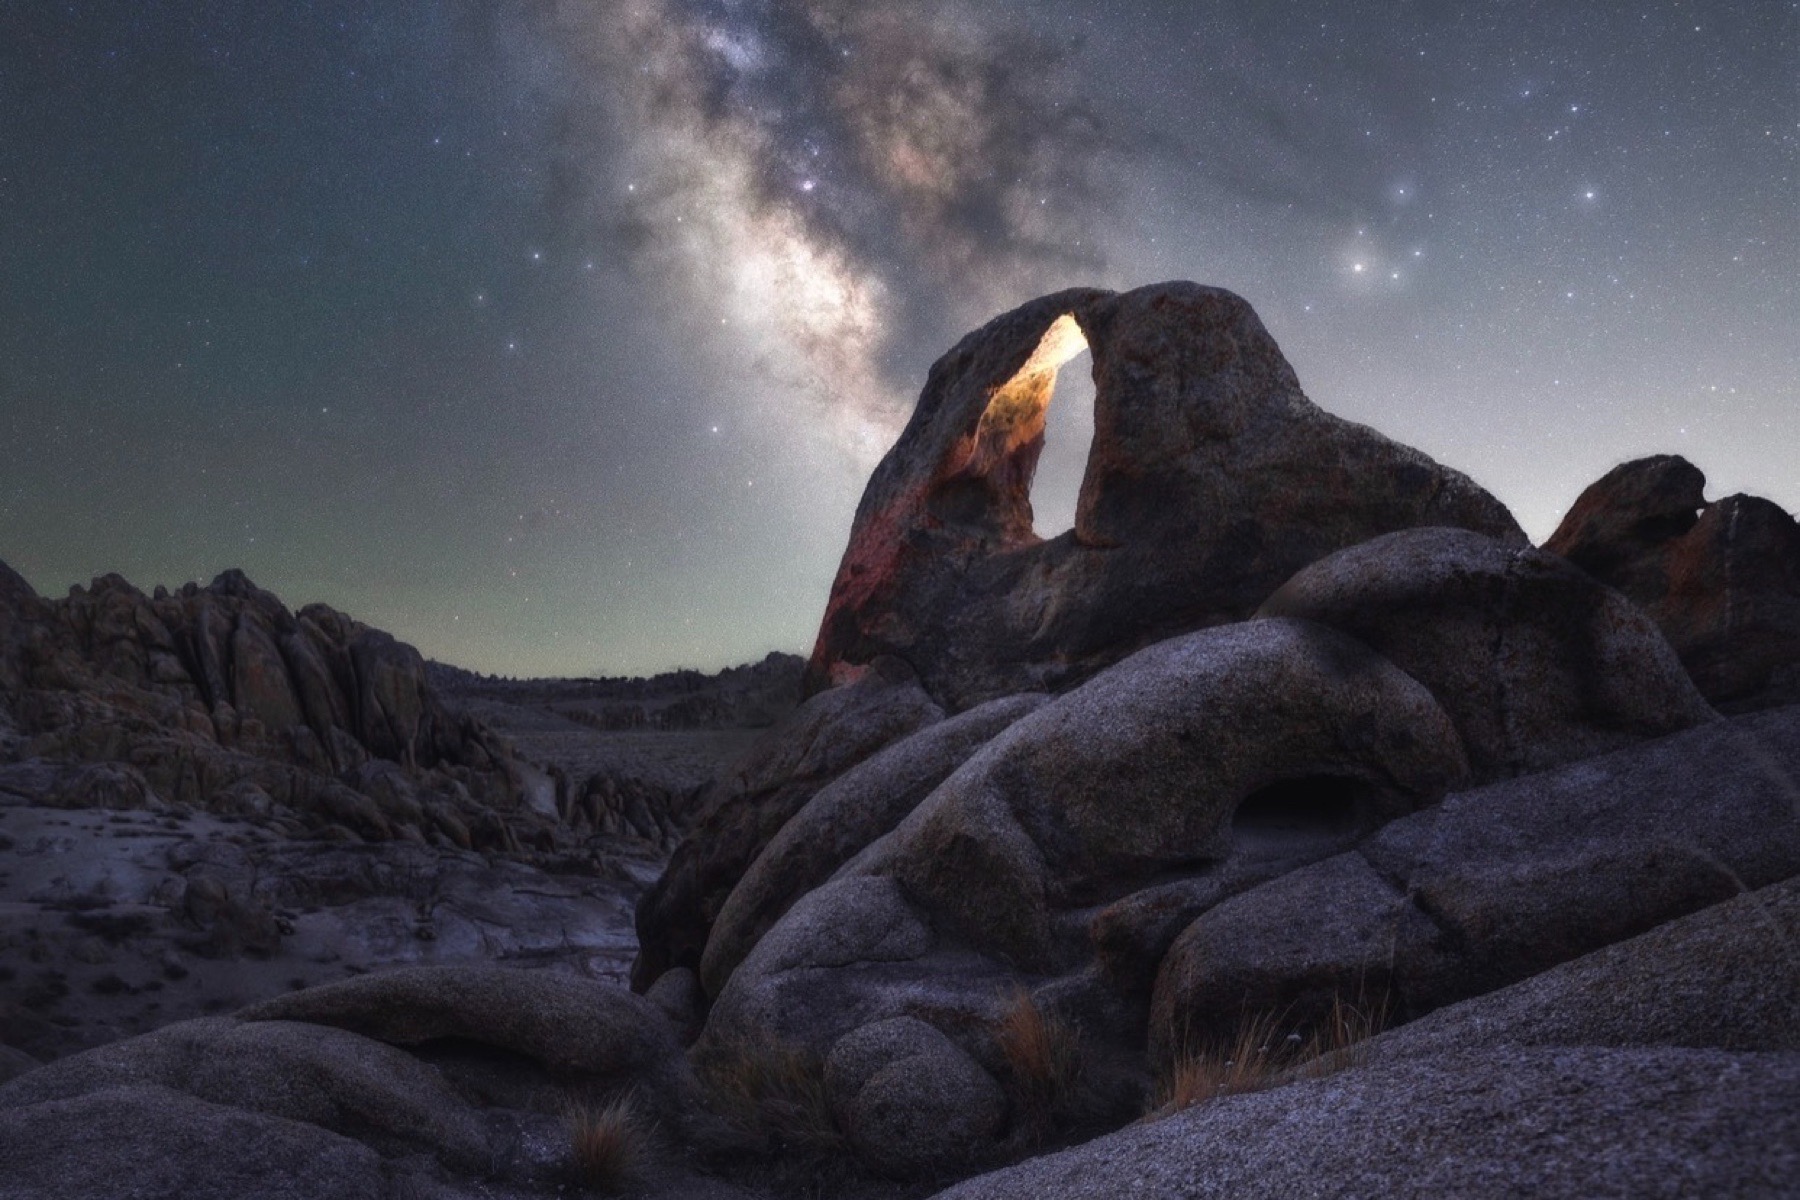
Start with a dependable Milky Way setup
Use these settings as a first test, not as a recipe that overrides the scene. I choose aperture and shutter speed first, then use ISO to place the RAW exposure where my camera can record it cleanly. The short shutter speeds are intentional. I would rather stack several sharp frames than begin with brighter stars that are already elongated.
- File type: RAW
- Exposure mode: Manual
- Aperture: the widest setting that still gives acceptable corner stars, often f/1.8 to f/2.8
- Shutter speed: PhotoPills Spot Stars with the NPF result; use Accurate when large output or pinpoint stars matter
- ISO: set after aperture and shutter speed; ISO 3200–6400 is a useful single-frame range while ISO 6400–12,800 can suit short exposure stacks
- White balance: start around 3800–4200K; I often begin near 3850K
- Focus: manual focus on a star, magnified until it is the smallest clean point
- Stacking sequence: 10–25 identical sky frames with long exposure noise reduction off
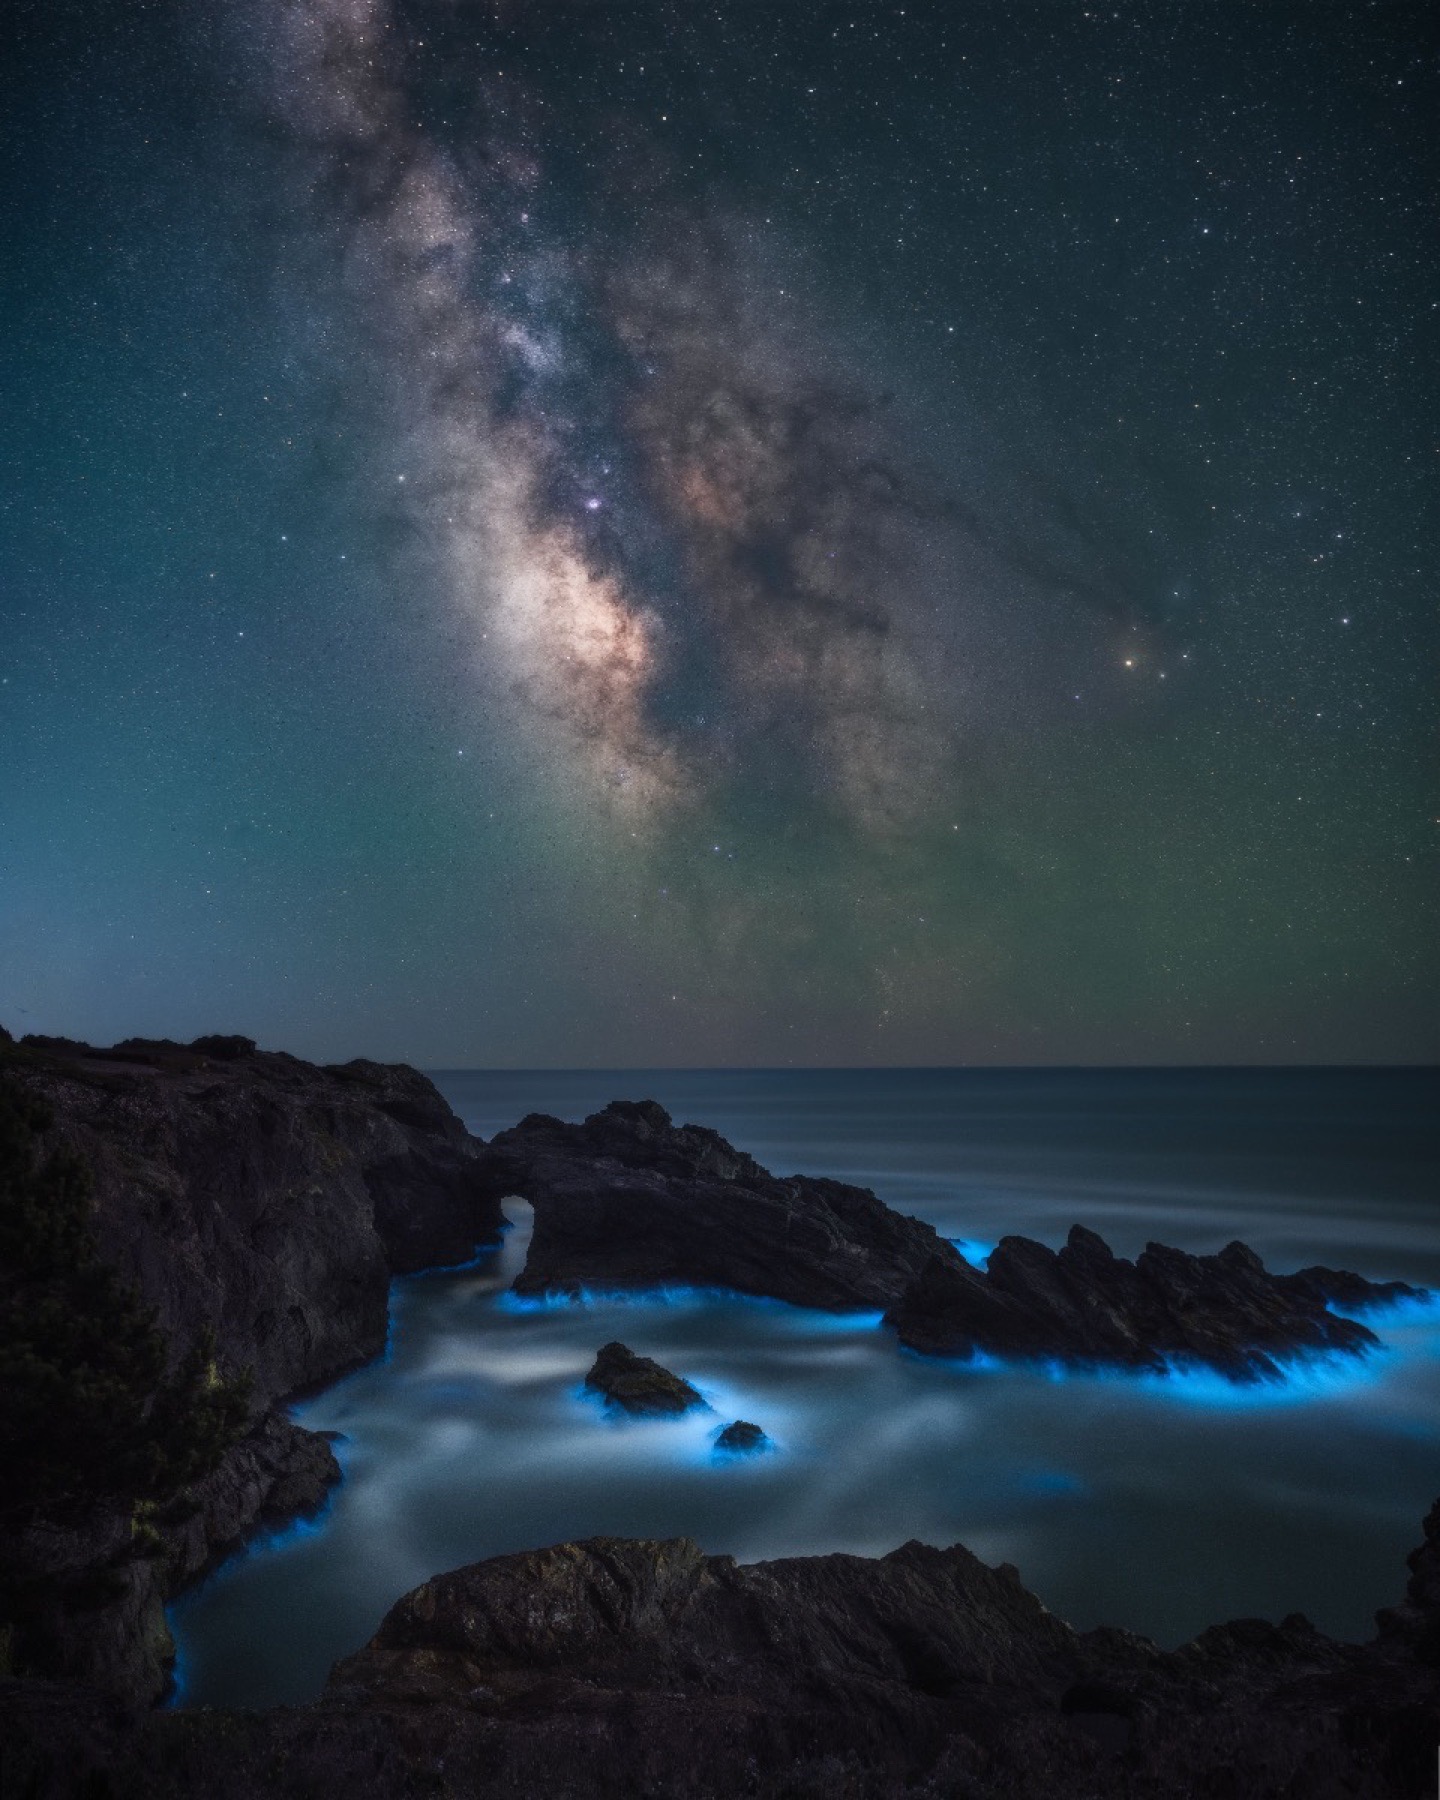
Know when and where the galactic core appears
The Milky Way is visible far beyond the bright galactic core, but most dramatic night landscapes depend on that core being above the horizon in the right direction. Its useful position changes with latitude, date and time. In much of the Northern Hemisphere, core sessions tend to begin before dawn in spring, move into late evening and nighttime during summer and shift toward early evening by fall.
Do not plan from a generic month list alone. Use a sky-planning app for the exact location. Set the shooting pin, date and time, then check the core's azimuth and elevation. Azimuth tells you the compass direction. Elevation tells you whether the core will sit behind the foreground, clear a ridge or climb too high for the composition you imagined.
Scout in daylight whenever possible. Confirm the route, safe footing, legal access and the exact tripod position before the landscape disappears into darkness. A technically perfect sky does not rescue a rushed foreground.
Plan around moon timing and light pollution
A new moon is convenient, but it is not a requirement. The useful question is whether the moon is above the horizon during your planned exposure and where its light will fall. A partial moon may set before the core reaches position, rise after your sequence or provide controlled side light for the landscape while leaving enough sky contrast for the photograph you want.
Check moonrise, moonset, phase, azimuth and elevation for the actual shooting window. If the moon will be present, decide whether it is a problem or the foreground light source. Moon behind the camera can reveal color and terrain. Side light can add texture. Moon near the Milky Way can wash out core contrast even when the phase is modest.
Use a light-pollution map as a rough comparison tool. The Bortle class describes general sky brightness, not the exact photograph you will make. Haze, humidity and a city light dome near the core can matter more than the class number at your feet. Turn away from the brightest dome when the composition allows and favor clear, dry air. Do not trade a meaningful foreground for a darker but empty view unless the sky itself is the subject.
Compose a landscape that contains the Milky Way
Do not stop at pointing a wide lens toward the core. Build a landscape photograph in which the Milky Way has a job. It can echo a curve, rise from a subject, create a diagonal or balance visual weight on the opposite side of the frame.
Choose vertical orientation when the core will stand high above one strong foreground element. Choose horizontal orientation for an arch, a broad ridge or a sequence of foreground anchors. Reflections can double sky interest, but moving water often needs a separate longer exposure. A person can provide scale if the pose and light feel connected to the scene.
Watch the edges before dark. Wide lenses make small distractions easy to miss and can shrink distant mountains. Move closer to a foreground shape when it deserves visual weight, but leave clean separation around its outline so the sky blend remains manageable. Make one test composition at blue hour and another after the stars appear. The stronger version may not be the one with the largest Milky Way.
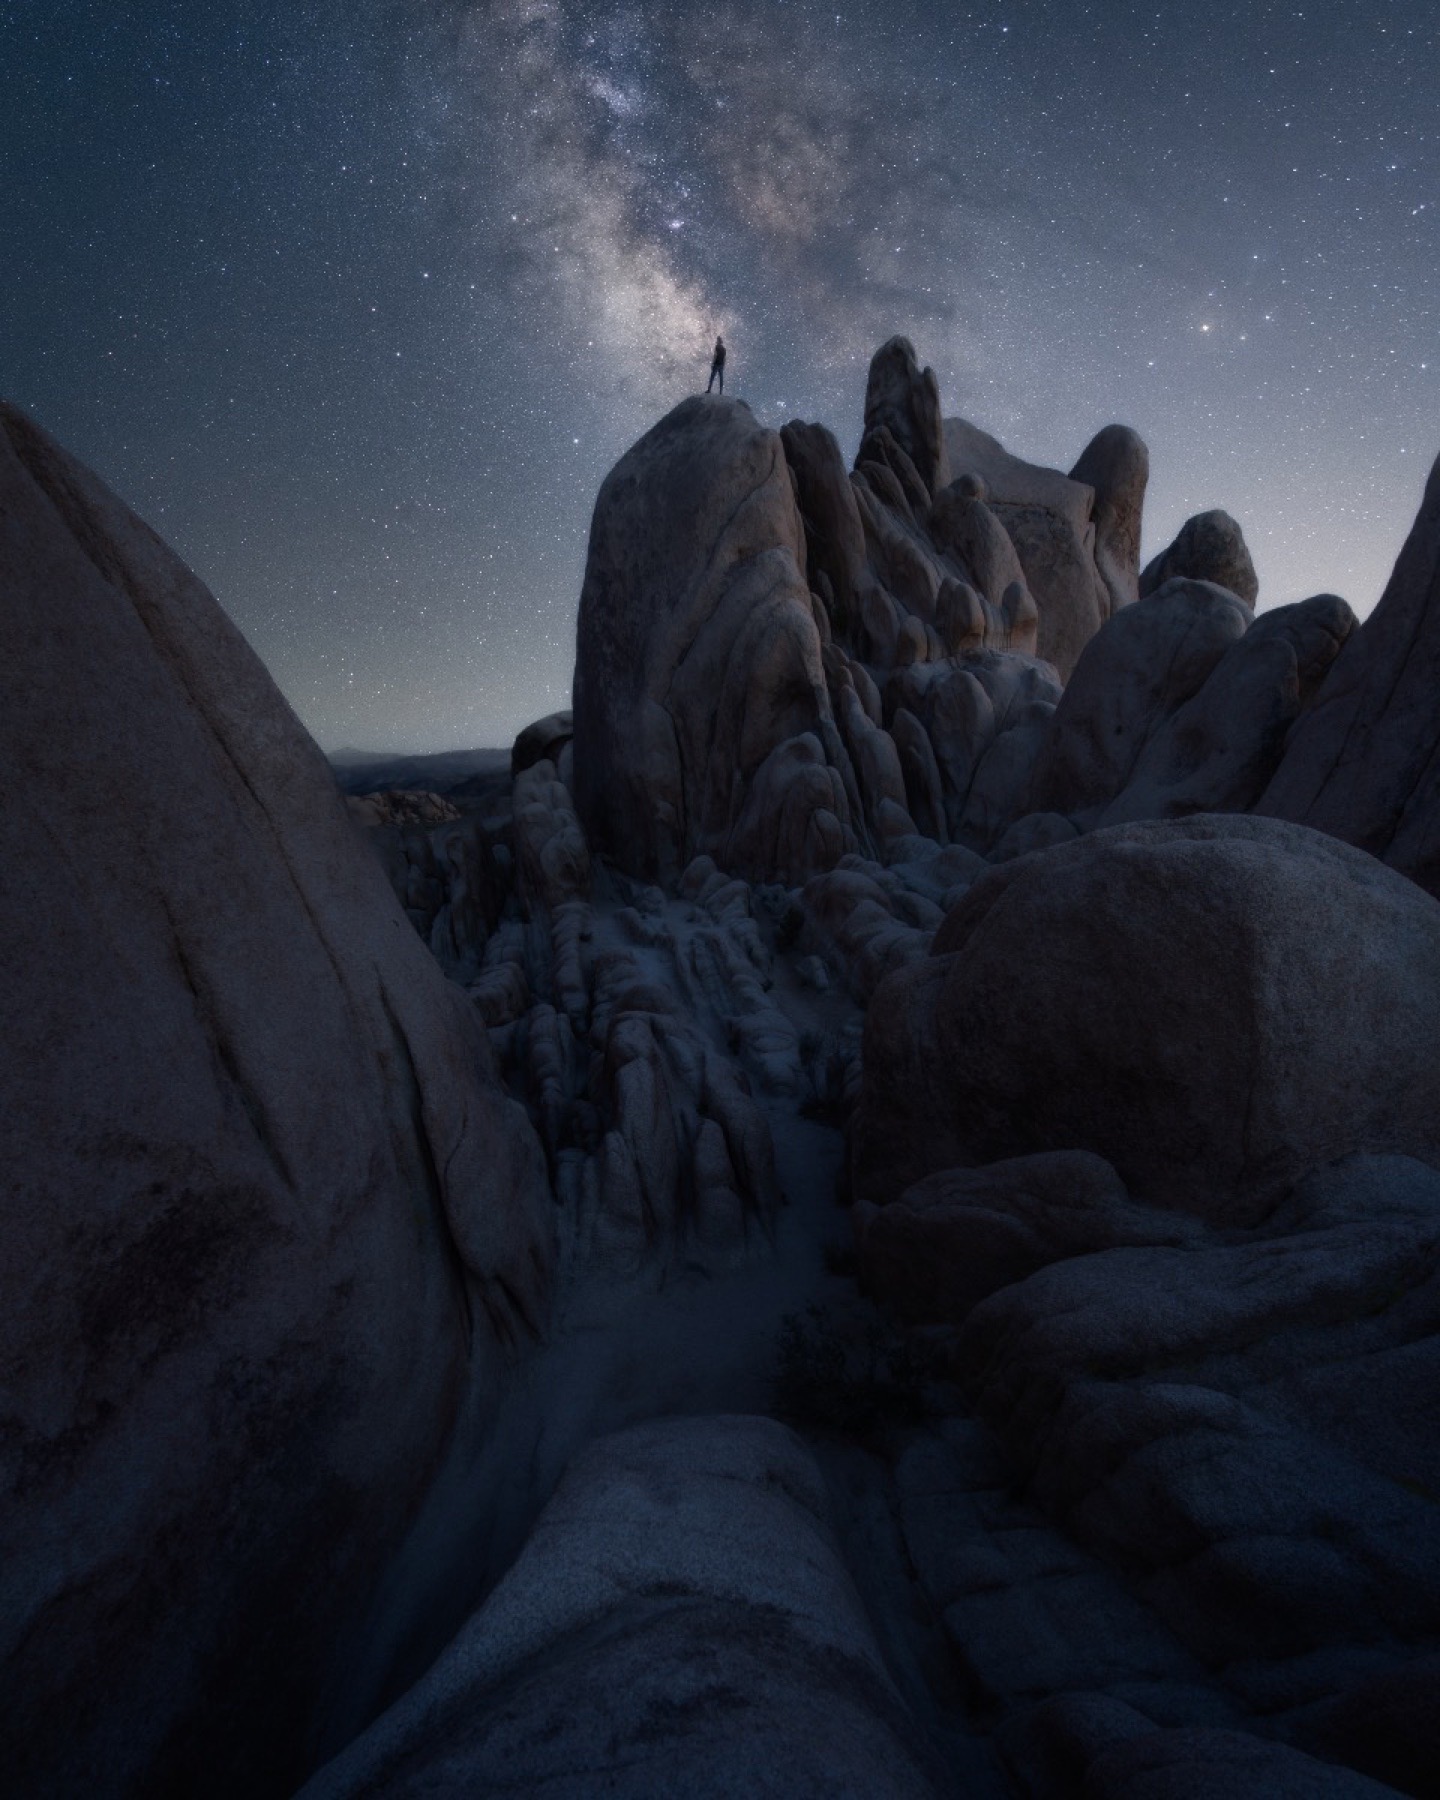
Use the camera and lens you already have
A full frame camera and fast prime lens make low-light work easier, but neither is required. Any camera that gives you manual exposure, reliable manual focus and a RAW file can make a Milky Way photograph. APS-C and Micro Four Thirds cameras simply need their crop factor considered when judging field of view and star movement.
A wide lens between roughly 14mm and 24mm full frame equivalent is forgiving because it includes more landscape and allows a longer exposure than a normal lens. A 35mm or 50mm lens can isolate the core with more detail, but it demands a much shorter shutter speed or a tracker. An f/4 zoom can work if you raise ISO, stack more frames or photograph under a brighter sky. Gear changes the tradeoff, not whether the photograph is possible.
Use a stable tripod with the center column down whenever possible. Extend the thickest leg sections before the thin sections. If you add weight, let it touch the ground or secure it so it cannot swing in wind. Turn off lens stabilization on a locked tripod unless your specific lens manual recommends otherwise.
Choose the widest useful aperture
Start near the lens's widest aperture because the shutter-speed limit is already tight. The widest marked number is not automatically the best setting. Some lenses produce stretched corner stars, colored halos or soft detail when fully open. Take a test frame and inspect the center, core and extreme corners at 100 percent.
If the center is sharp but the corners look like wings or comets, you are seeing lens coma or another off axis aberration. Stop down by one third or two thirds of a stop and test again. The small loss of light may be worth cleaner stars. If the lens is already f/4, keep it wide open unless the corners are unusable and recover signal with more frames rather than a longer star smearing exposure.
Aperture also changes foreground depth of field. When a close foreground cannot share focus with the stars, capture a separately focused foreground frame or a short focus blend. Do not compromise star focus merely to make a nearby rock look less soft in the same exposure.
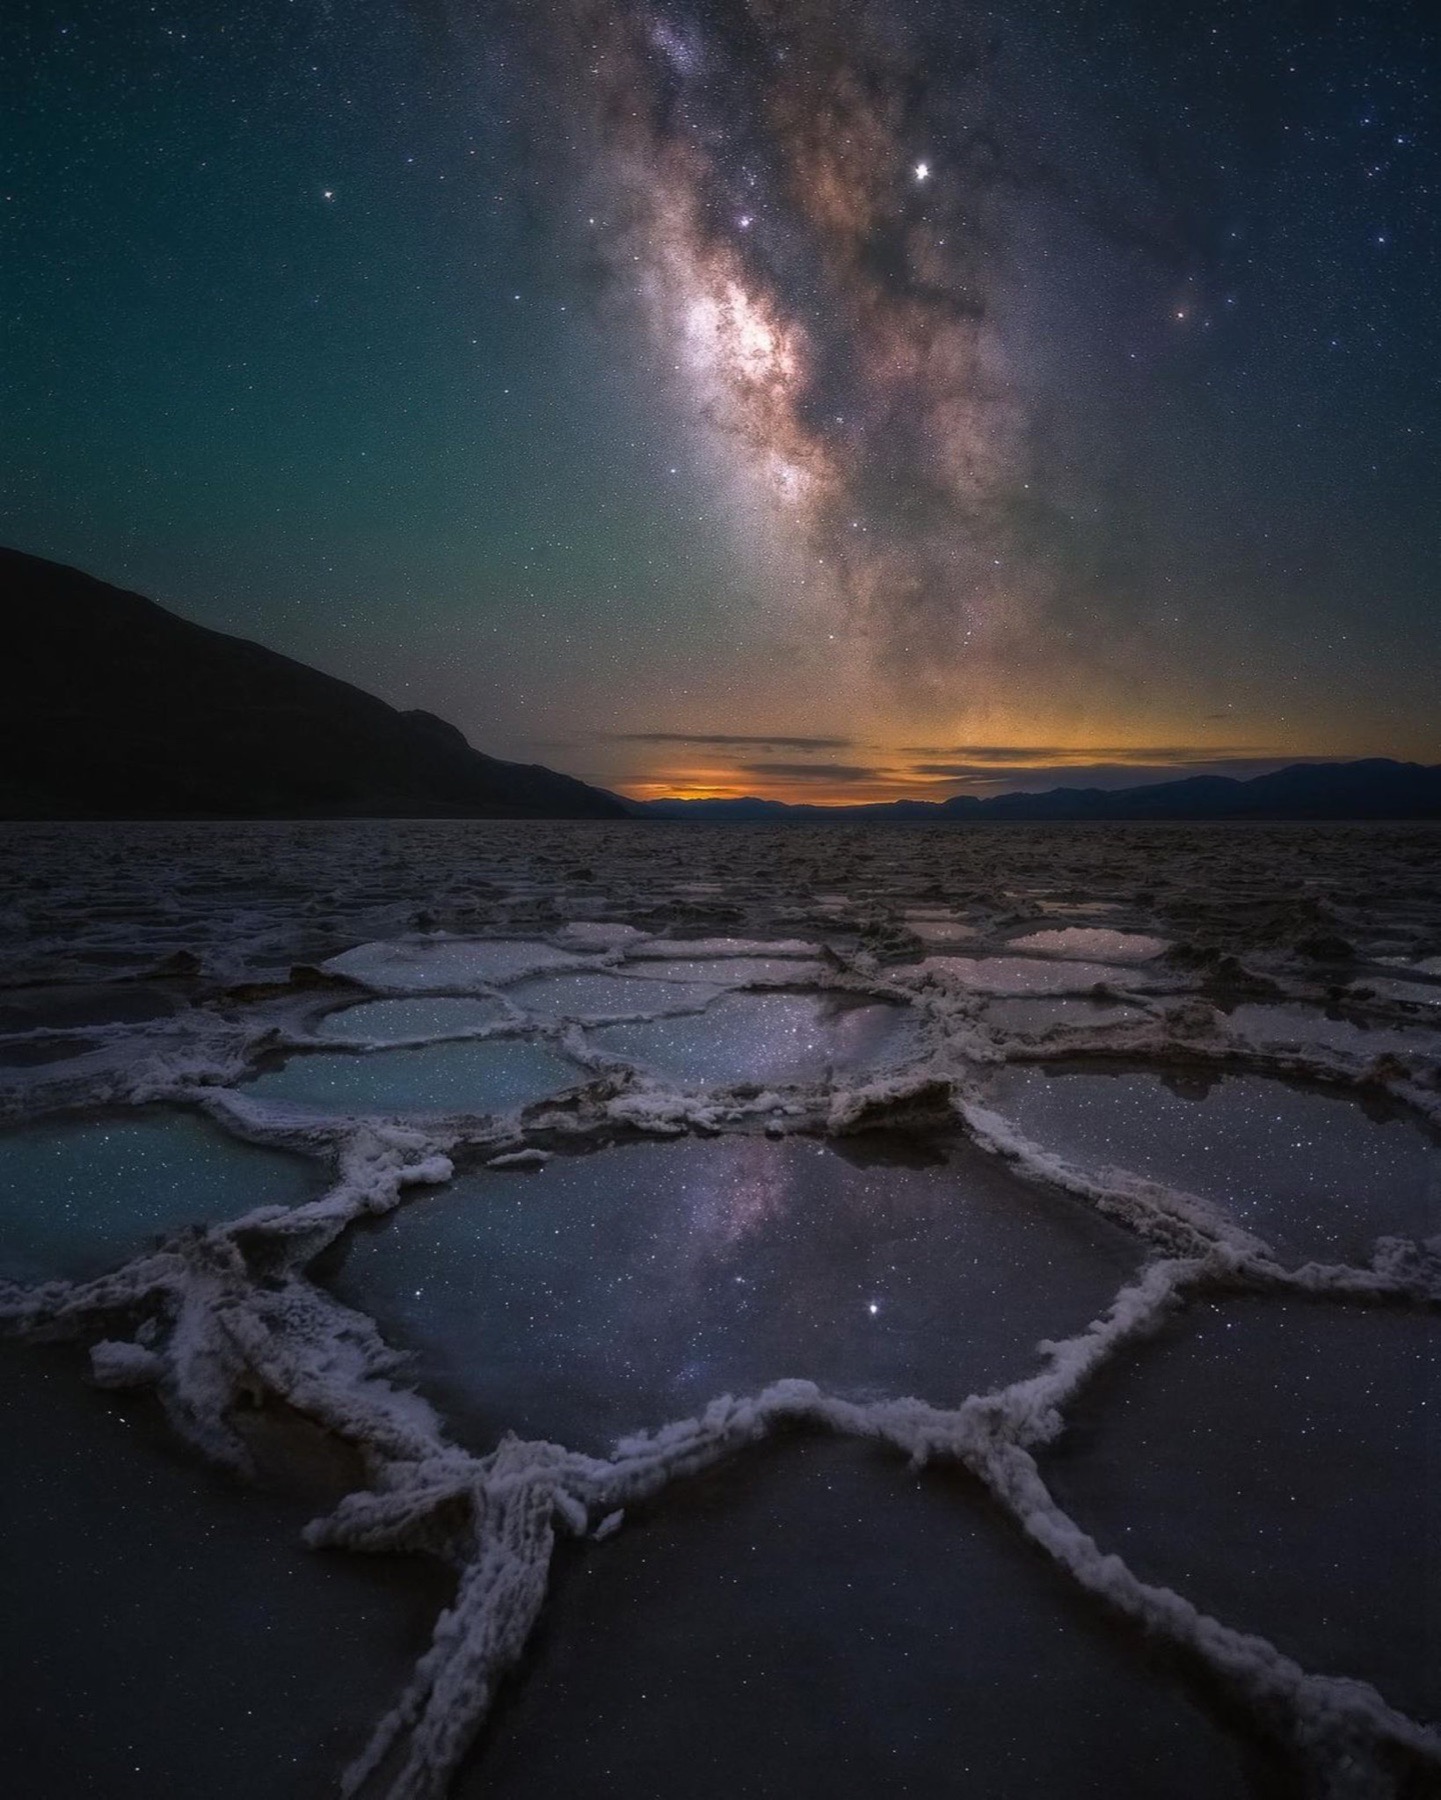
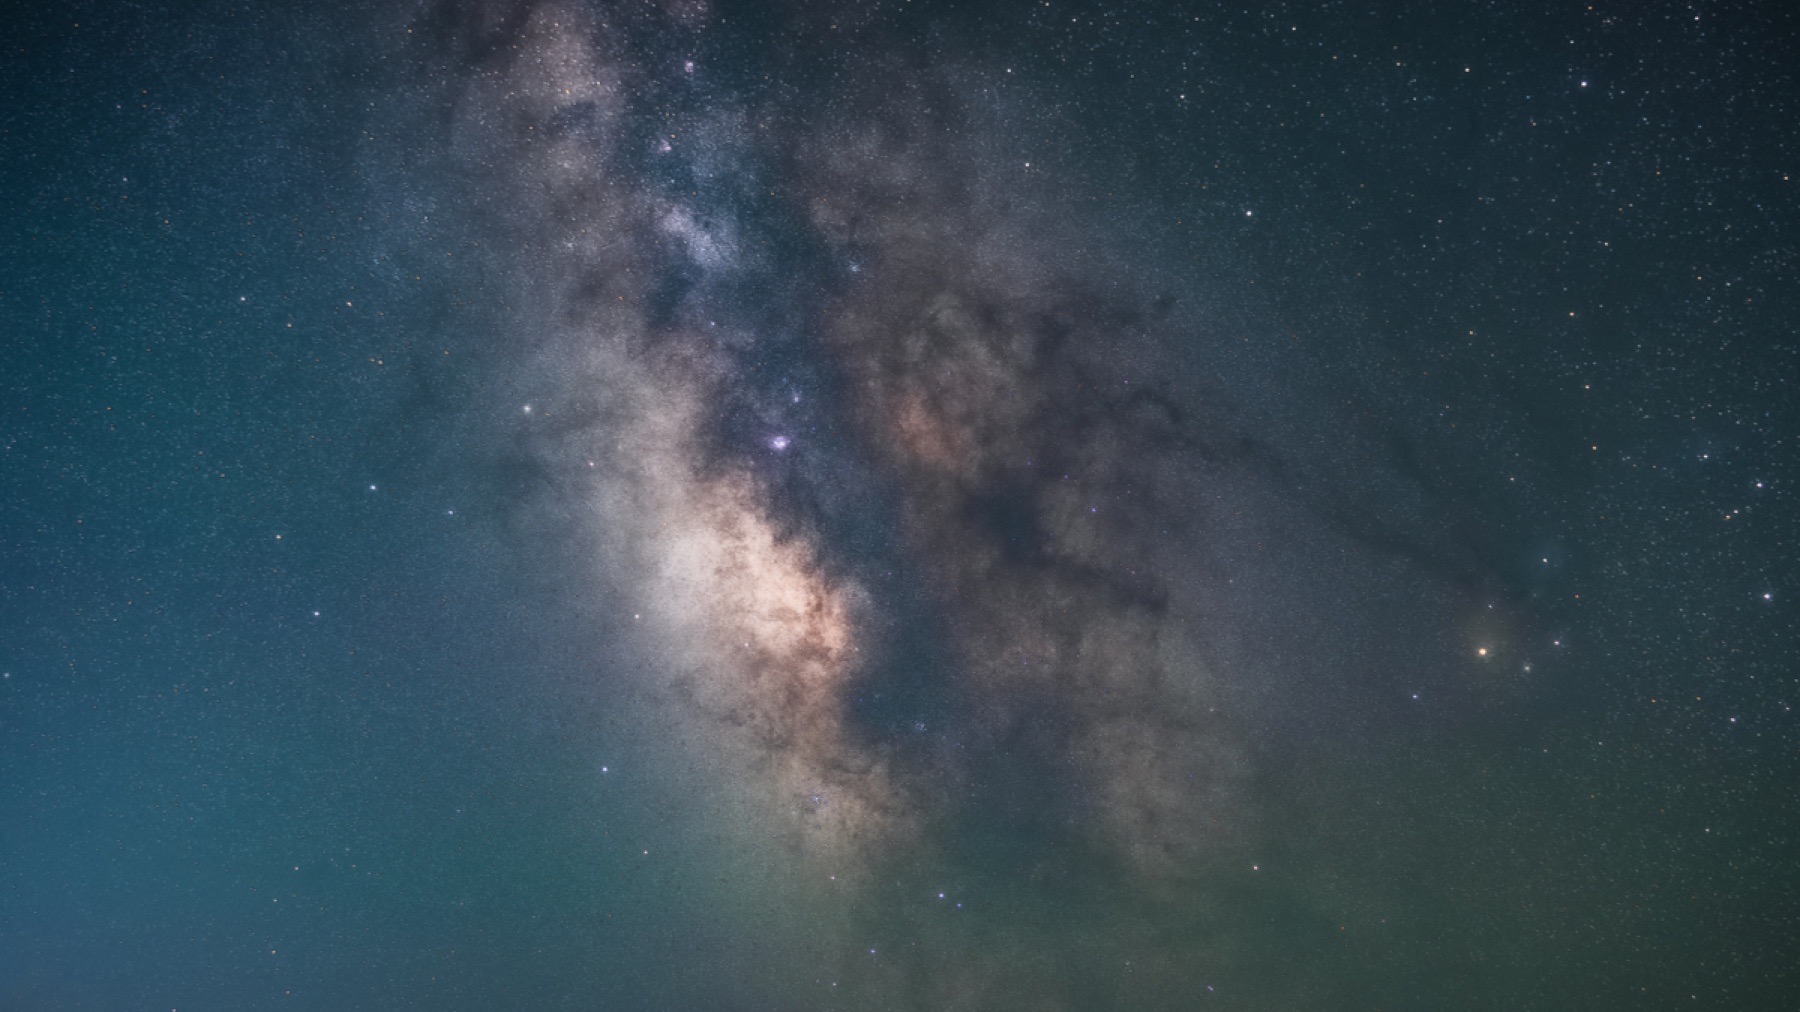
Keep stars sharp with a conservative shutter speed
Earth's rotation is visible much sooner than many traditional rules suggest. Longer focal lengths magnify the motion. High-resolution sensors and large prints reveal it sooner too. The old 500 Rule is too generous for the sharp-star standard I want. The 200 Rule is only a rough fallback.
My preferred method is PhotoPills → Spot Stars → NPF. Use its Accurate setting when pinpoint stars or large output matter, then inspect a test frame at 100 percent. If the result is even slightly elongated, shorten the exposure. The chart below is an intentionally conservative field backup based on full frame focal length. Treat it as a first test because pixel pitch, crop factor, sky direction and final display size can all change the limit.
This is the center of my workflow: noise can be reduced by stacking, but elongated stars are recorded that way. Start sharp even when the individual RAW file looks darker than a traditional 15- or 20-second Milky Way exposure.
| Full frame focal length | Conservative first test | Field adjustment |
|---|---|---|
| 14mm | 8 seconds | Shorten if high resolution or the core is near the celestial equator |
| 16mm | 6 seconds | Inspect the core and frame edges at 100 percent |
| 20mm | 5 seconds | Use NPF Accurate when printing large |
| 24mm | 4 seconds | Raise ISO or stack instead of stretching time |
| 35mm | 3 seconds | Consider stacking or tracking for cleaner signal |
| 50mm | 2 seconds | A tracker becomes increasingly useful |
Set ISO after aperture and shutter speed
ISO is not a universal Milky Way number. Aperture and shutter speed determine how much light reaches the sensor. ISO controls how the camera maps that captured signal into the recorded brightness. That is why I choose the widest useful aperture, set the shutter speed for round stars and adjust ISO last.
For a single untracked frame, ISO 3200–6400 is a useful starting range on many current cameras. For my shorter shutter speeds and a sequence that I intend to stack, ISO 6400–12,800 may make sense. A fast f/1.4 lens may need less. An f/4 lens or a two-second exposure may need more. Bright airglow, snow or a light dome may need less.
Use the RAW histogram and highlight warnings as guards, not as a demand that the preview look finished. Keep the useful sky data from being pinned hard against the left edge and protect bright artificial lights. Take a test frame, enlarge the core and check whether stars retain color. If the scene needs a higher ISO to make the short exposure usable, raise it deliberately. Do not hold ISO 12,800 merely because a settings list told you to.
Use white balance as a consistent starting point
I usually begin around 3850K, with 3800–4200K as a practical range for many dark-sky scenes. This is a starting interpretation, not the scientifically correct color of every Milky Way photograph. Airglow, atmospheric haze, local light pollution and moonlight can all shift what the camera records.
Because I shoot RAW, I can refine white balance later. I still set a specific Kelvin value in the field because consistent color makes test frames easier to judge and keeps a stack from flickering between different previews. If the sky looks muddy orange, lower the Kelvin value or change direction before assuming color alone can defeat the light dome. If it looks unnaturally blue, warm it slightly and check known warm stars before making a creative grade.
Focus once, protect it and watch for dew
Manual focus remains the most universal and repeatable method across camera systems, even though some newer cameras offer useful star-focused autofocus. Switch the lens to manual focus, point toward a bright star and magnify live view. Turn the ring slowly until the star becomes the smallest clean point. Take a test exposure and inspect multiple parts of the frame at 100 percent. Do not trust the infinity mark by itself.
Once focus is correct, protect it. Keep your hand away from the ring, use a small piece of low-tack tape when the lens moves easily and recheck after changing focal length. Many zoom lenses shift focus when zoomed. Temperature change can also move focus, so verify it during a long session rather than assuming the first test lasts all night.
Dew can look exactly like focus drift. Watch for growing halos, falling contrast or stars that become progressively softer from one frame to the next. A lens hood may delay condensation, but a regulated lens heater is the dependable solution. A hand warmer secured near the lens barrel can help in a pinch as long as it does not touch the glass or move the focus ring. Check the front element before every long stacking run.
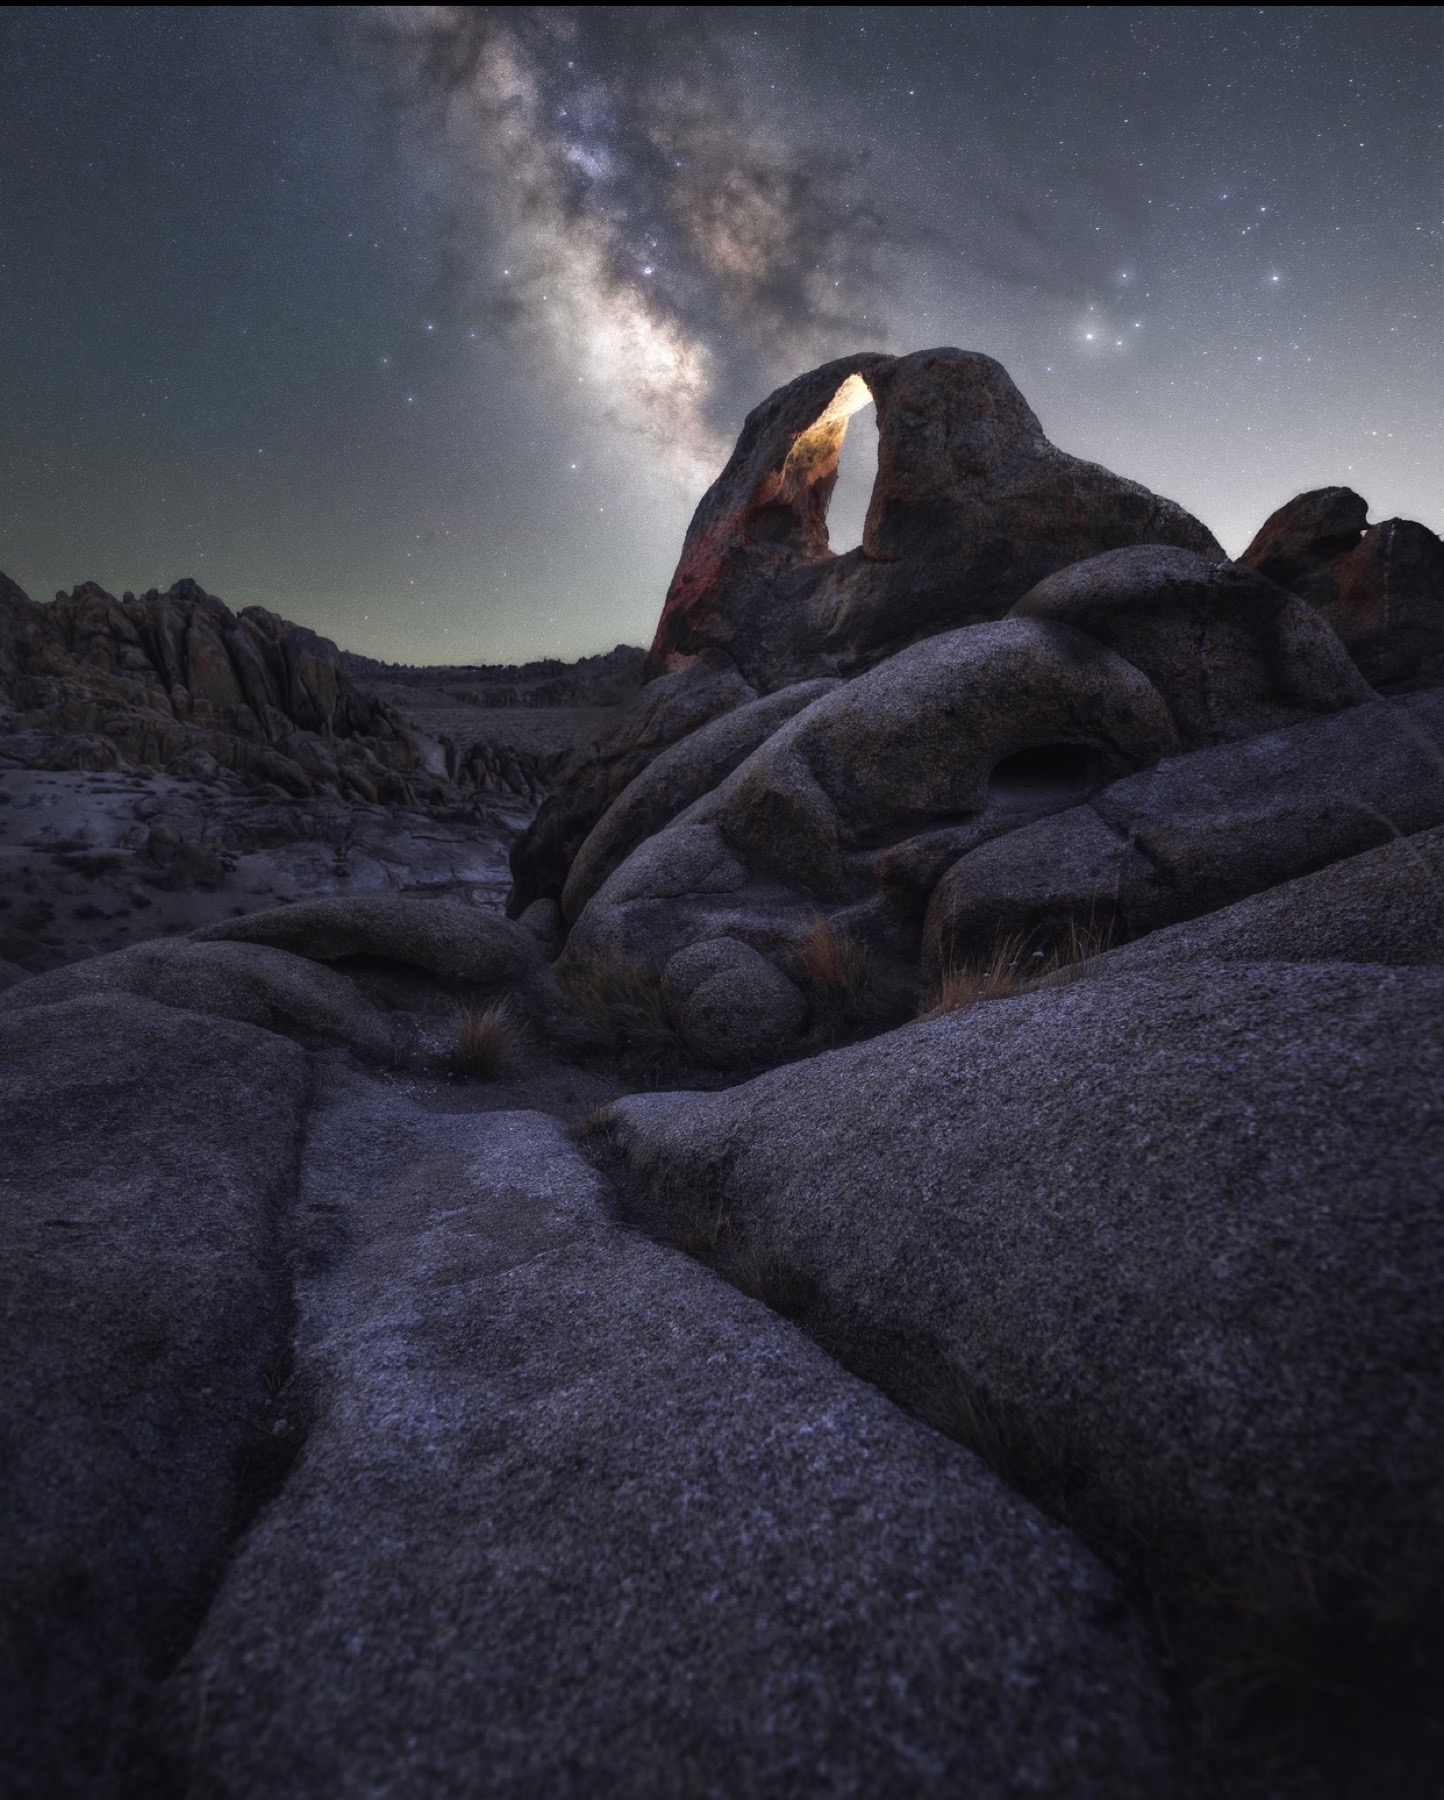
Expose the foreground as its own decision
The sky and land rarely need the same exposure. Choose the foreground method before the sky sequence so the light direction, focus and final blend make sense together.
- Single exposure: use it when moonlight, twilight or local ambient light reveals enough land at the same settings as the sky.
- Blue hour foreground: photograph the land earlier without moving the tripod. Keep focal length and composition fixed, then blend the later sky with honest alignment at the horizon.
- Moonlit foreground: plan the moon as a directional light source. Side light reveals texture while front light can flatten terrain.
- Light painted foreground: add restrained light from an angle where rules allow it. Build several low power passes instead of one bright exposure.
Choose a single exposure, stacking or a tracker
Each method solves a different constraint. Use the simplest one that supports the final photograph. A single exposure is not inferior when the conditions provide enough signal. A tracker is not automatically better when it complicates the horizon or changes the visual balance between sky and land.
Stacking is my normal answer when I want the star shape of a short exposure with less random noise. It reinforces repeatable sky detail across aligned frames. It does not repair star trailing, missed focus, tripod movement or dew. Those errors become cleaner versions of the same error.
| Method | Best for | Main tradeoff |
|---|---|---|
| Single exposure | Speed, simplicity and changing light | More noise or less sky detail |
| Aligned sky stack | Sharp short exposures with lower random noise | More files and a dedicated alignment step |
| Star tracker | Longer sky exposure with lower ISO | The landscape moves relative to the tracked sky and usually needs a separate frame |
| Tracked panorama | Maximum sky detail or very large output | The most capture time, alignment work and blending complexity |
Capture a clean stacking sequence
After the test frame passes focus and star-shape checks, shoot 10–25 consecutive sky exposures. Keep manual focus, aperture, shutter speed, ISO, white balance and composition identical. Use a built-in intervalometer or remote so you do not touch the camera. Keep gaps short and watch for aircraft, headlights or a gust that moves the tripod.
Turn long exposure noise reduction off for the sequence. LENR makes the camera record a dark frame after each exposure, which interrupts the run and doubles the capture time. It can still have a use for an isolated long exposure when you are willing to wait, so the advice is specific to stacking rather than a universal ban.
Review the first, middle and last frames before leaving. Compare star size, the corners and the front element. If one frame is soft or bumped, exclude it later. When you return with several sequences, group them before stacking so one composition does not get mixed with another.
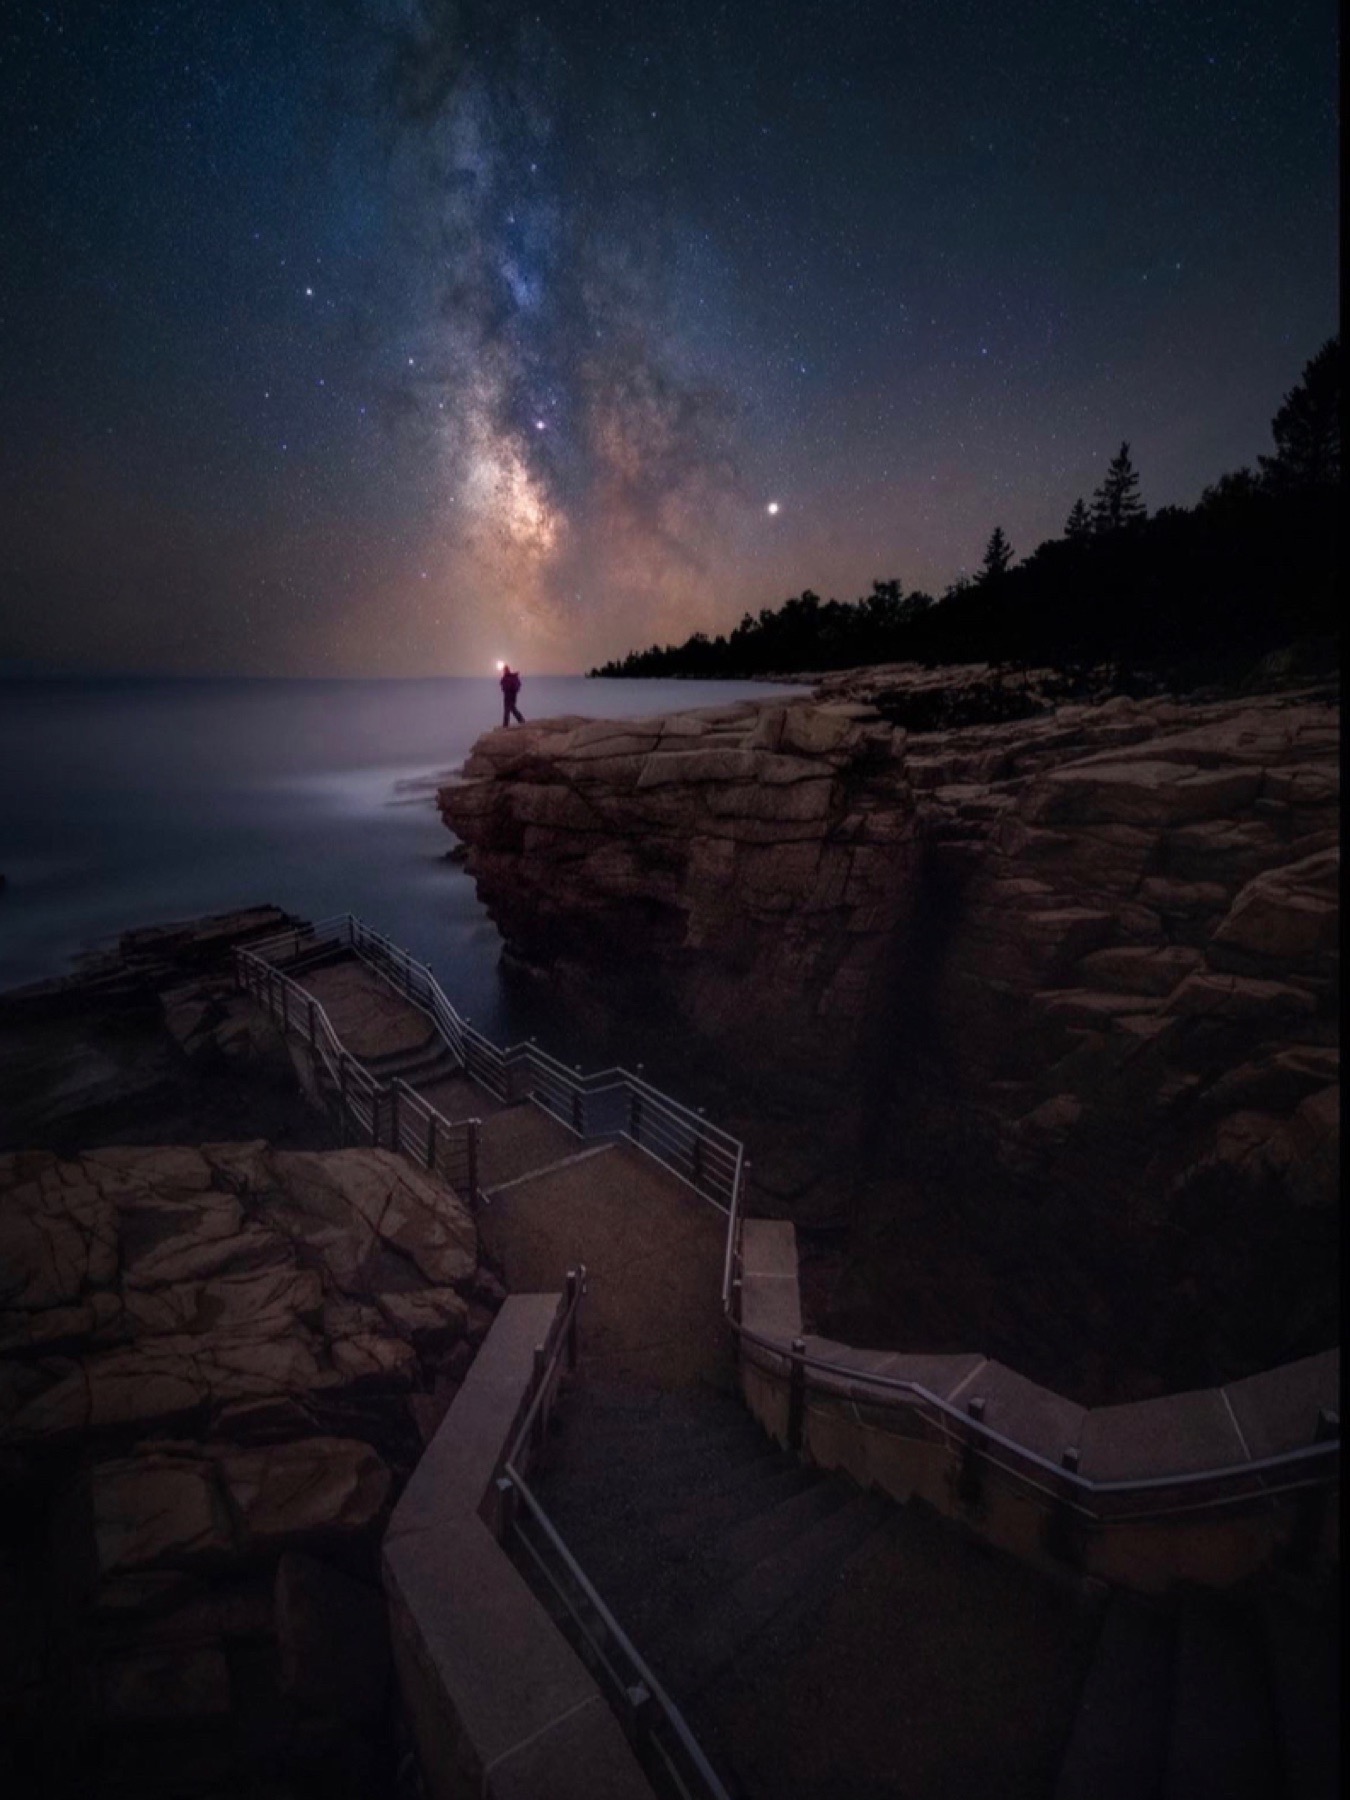
Troubleshoot the field problem before it spreads
Enlarge test frames and compare them during the session. A correction made after frame one saves an entire sequence. A correction discovered at home becomes a reason to return.
| Problem | Likely cause | Field fix |
|---|---|---|
| Stars elongated | Shutter speed is too long | Shorten the exposure; raise ISO or stack more frames |
| Stars soft everywhere | Missed focus, dew or camera movement | Refocus, inspect the front element and stabilize the tripod |
| Only corners look stretched | Lens coma or field curvature | Stop down slightly and test the corners again |
| Sky is extremely noisy | Too little captured signal | Open the aperture, raise ISO appropriately or capture a larger clean stack |
| Sky is orange or washed out | Light pollution, haze or moon near the core | Change direction, wait for the moon or choose a clearer night |
| Foreground is black | One sky exposure cannot hold the land | Capture a blue hour, moonlit or light painted foreground |
| Stack will not align | Camera moved, settings changed or unrelated frames mixed | Remove bad frames and keep each sequence consistent |
| Sequence pauses after every frame | Long exposure noise reduction is on | Turn LENR off for stacking |
| First frame is sharp but later frames soften | Dew or temperature-driven focus shift | Warm the lens and recheck focus during the run |
Pack the gear that prevents failed nights
The essential kit is smaller than most gear lists suggest: a RAW-capable camera, a lens you understand and a tripod that stays still. The rest should solve a specific field failure rather than add weight.
- Wide or normal lens with known corner performance at its widest apertures
- Sturdy tripod with a head that locks without drift
- Remote release or intervalometer when the camera cannot run a sequence internally
- Lens heater with a tested power source for humid or cold nights
- Two or three charged batteries kept warm in cold conditions
- Headlamp with a dim mode; shield every light while other exposures are running
- PhotoPills or another planetarium tool with the plan saved for offline use
- Warm layers, water and a daylight route plan that support safe field work
Frequently asked questions
What are good Milky Way settings for a first test frame?
Use Manual mode, RAW, the widest aperture that keeps acceptable corner stars and an NPF-based shutter speed. Start near ISO 3200–6400 for a single frame or ISO 6400–12,800 for a short exposure stack. Begin white balance around 3800–4200K, then judge the scene.
What ISO is best for Milky Way photography?
There is no universal best ISO. Set aperture and shutter speed first, then choose the ISO that gives your camera a usable RAW exposure without sacrificing important highlights. Short shutter speeds, slower lenses and darker skies may need a higher value.
What shutter speed should I use for the Milky Way?
Use PhotoPills Spot Stars with the NPF result and test Accurate when pinpoint stars or large output matter. If you need a field backup, begin around 8 seconds at 14mm, 5 seconds at 20mm, 4 seconds at 24mm, 3 seconds at 35mm or 2 seconds at 50mm on full frame, then inspect at 100 percent.
What aperture should I use?
Start at the widest setting that keeps the center and corners acceptable. That is often f/1.8 to f/2.8. Stop down slightly when corner stars show strong coma. With an f/4 lens, keep the aperture open and recover signal with ISO, stacking or tracking.
Do I need a full frame camera or a fast lens?
No. A larger sensor and fast lens make the exposure easier, but any camera with manual control and RAW capture can work. Account for crop factor, use a conservative shutter speed and stack more frames when the lens or sensor collects less clean signal.
Can I photograph the Milky Way with an f/4 lens?
Yes. Use f/4, keep the shutter speed short enough for round stars and raise ISO as needed. A larger stack or a star tracker can recover cleaner sky detail without turning stars into trails.
Do I need a star tracker?
No. A tracker can produce a cleaner, more detailed sky at lower ISO, but it adds alignment and blending work because the foreground moves relative to the tracked sky. A short untracked stack is often the better balance for a landscape workflow.
How many Milky Way images should I stack?
Capture at least 10 clean frames and use roughly 10–25 for a practical field sequence. More can reduce random noise further, but a larger count does not compensate for a bumped tripod, changed focus, dew or elongated stars.
What white balance should I use?
Start around 3800–4200K. I often begin near 3850K. Shoot RAW and refine it later based on airglow, light pollution, moonlight and the color relationship you want. Keep the value fixed during a stack.
Can I photograph the Milky Way when the moon is out?
Yes. Check whether the moon is above the horizon during the actual shooting window and where it sits relative to the core. A partial moon can light the foreground beautifully, especially from the side, while a moon near the core can reduce sky contrast.
When is Milky Way season?
It depends on latitude and which part of the Milky Way you want. In much of the Northern Hemisphere, the bright core is commonly a predawn subject in spring, a late-evening or nighttime subject in summer and an early-evening subject by fall. Confirm the exact position for your location and date in a planning app.
Can stacking fix blurry or trailed stars?
No. Stacking reduces random noise after software aligns repeatable detail. It cannot restore missed focus, reverse elongated stars, remove dew softness or repair tripod movement. Reject the bad frame and correct the capture problem in the field.
Continue from planning to the finished file
Use this pillar to make the field decisions, then move into the focused guide that matches the next problem. Keep every supporting workflow tied to the same priority: record sharp, consistent source frames before asking software to improve them.
Sharp stars first. Stacking can reduce random noise, but it cannot repair elongated stars, missed focus or detail softened by dew.