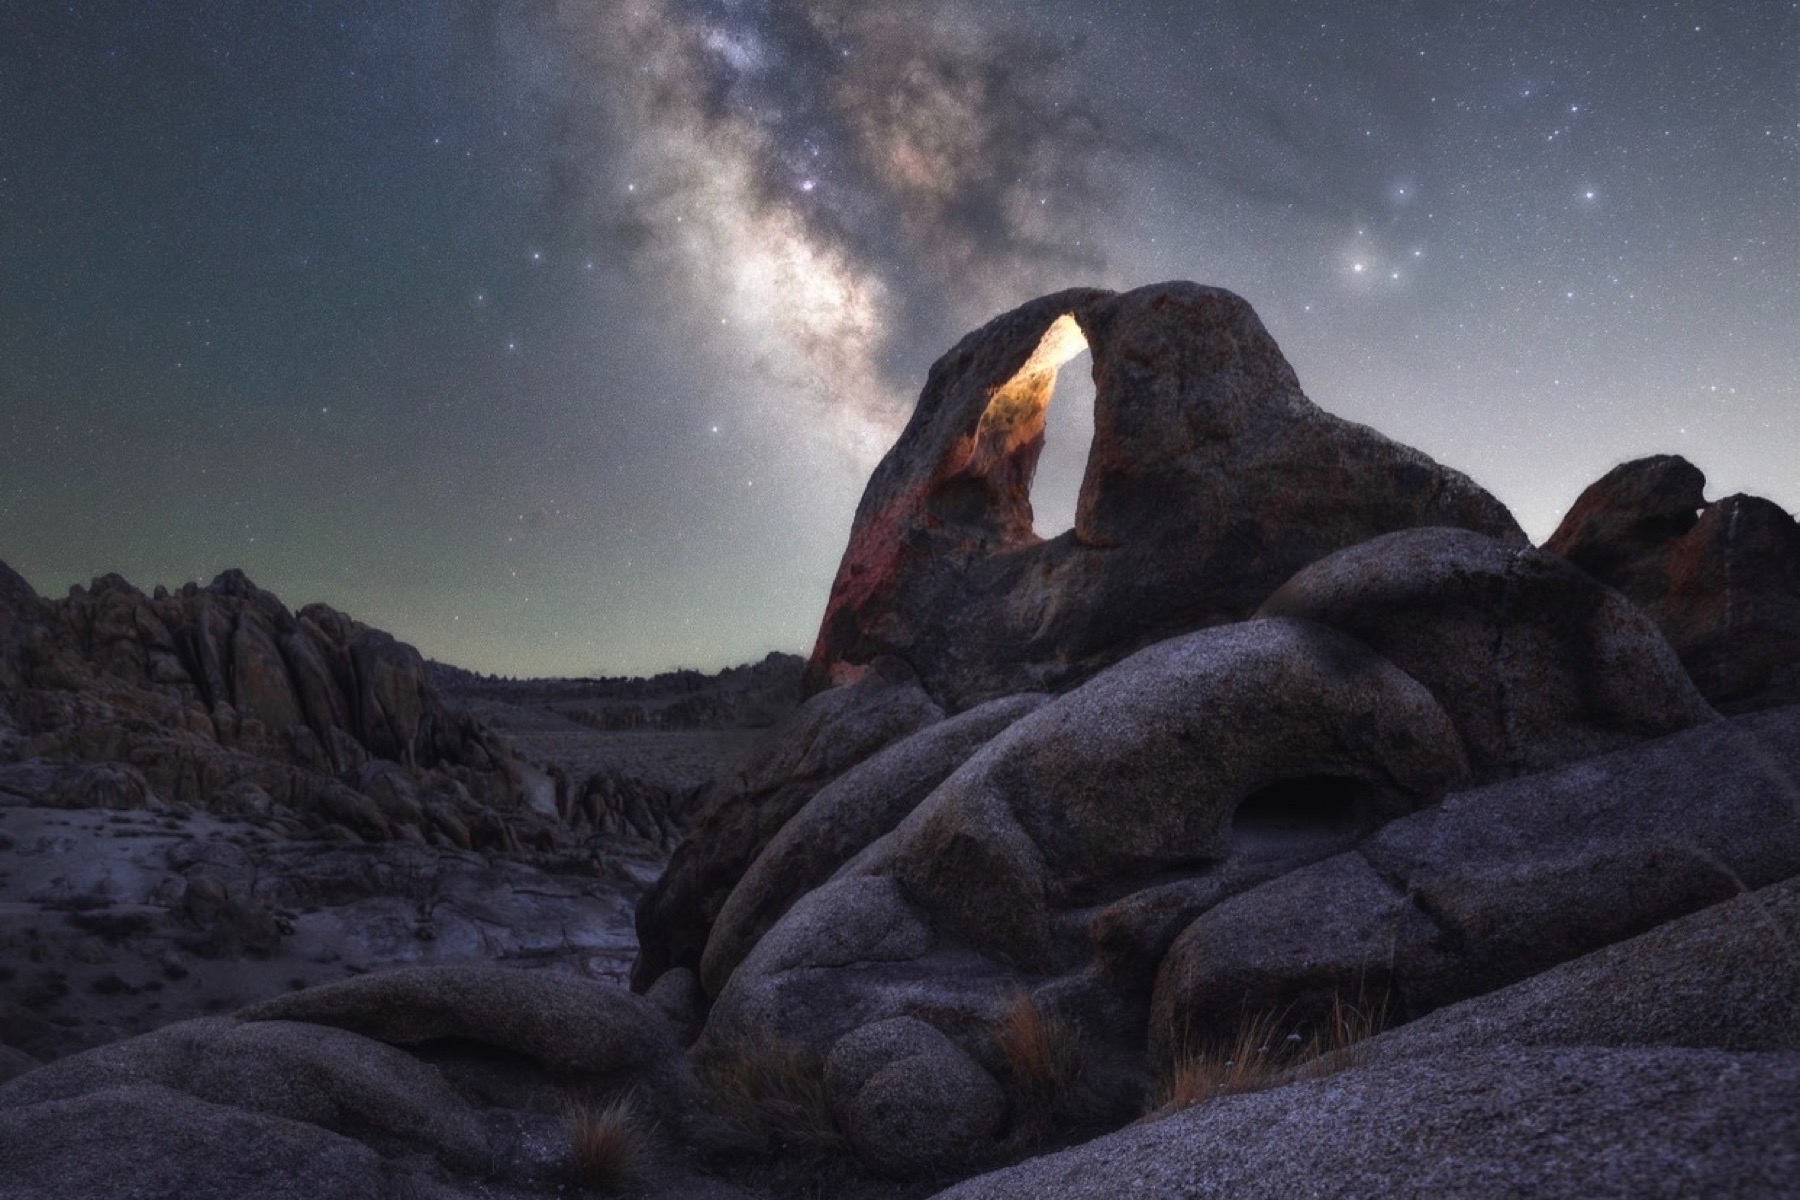
What Starry Landscape Stacker does now
Starry Landscape Stacker aligns the moving stars across a sequence while keeping the fixed landscape in place. Combining those aligned frames reduces random noise and preserves more color and detail than pushing one high ISO exposure.
Current versions can open many RAW files directly. SLS 1.10 also changed the composition math and renamed the horizon-accuracy algorithms. It added optional lens distortion correction and 32-bit TIFF output, but neither option should be switched on automatically. The practical workflow is still simple: capture a consistent sequence, stack it cleanly, then make the photograph look like yours.
Capture a sequence SLS can align
Lock the camera on a sturdy tripod and shoot at least 10 consecutive frames. Keep the composition, manual focus, aperture, shutter speed and ISO identical from the first exposure to the last. More frames usually improve noise reduction, but keep the total sequence reasonably short. Stay under about 10 minutes so SLS is not solving more sky movement than necessary.
Do not touch the zoom or focus ring between frames. If wind moves the tripod, a headlamp hits the lens or one exposure is soft, exclude that frame instead of asking the stack to hide it.
Choose RAW, DNG or 16-bit TIFF
Use RAW directly when SLS supports your camera. It is the fastest path and avoids mistakes introduced by a RAW converter before stacking.
Use DNG when you work in Lightroom or Adobe Camera Raw but want SLS to process the original image data. DNG is especially useful with mirrorless files when Adobe would bake lens distortion correction into a rendered TIFF; those warped edge pixels can turn into stacking artifacts.
Use 16-bit TIFF only when you genuinely need controlled pre stack adjustments or defect cleanup. Every frame must receive the same settings, pixel dimensions and color treatment. Keep transparency off and retain the metadata SLS uses during alignment.
| Workflow | Best when | Watch for |
|---|---|---|
| RAW | Your camera files open directly in SLS | Confirm camera support; let SLS handle the conversion |
| DNG | You use Lightroom or ACR and want to preserve RAW data | Export the original data, not a rendered or resized copy |
| 16-bit TIFF | You need identical, controlled adjustments before stacking | Disable destructive corrections, use 16-bit and keep every frame consistent |
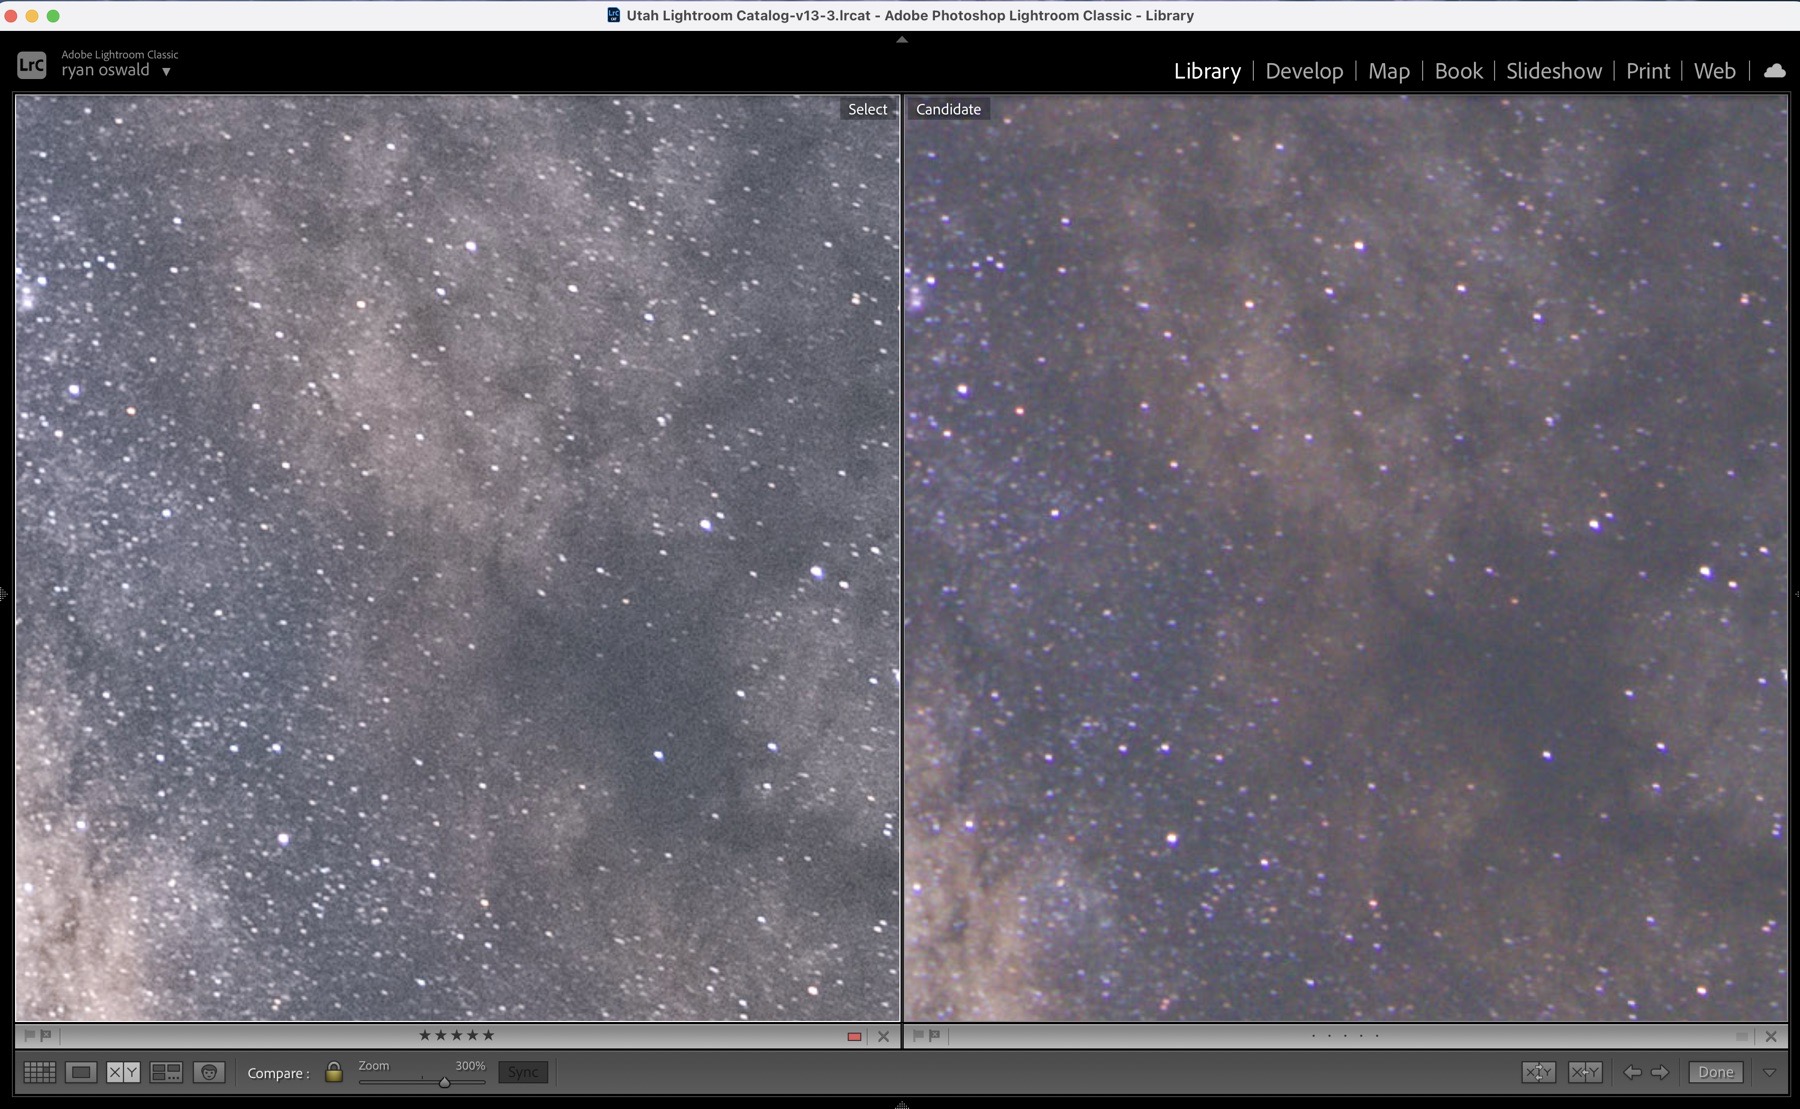
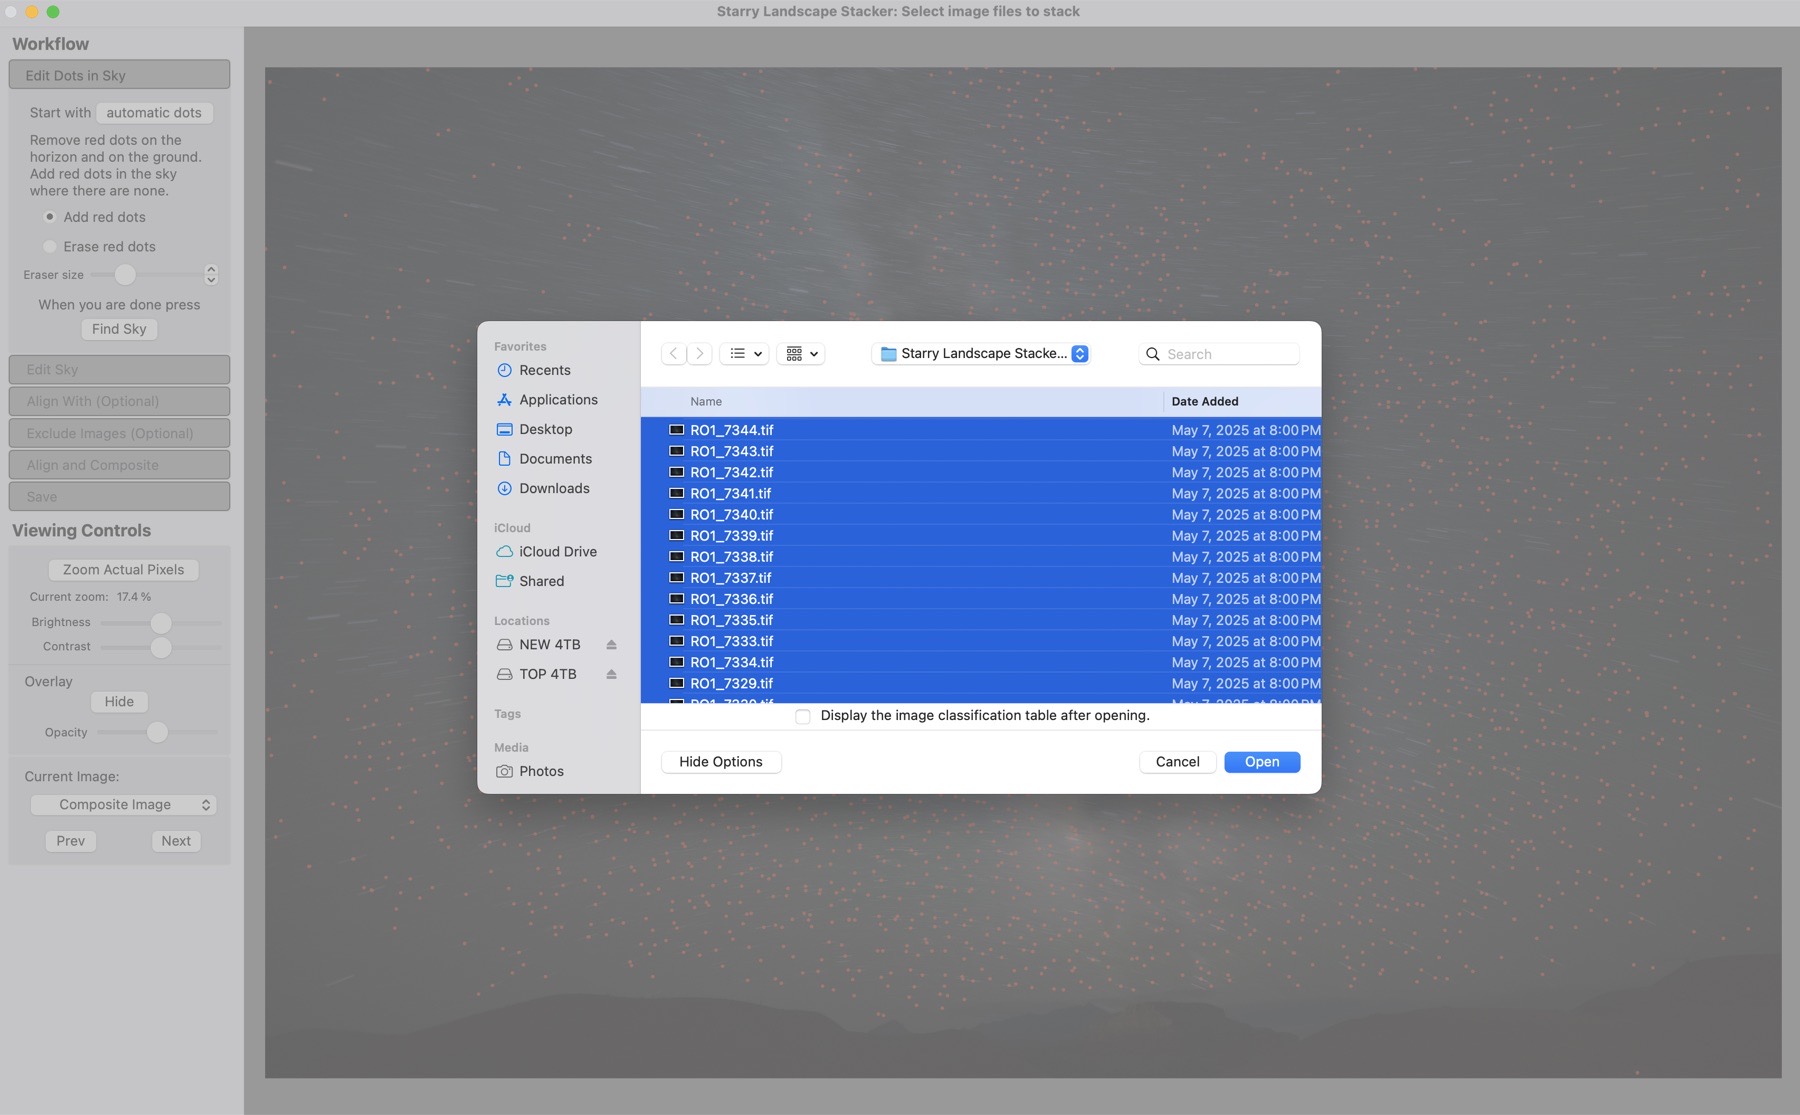
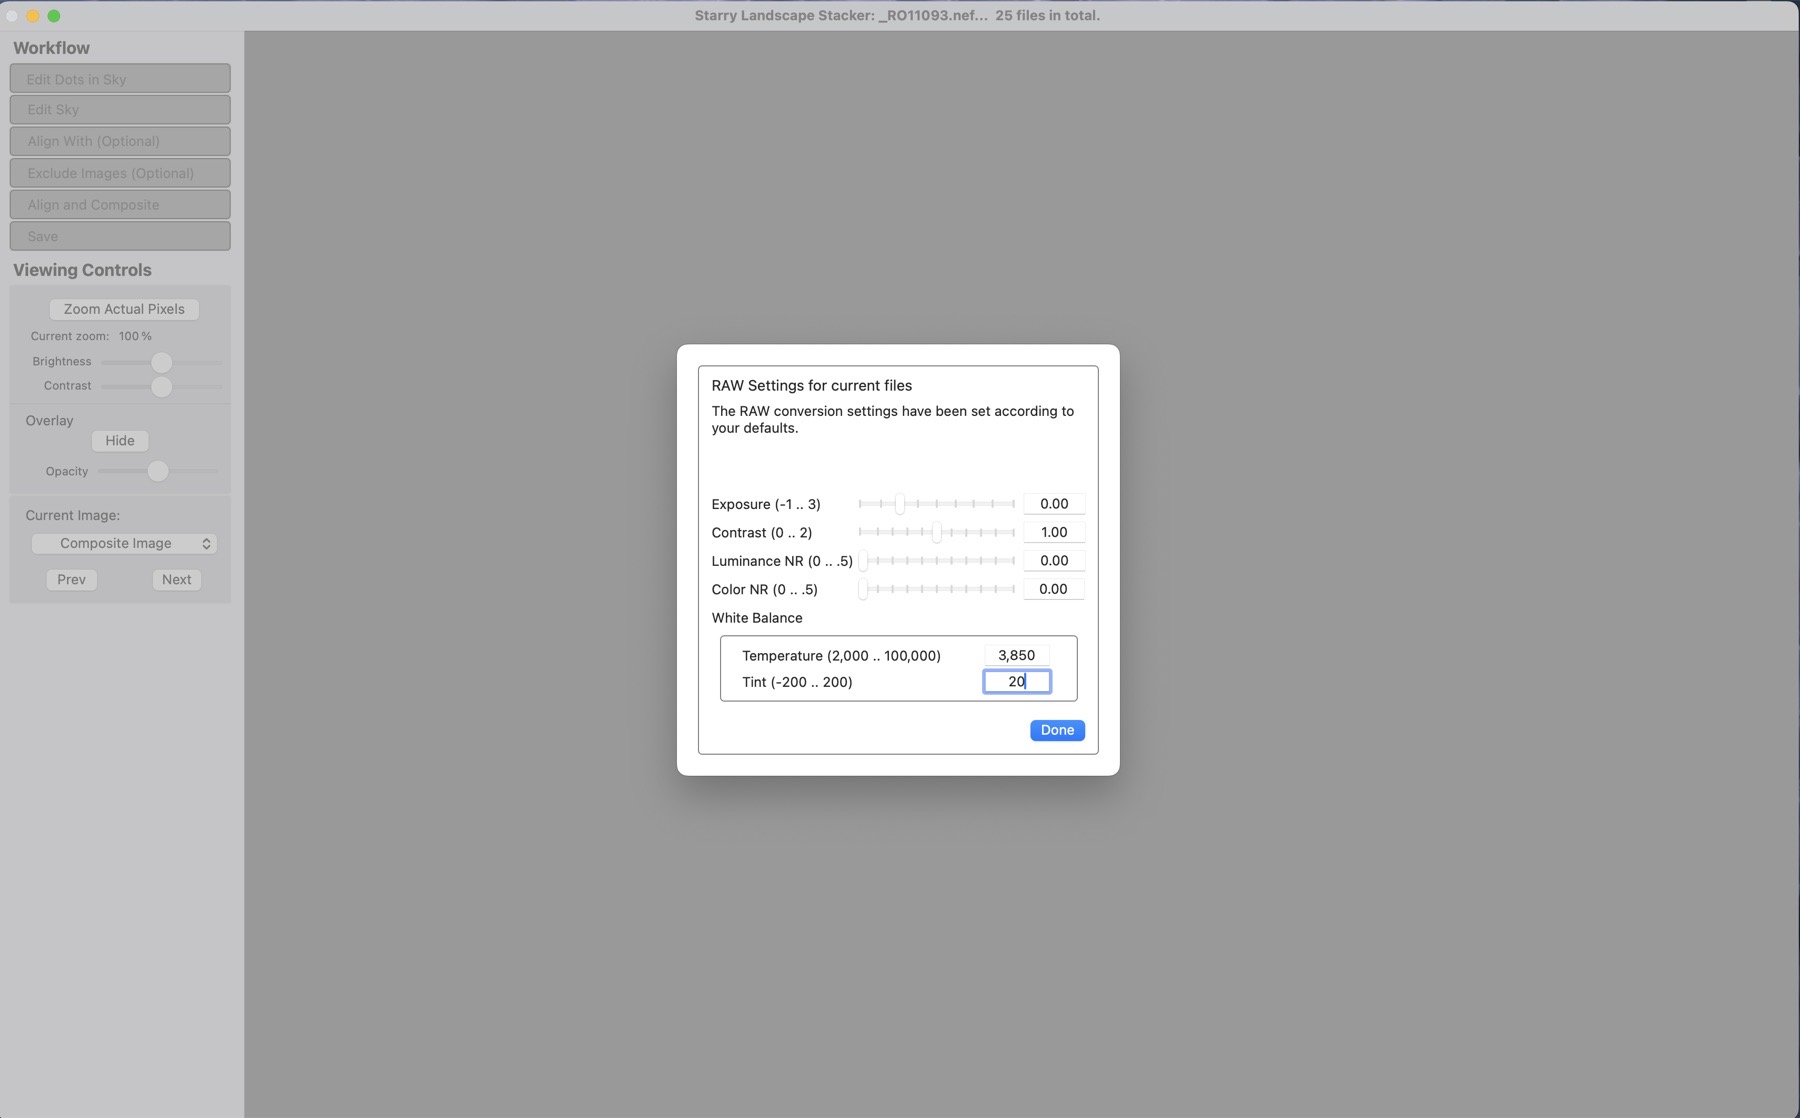
Stack first, style later
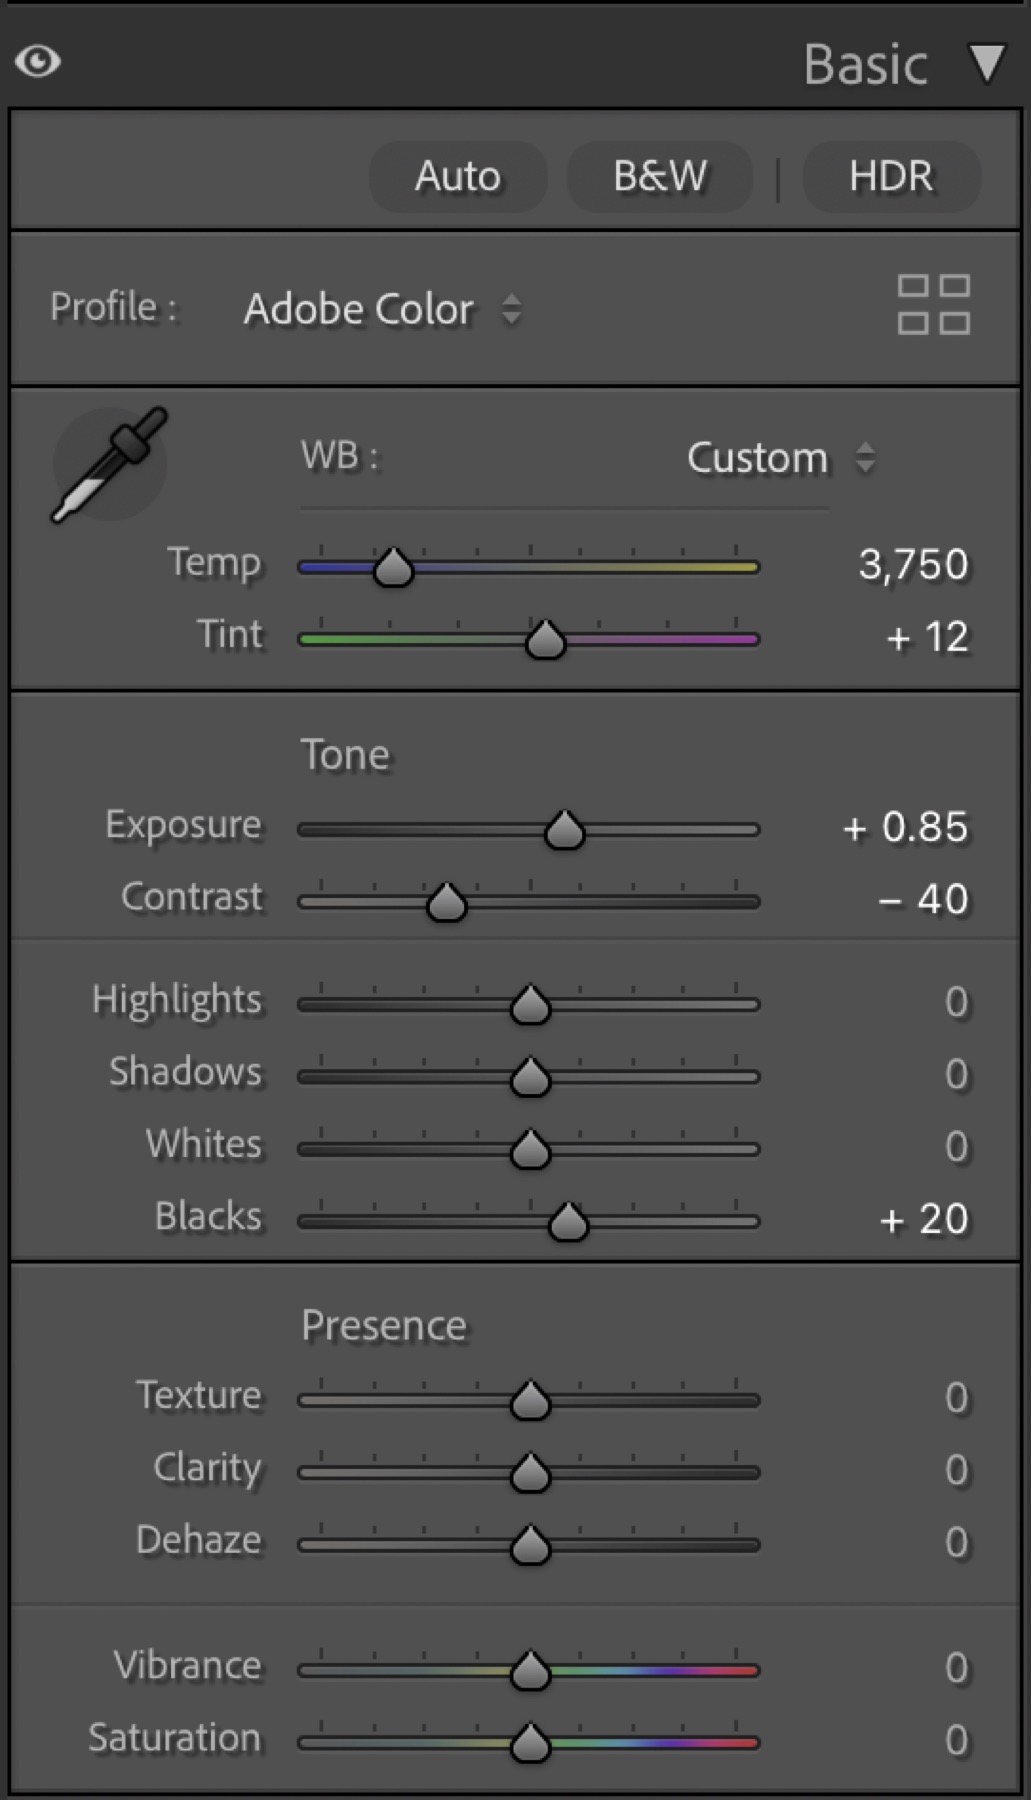
Pre-processing is preparation, not the creative edit. Set a consistent custom white balance if needed, make only essential corrections and leave the tonal and color style for the completed stack.
Before stacking, avoid anything that changes detail or geometry. Do not sharpen, apply luminance noise reduction, crop, straighten, resize or apply lens distortion correction. Those changes can vary the stars from frame to frame or reshape the edges SLS is trying to align. Apply sharpening, stronger noise reduction, perspective work and the final grade after stacking.
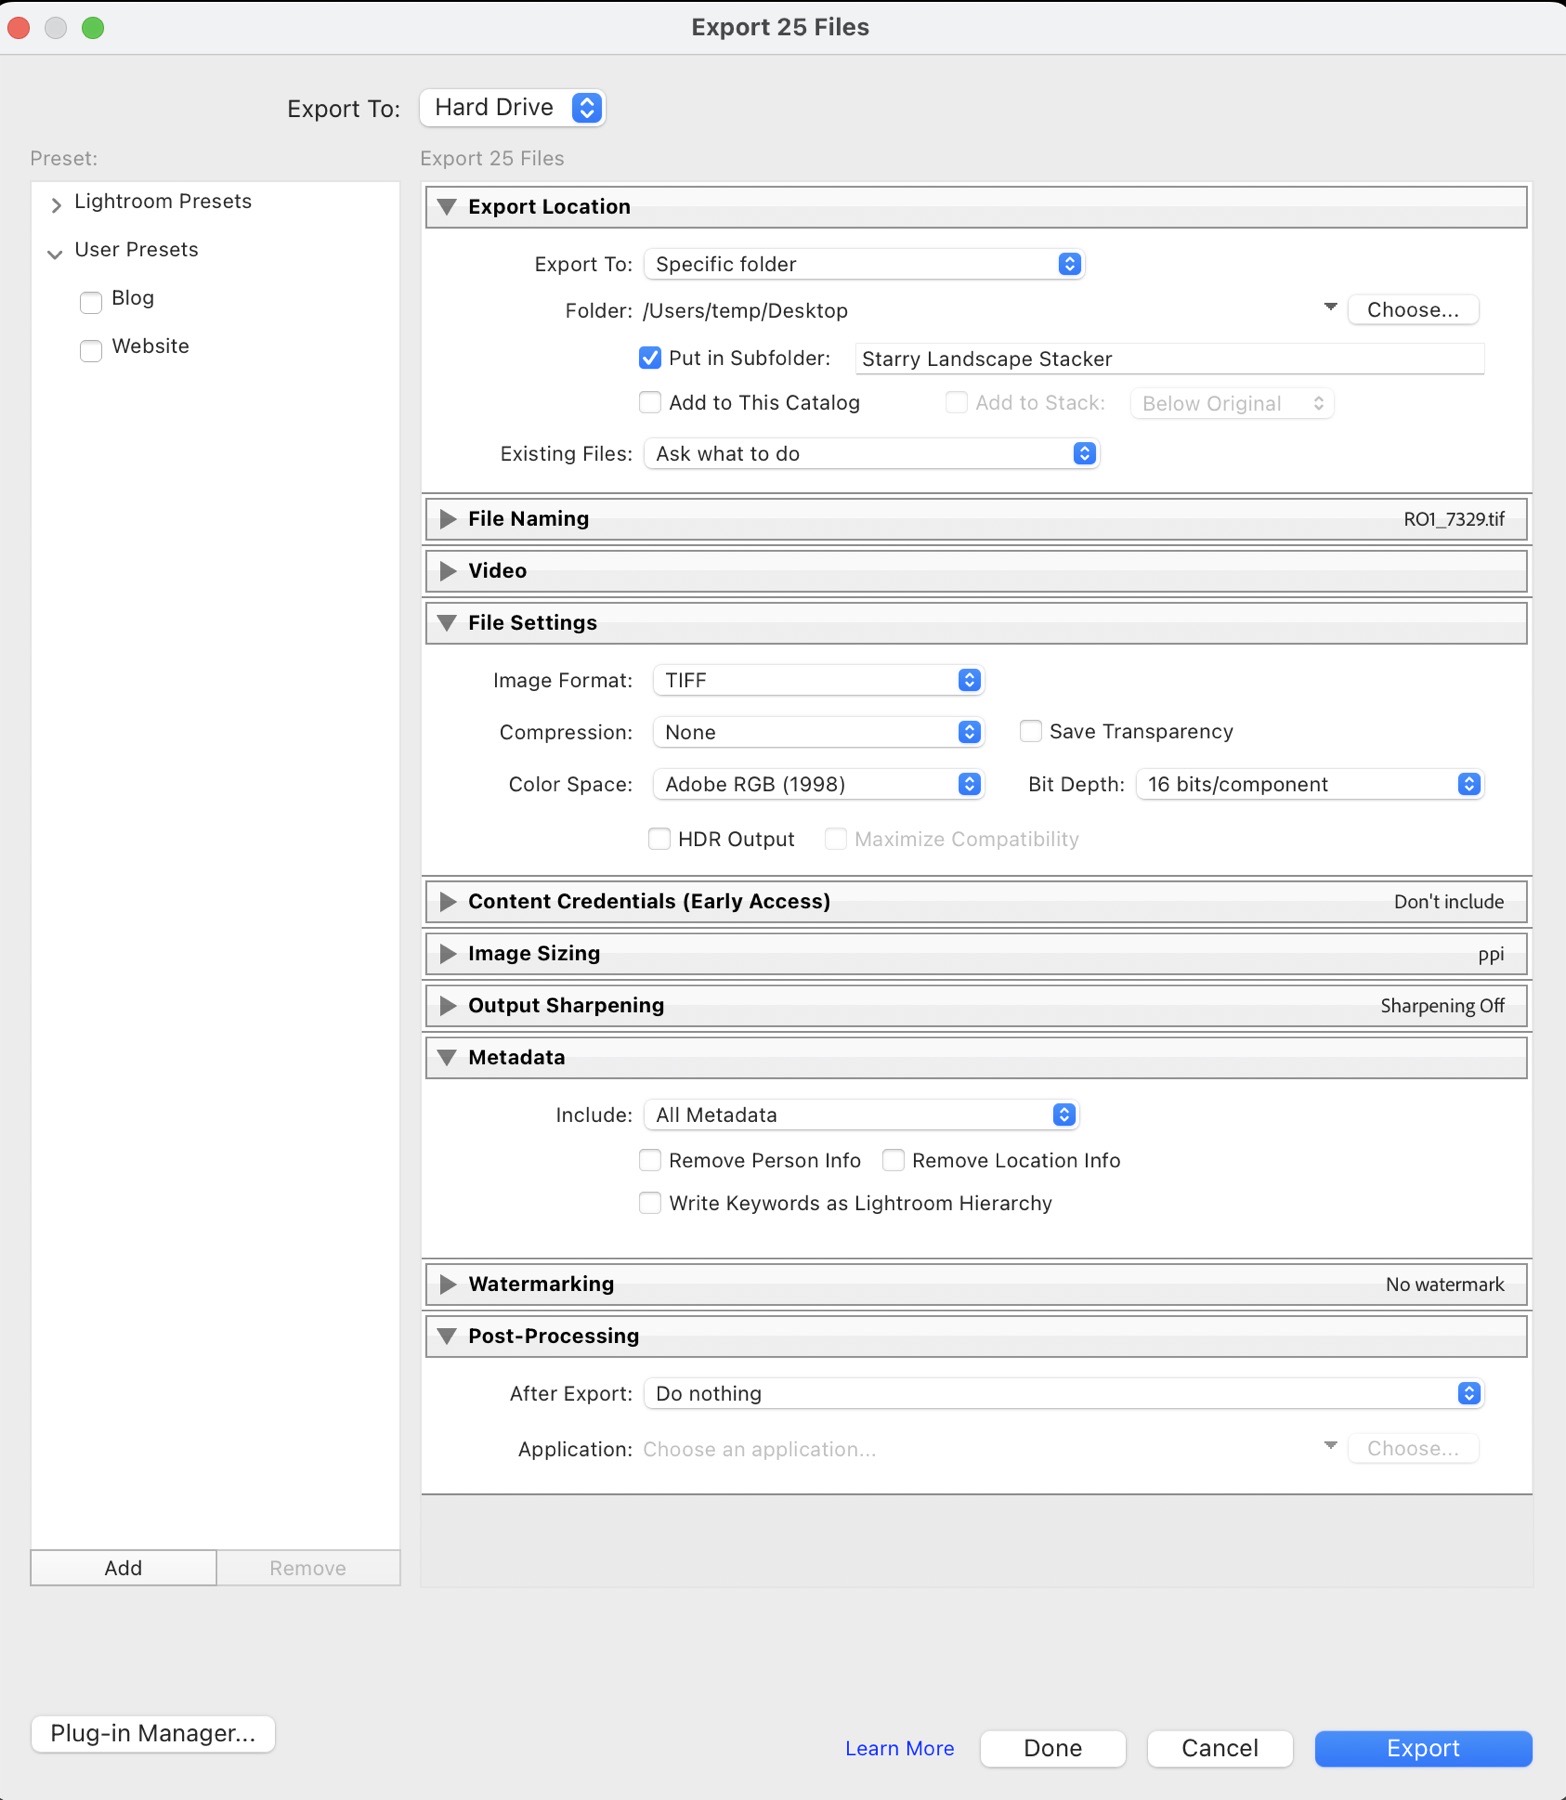
Build a sky mask with a small buffer
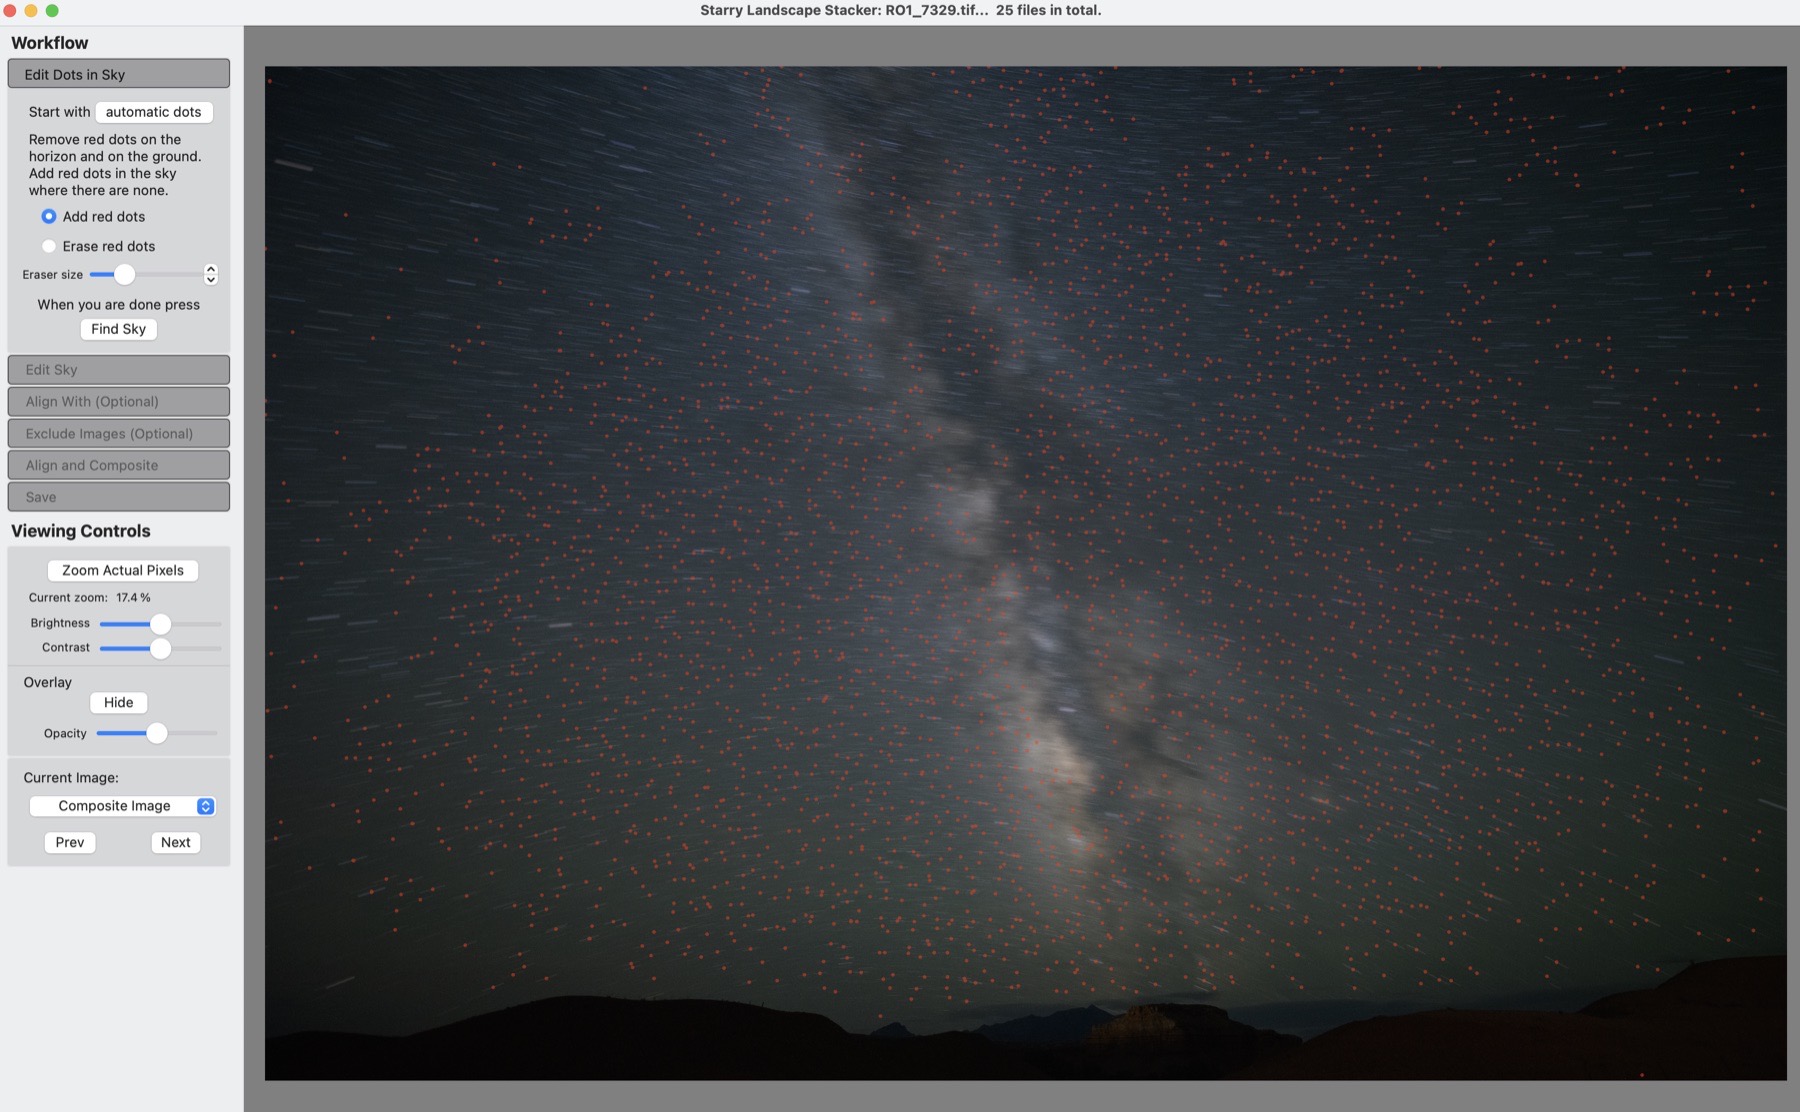
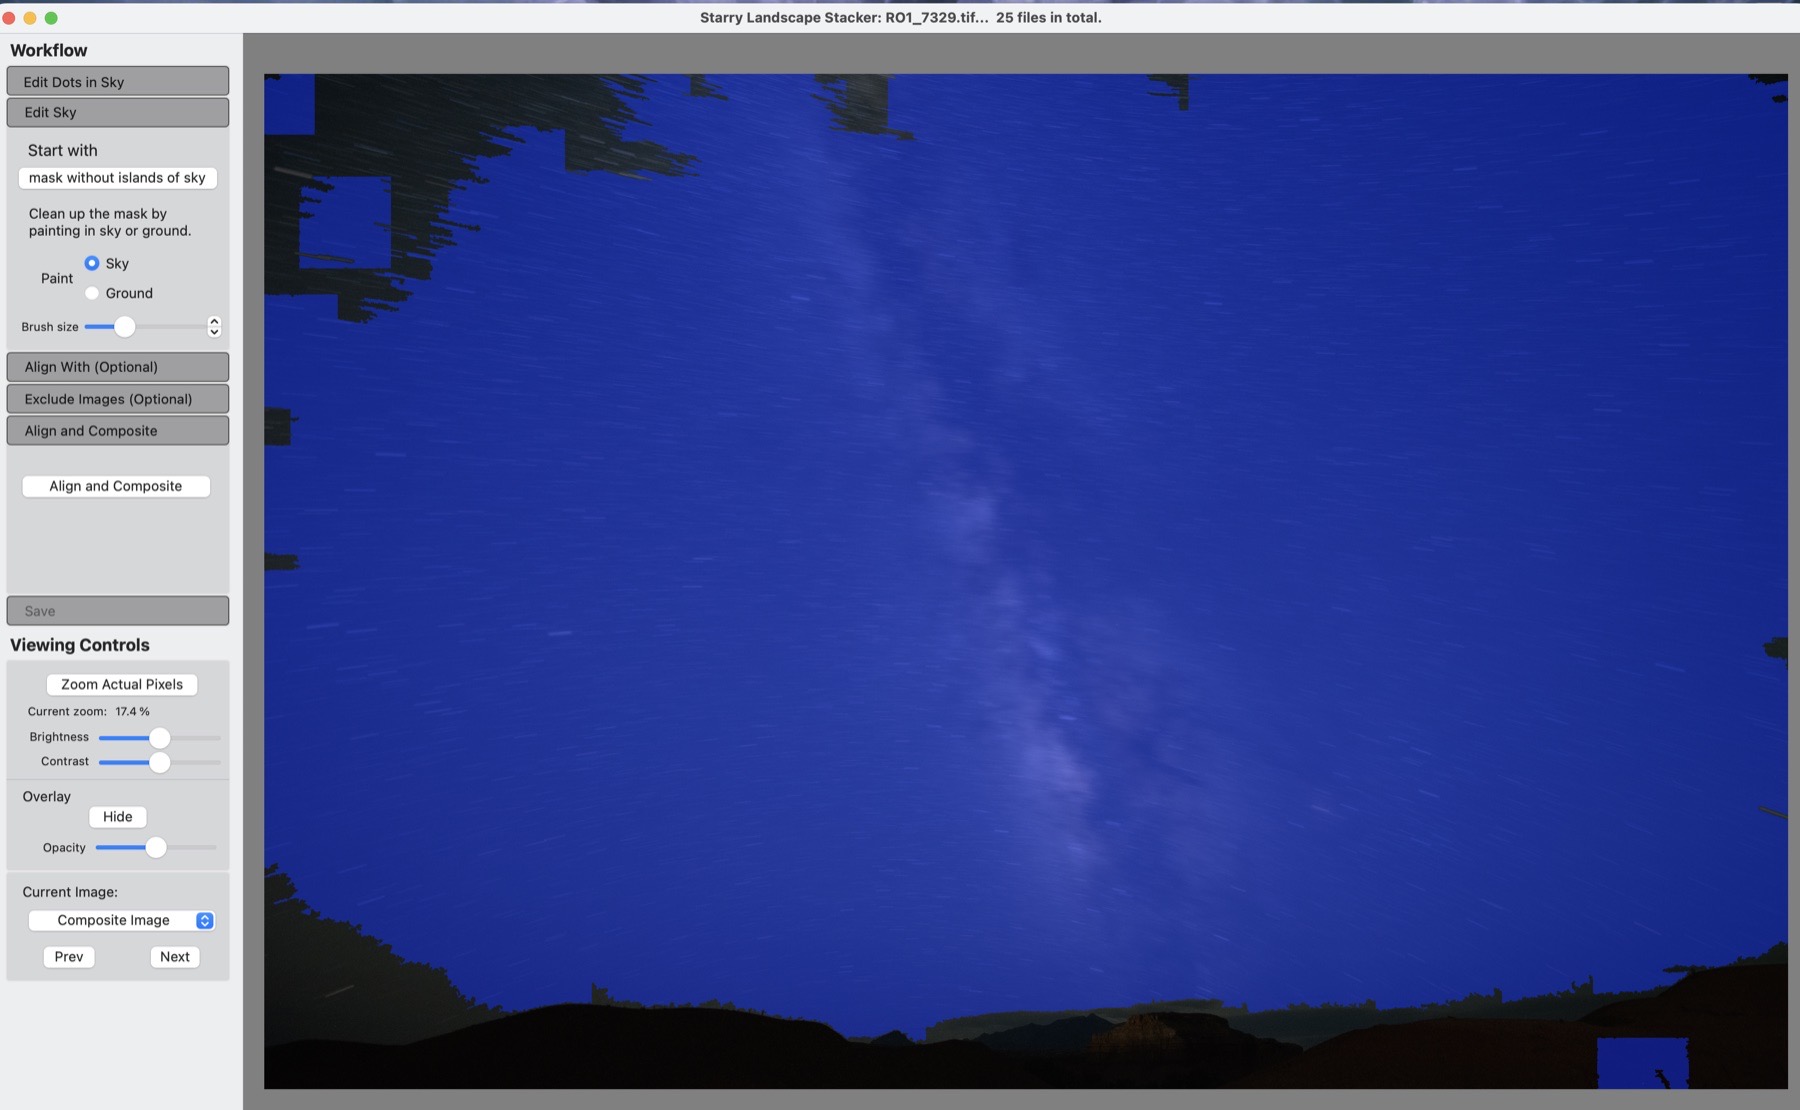
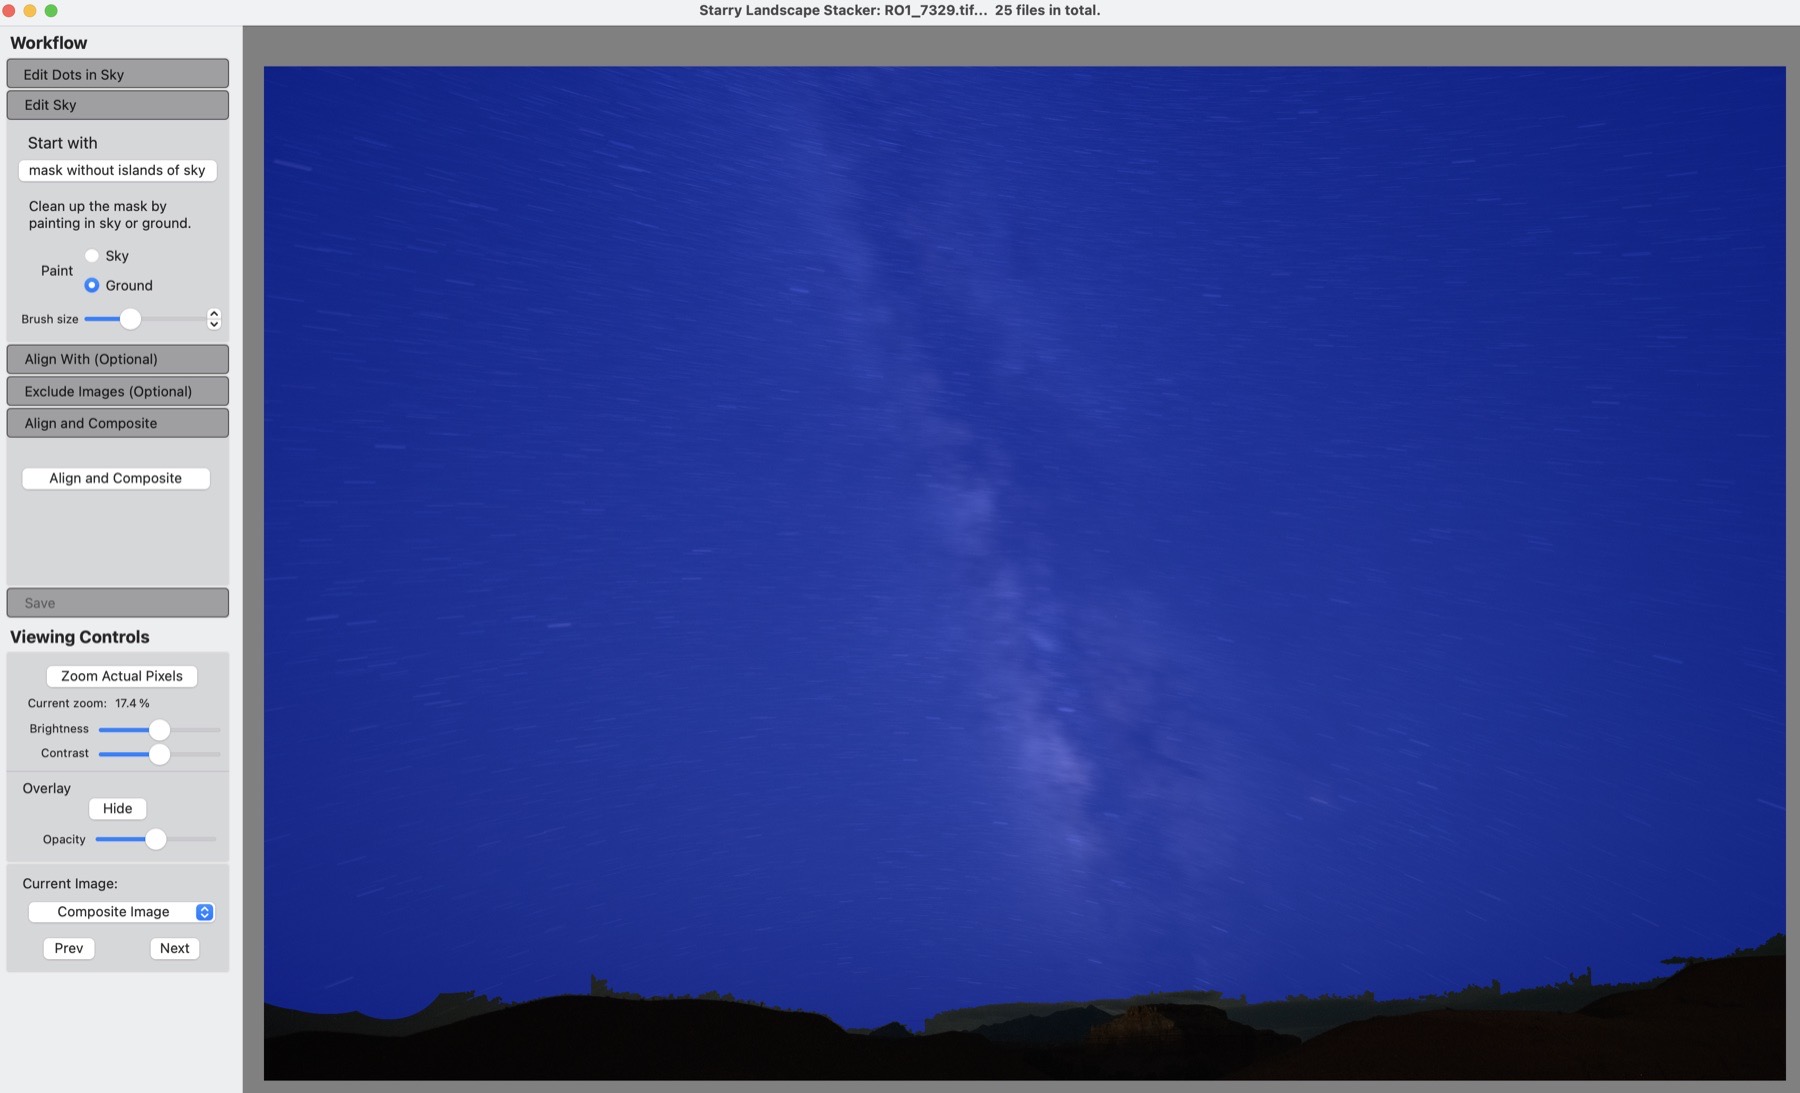
SLS first marks likely stars with red dots. Erase any dots on the land and add a few where a bright horizon, fog or light pollution caused the software to miss the sky. Then generate the blue sky mask and inspect the boundary at 100 percent.
The sky mask should not touch the horizon, tree limbs or ridgelines. Leave a small buffer of a few pixels between the blue mask and the foreground. A little unmasked sky is safer than pulling moving branches or atmospheric shimmer into the aligned area, which is how smeared edges and halos begin.
Choose the SLS 1.10 composition algorithm
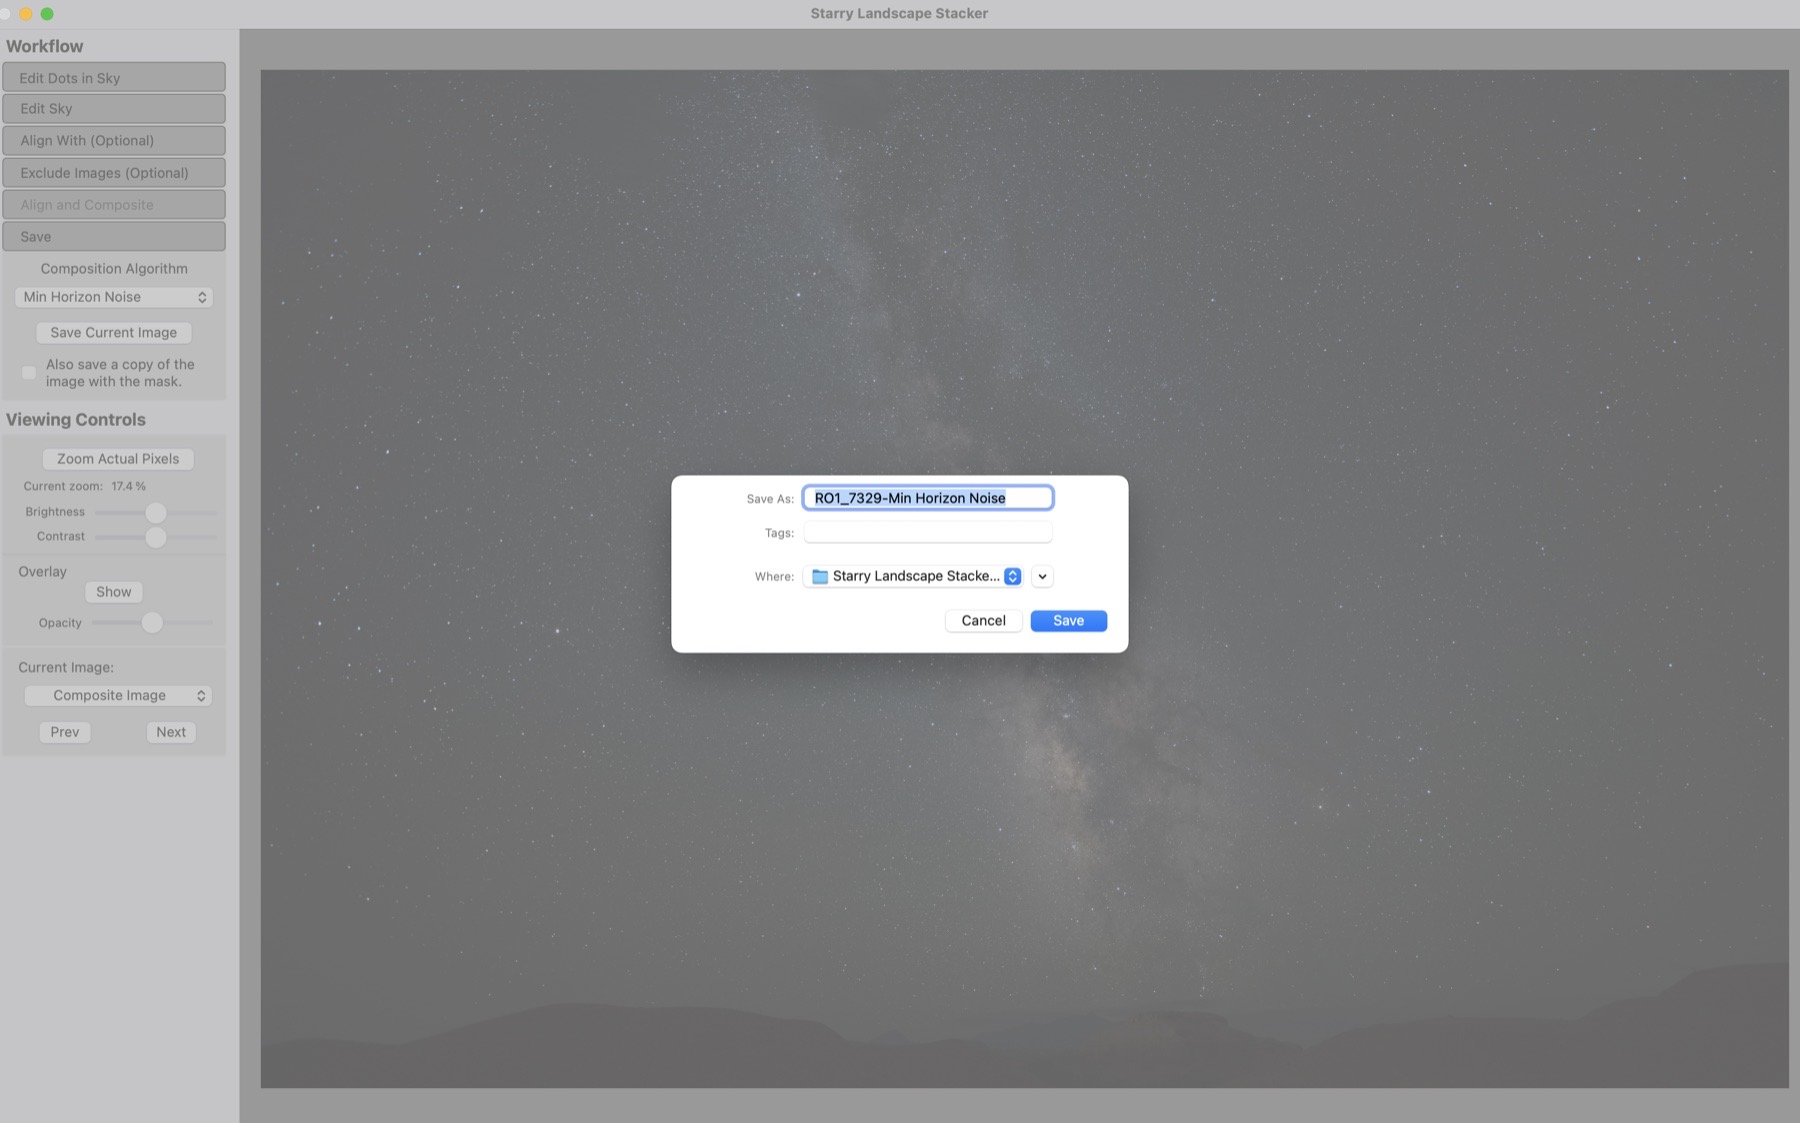
Start with Min Horizon Noise. It is the best general-purpose choice and the one I use first when I want a clean sky and restrained horizon noise.
If bright stars near the horizon duplicate, streak or disappear, try Max Horizon Accuracy. It accepts a little more horizon noise to protect those stars. You can also save both versions and blend only the problem area from Max Horizon Accuracy into the cleaner Min Horizon Noise stack.
- Mean Min Hor Noise: a slightly brighter mean-based alternative that can be noisier with a small frame count
- Mean Max Hor Accuracy: the mean-based version that prioritizes horizon-star accuracy
- Max: preserves the brightest value, which is useful for meteors and other transient lights
- Min: preserves the darkest value and is a specialized alternative rather than a normal starting point
Recover a meteor with two outputs
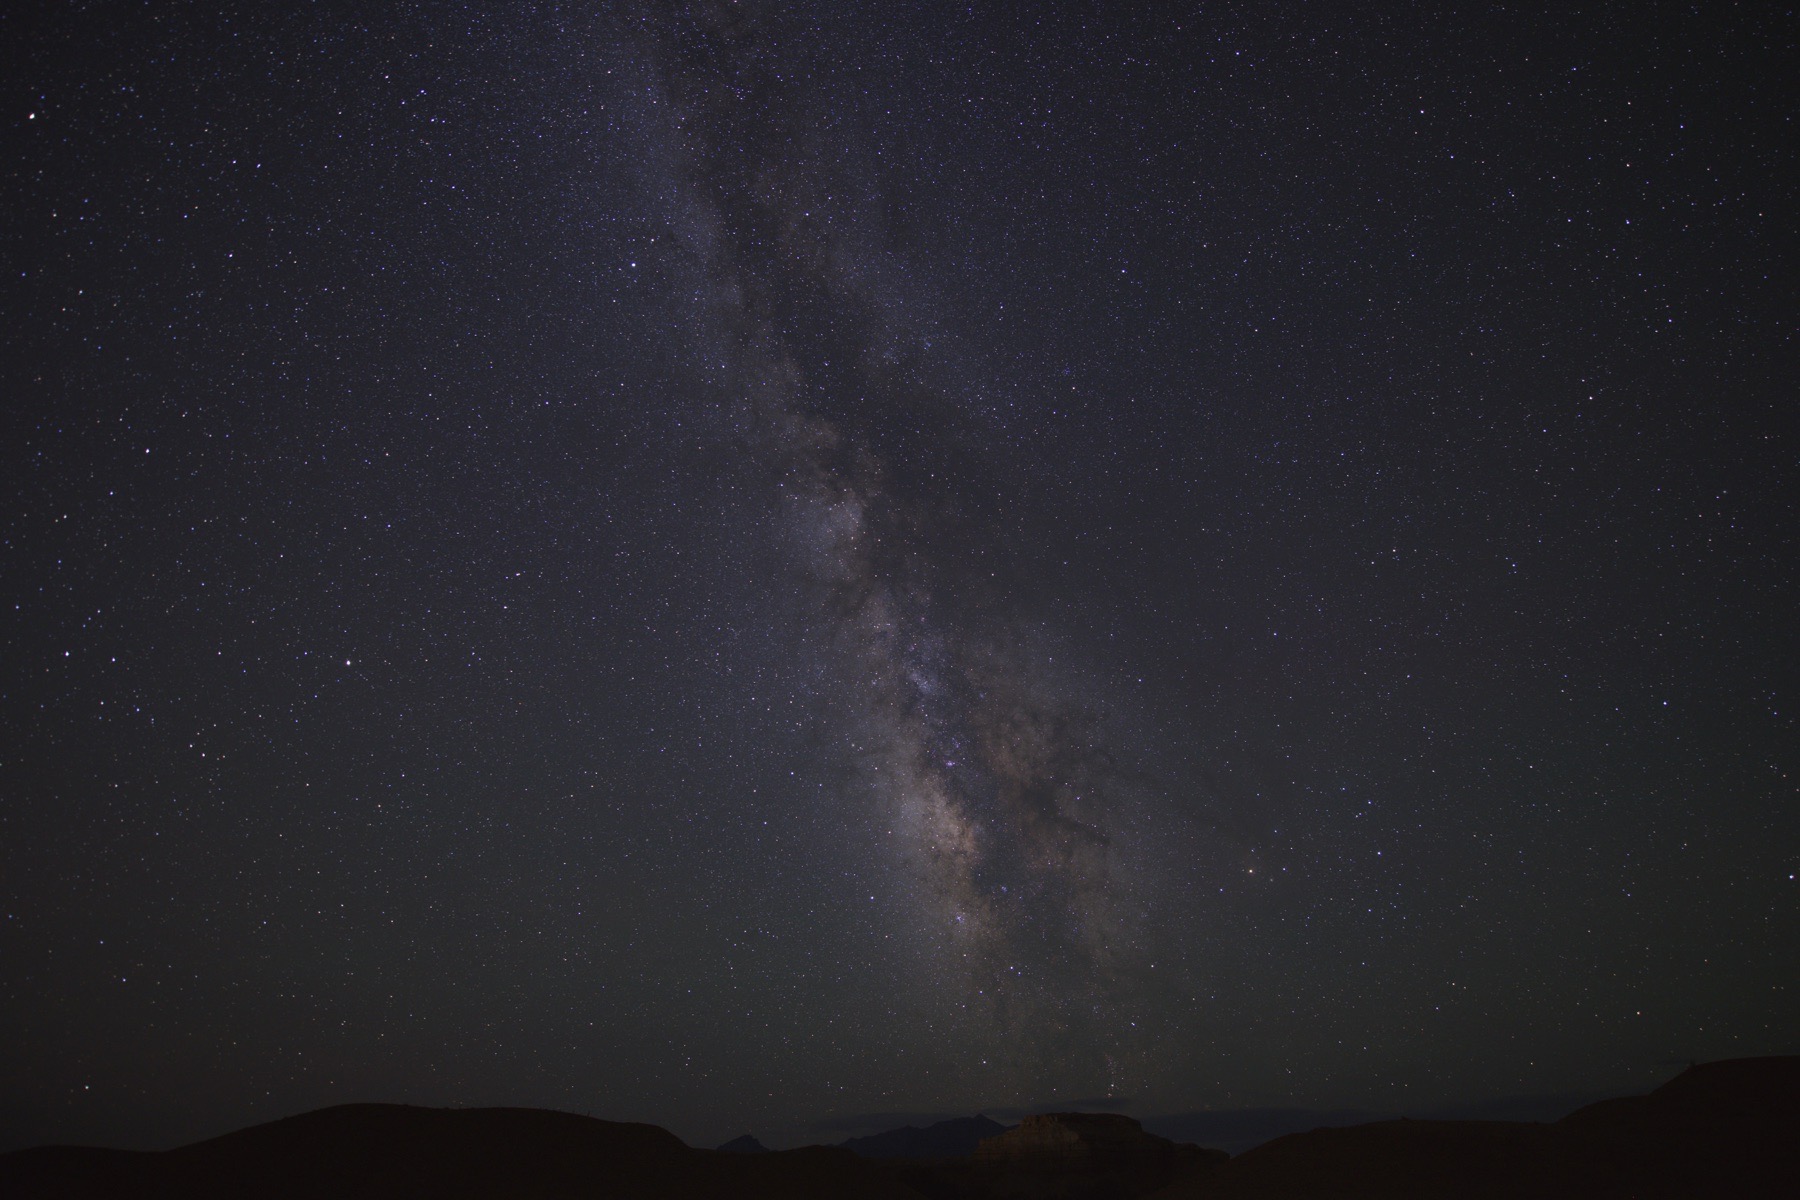
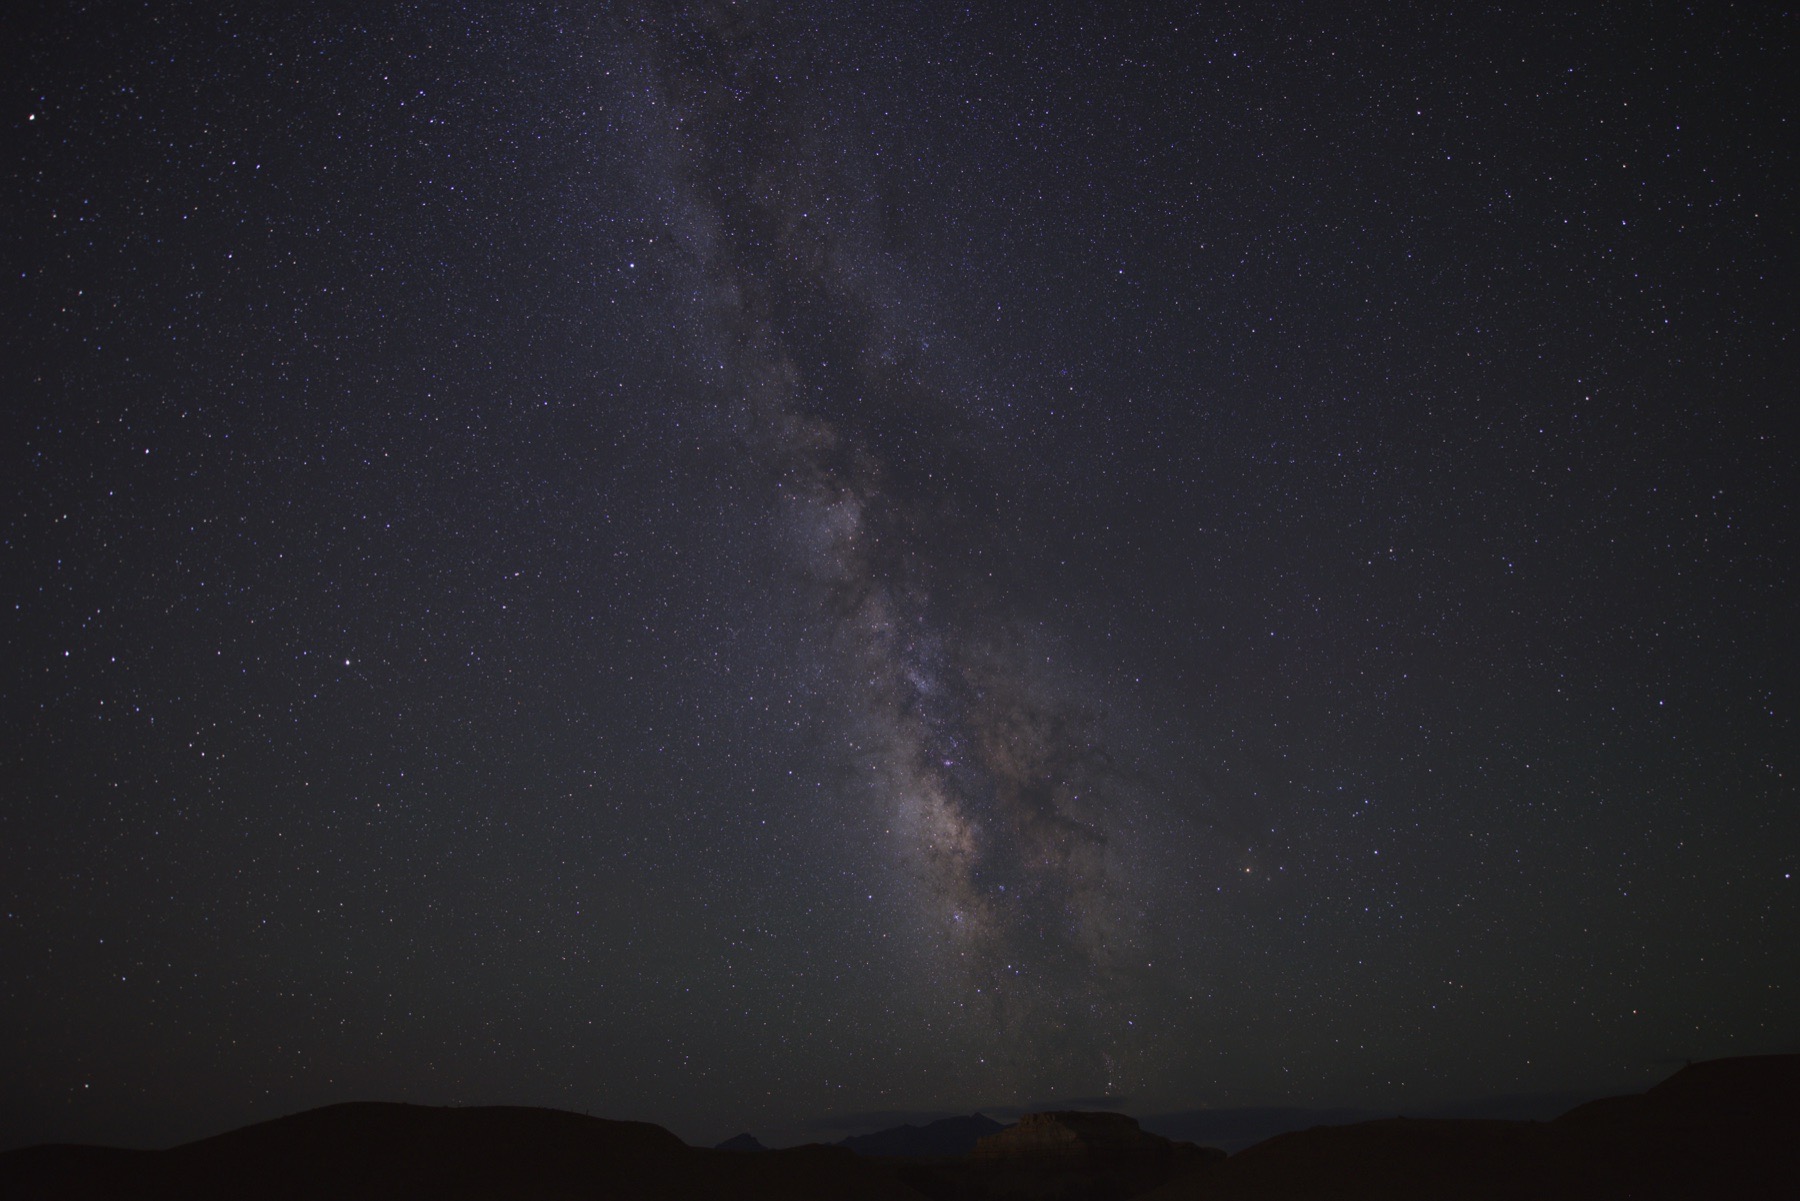
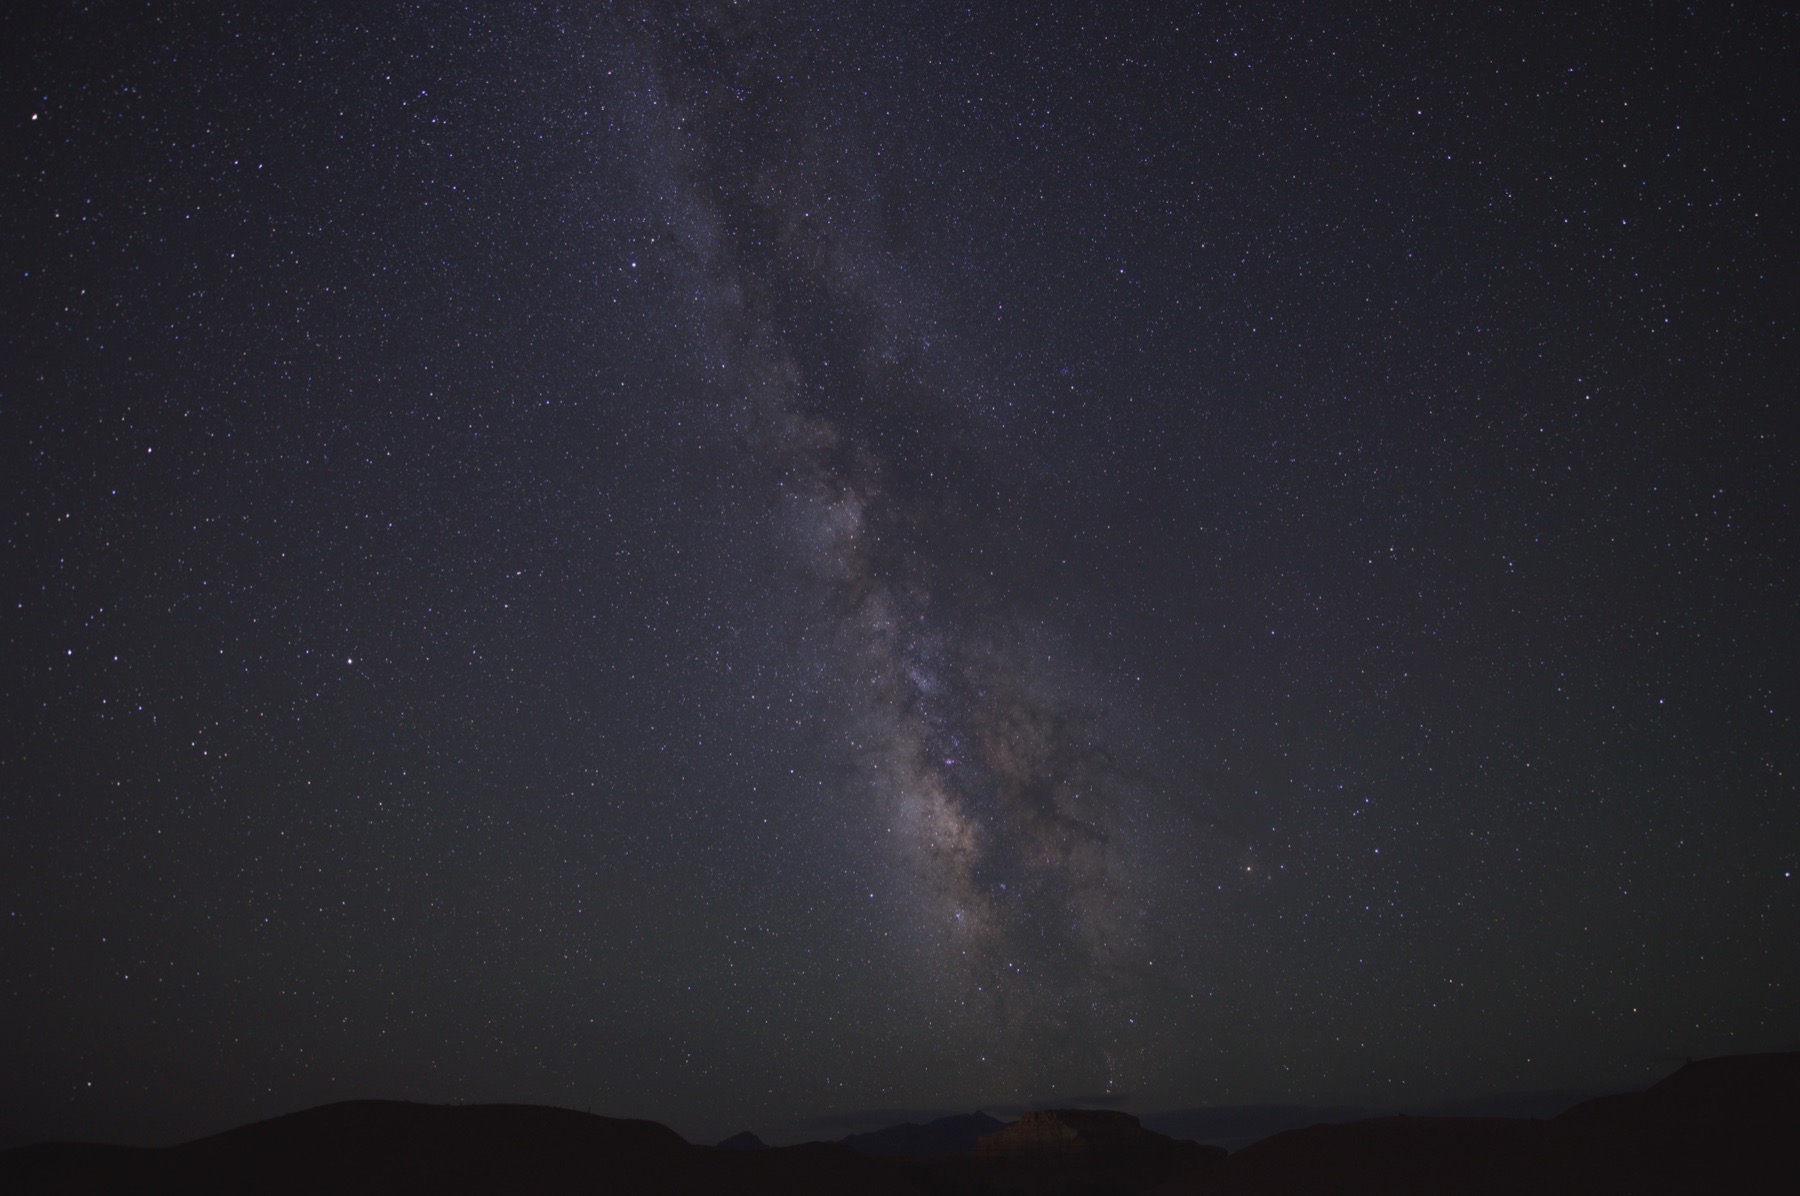
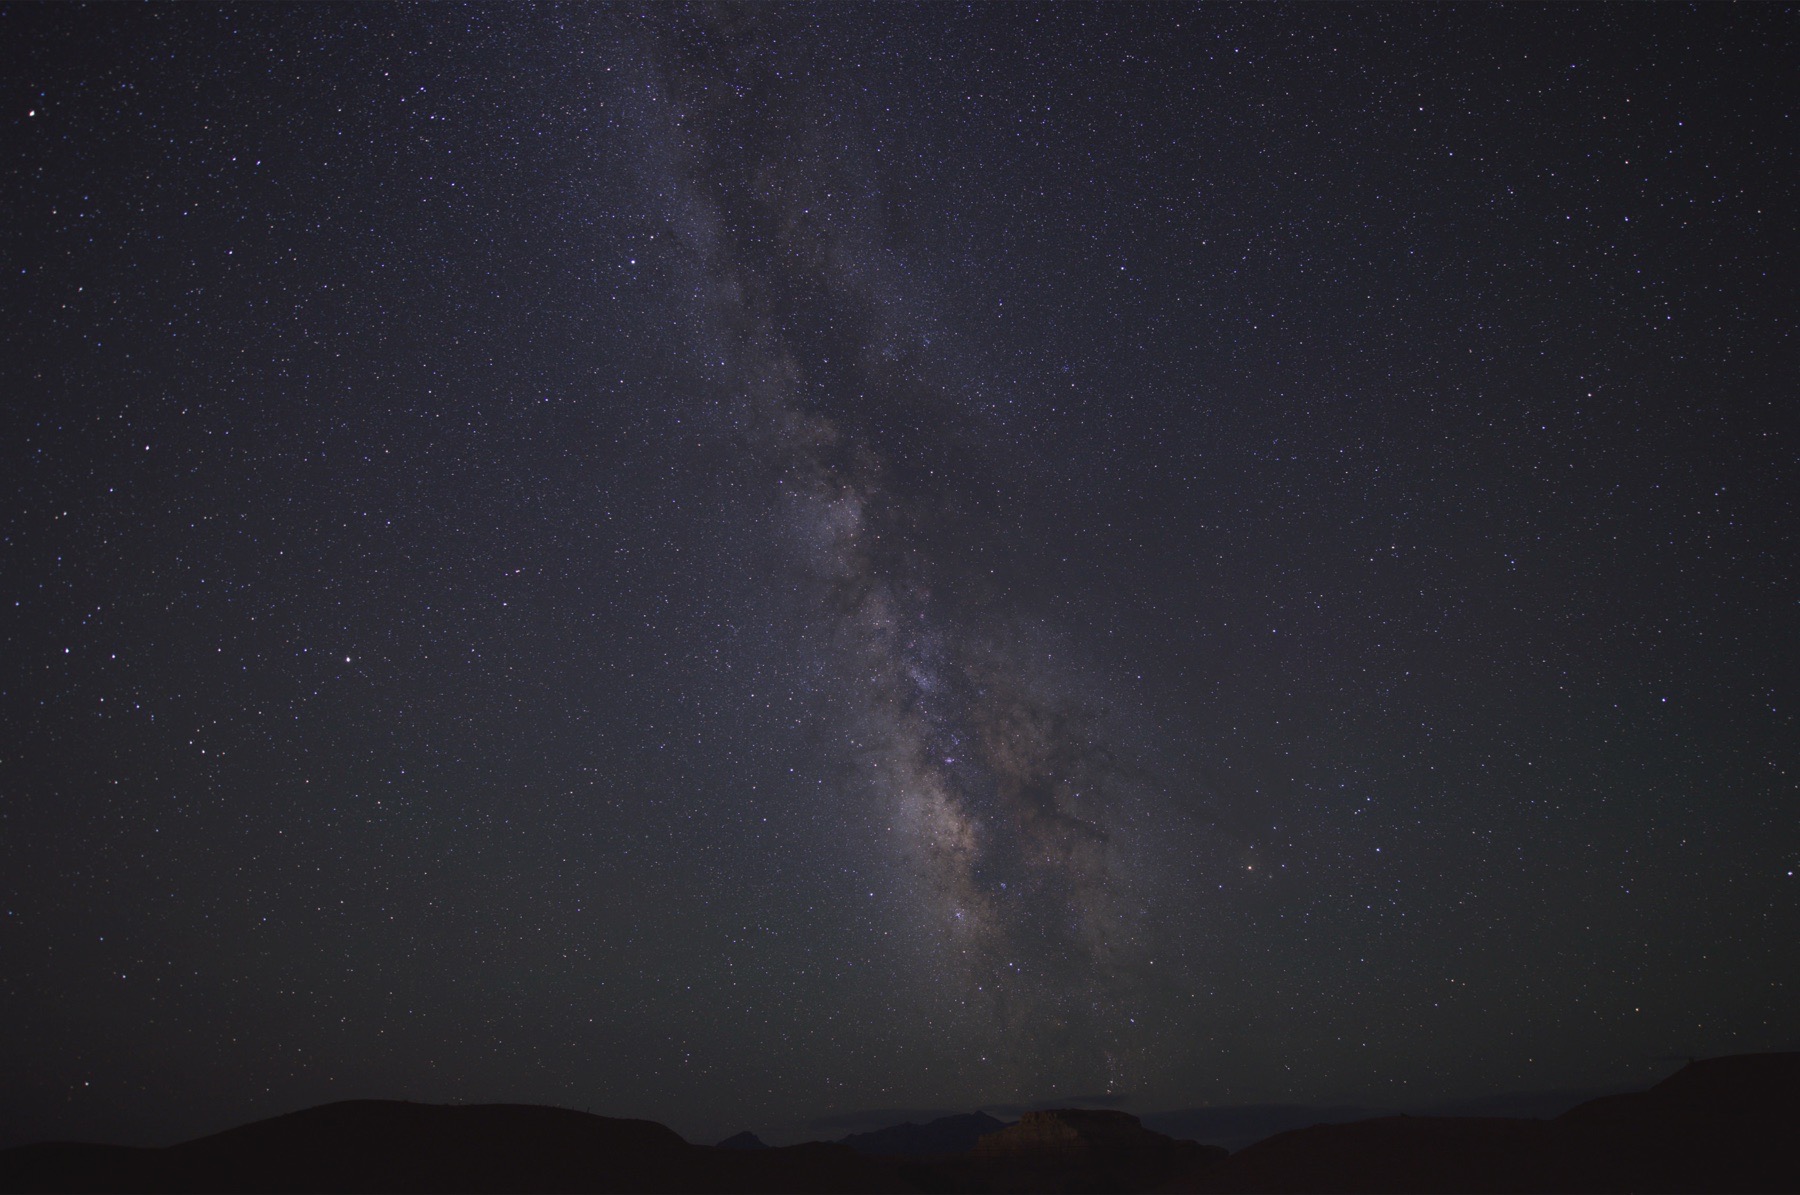
The normal Min Horizon Noise stack often removes a meteor because it appears in only one frame. Save that clean stack first. Then select Max and save a second version, which preserves the brightest transient light.
In Photoshop or another layer-based editor, place the Max version above the clean stack and reveal only the meteor with a small mask. If the meteor frame matters to its exact position, use SLS's Align With control to align the sequence to that exposure before saving the two versions.
Lightroom users should save a 16-bit TIFF
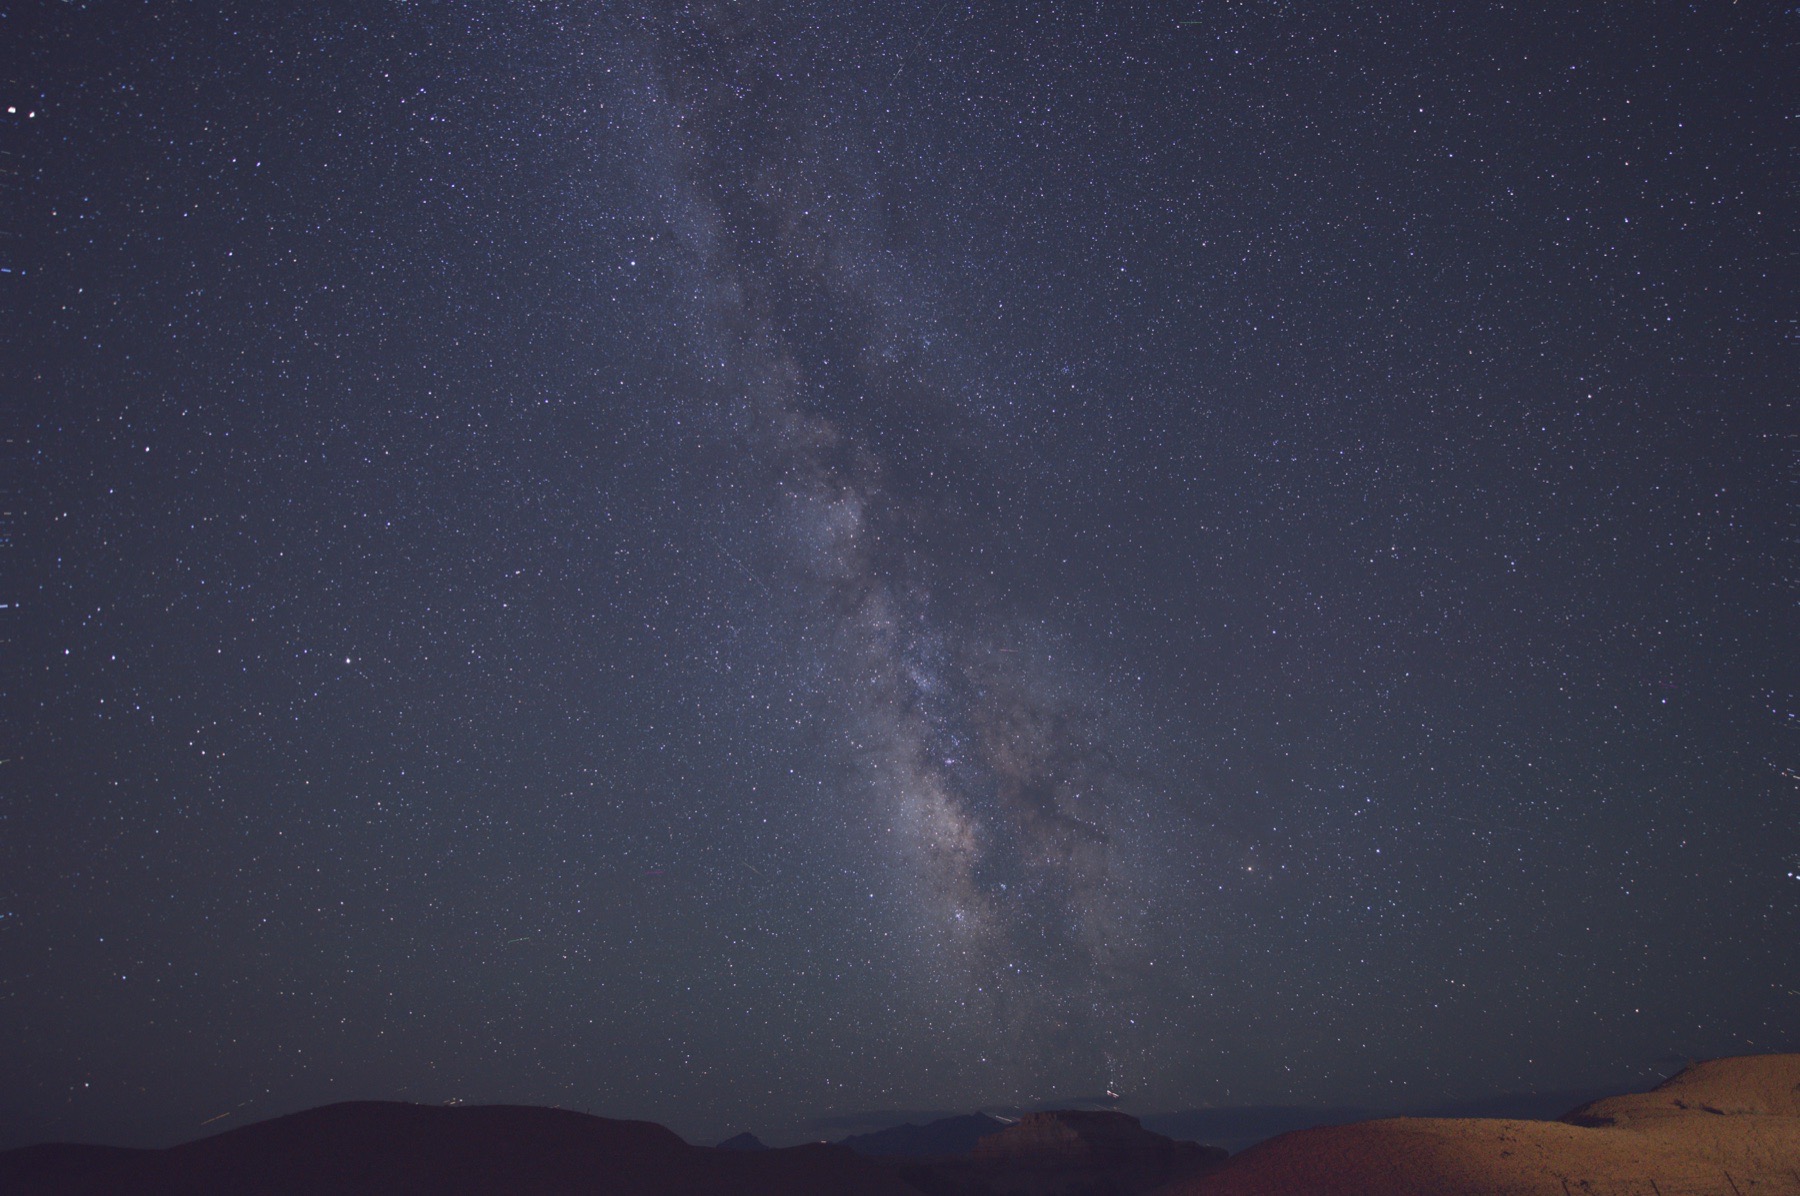
SLS 1.10 can create 32-bit floating-point TIFFs, but Lightroom Classic currently renders those SLS files with badly distorted color and contrast. If Lightroom is your next stop, leave 32-bit output off and save the normal 16-bit TIFF.
Return that 16-bit file to Lightroom for sharpening, luminance noise reduction, local masks, color and contrast. The stack should give you more room to edit, but night still needs dark values and believable color.
Troubleshoot the artifacts you can actually see
Most SLS problems trace back to capture consistency, pre stack geometry or the mask edge. Fix the cause instead of trying to hide it with a stronger final edit.
| Problem | Likely cause | Practical fix |
|---|---|---|
| Smeared stars | Tripod movement, changed focus or an overly long sequence | Exclude the bad frame; keep the camera fixed and the sequence under about 10 minutes |
| Duplicated or streaked horizon stars | Min Horizon Noise is trading horizon accuracy for lower noise | Try Max Horizon Accuracy or blend its horizon into the cleaner stack |
| Smeared trees or ridgelines | The sky mask touches moving or fixed foreground detail | Erase the mask back a few pixels and composite a separate foreground if needed |
| Strange color or contrast in Lightroom | The SLS output is a 32-bit TIFF | Reprocess or resave as the normal 16-bit TIFF |
| Inconsistent color | Auto white balance or adjustments were not identical across frames | Set a specific custom white balance and sync exact values to every file |
| Lens distortion artifacts | Geometry correction was applied before stacking | Use supported RAW files directly or export DNG; leave distortion correction off until after the stack |
Finish the photograph after the stack
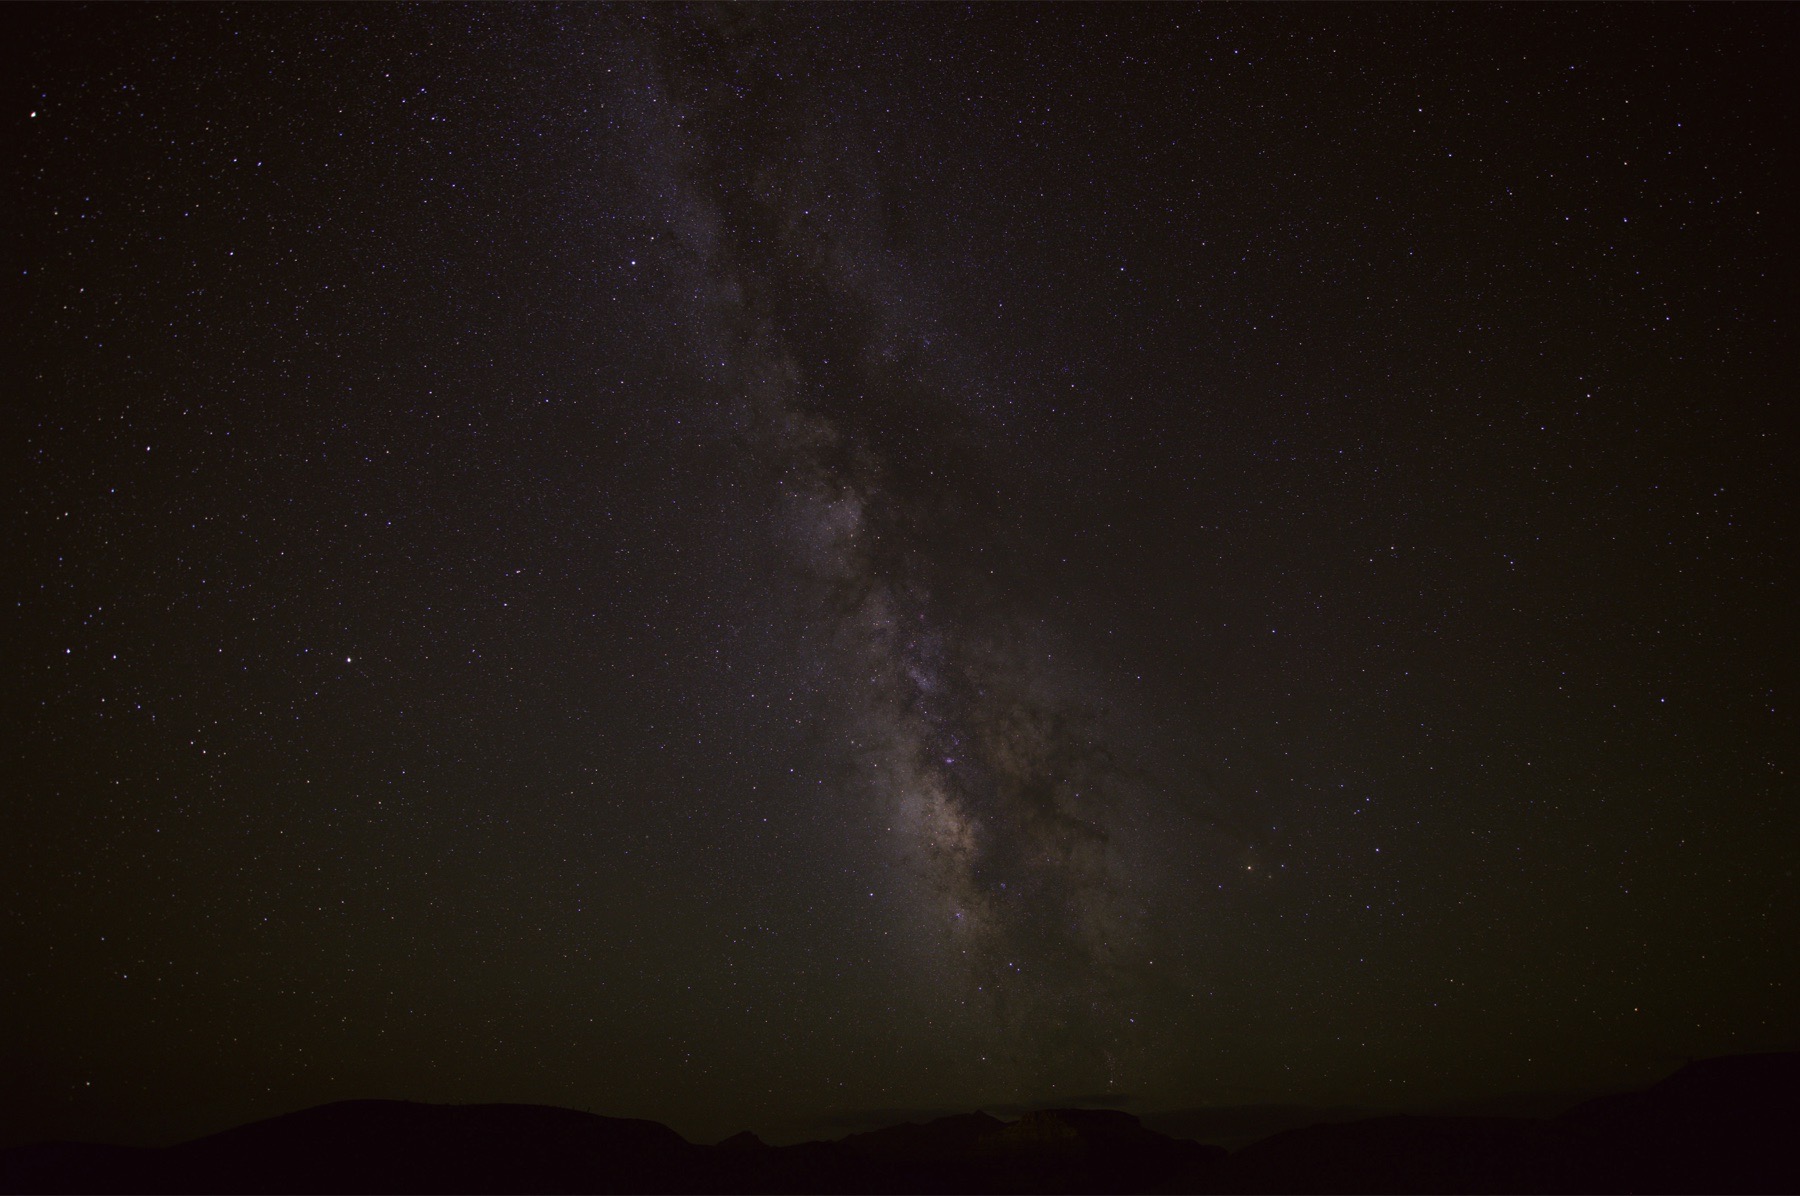
The cleanest workflow separates technical stacking from creative decisions. Build the quietest, most accurate base file in SLS, then shape contrast, color, sharpness and atmosphere in Lightroom or Photoshop.
Judge the result at the horizon and in the darkest sky, not only in the bright Milky Way core. If the stars are clean but the foreground edge looks artificial, go back to the mask. A restrained, believable night photograph is worth more than a stack that simply looks processed.
A useful workflow removes repeated decisions while protecting the choices that make the photograph personal.