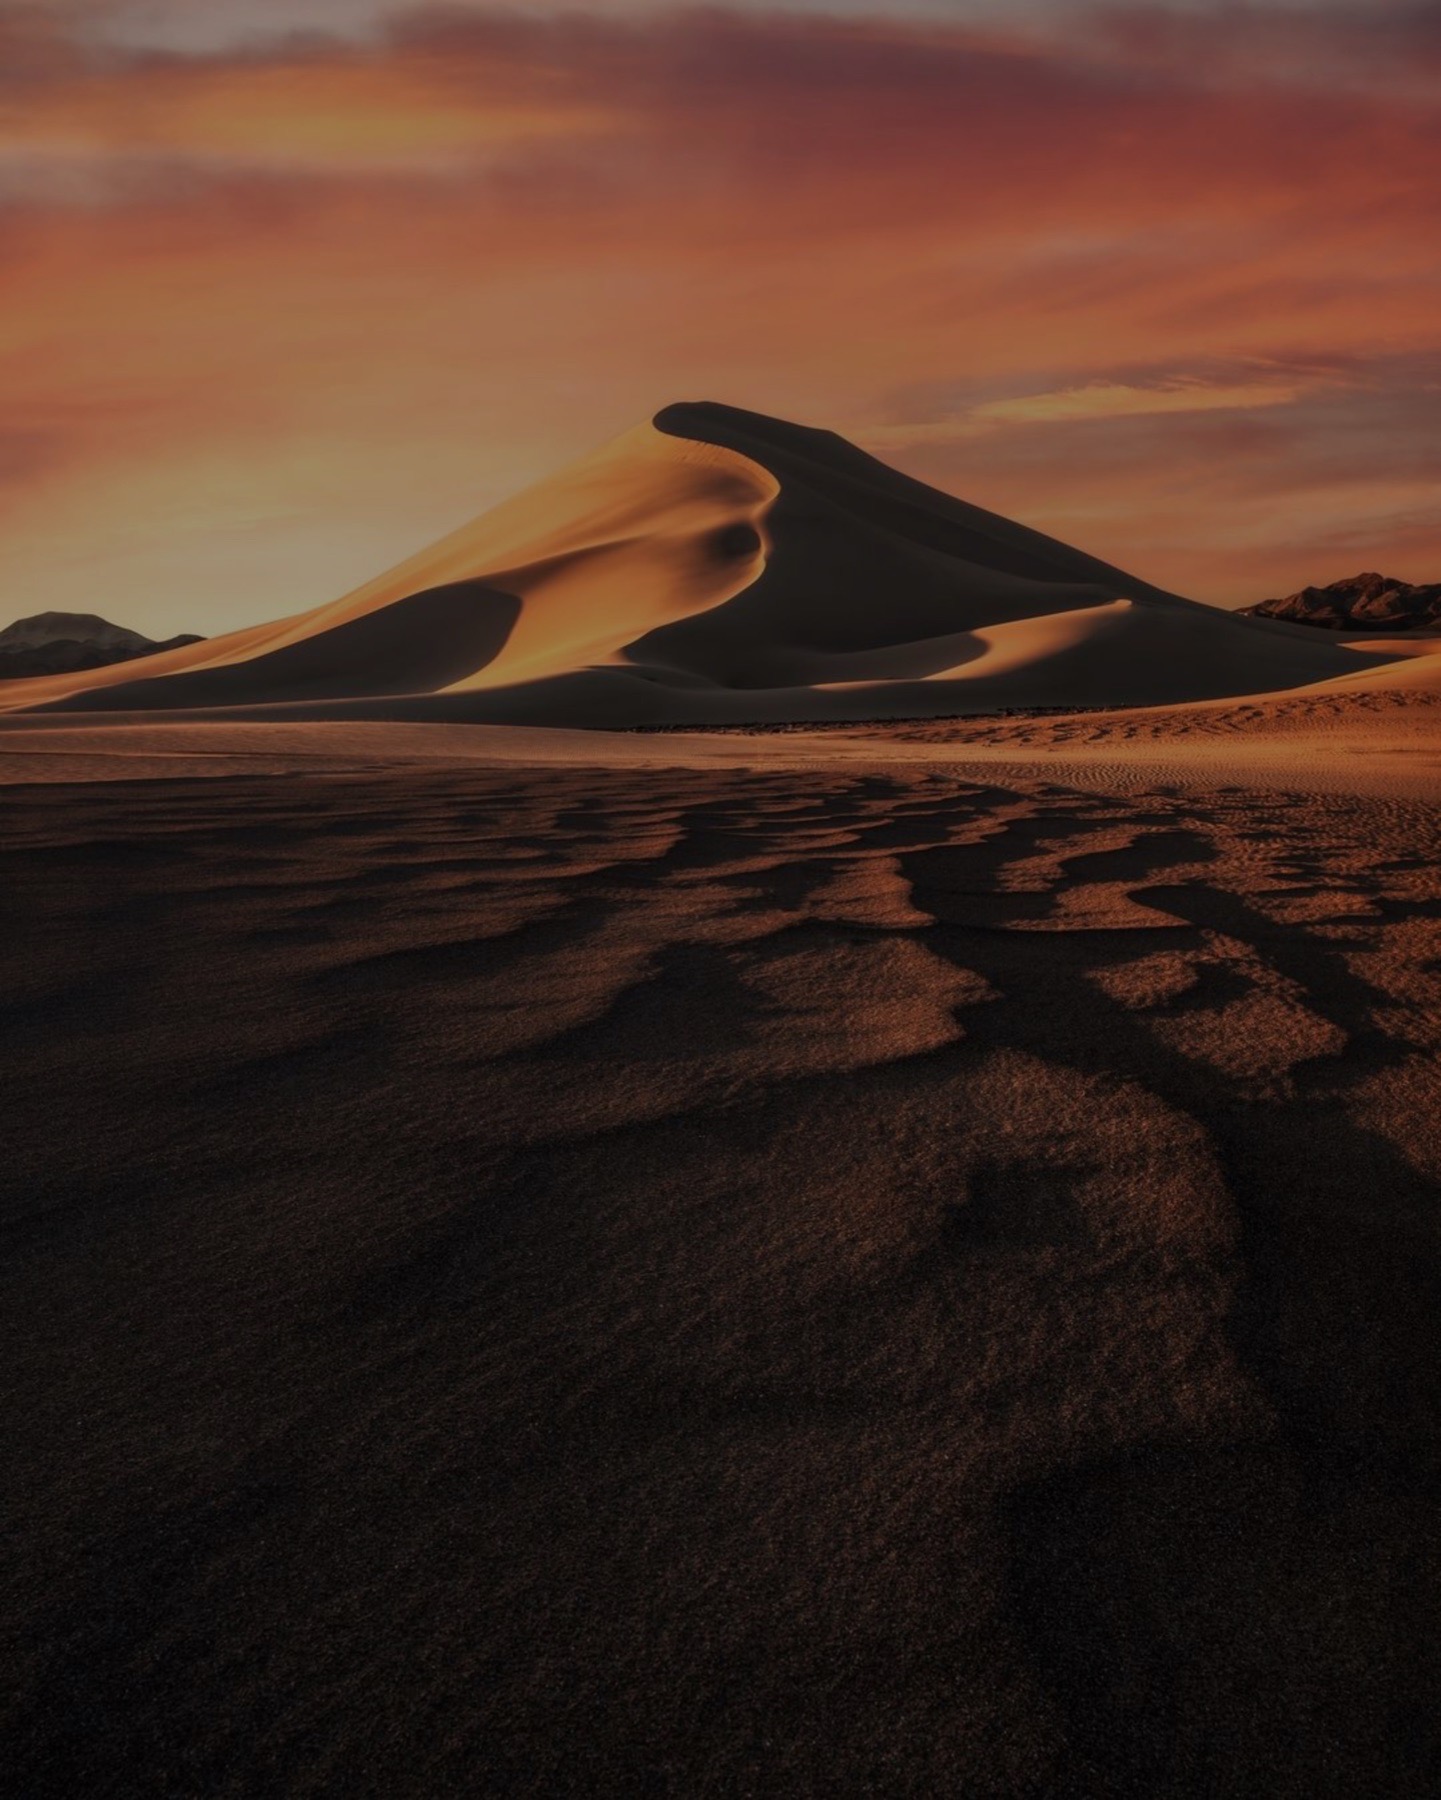
The scene was three-dimensional. The photograph is not.
Standing in a landscape is a full-body experience. Your eyes move from a rock at your feet to a ridge miles away. They adjust to bright sky and deep shadow. Wind, temperature, sound and memory all help your brain understand the space around you. A camera records one viewpoint, one exposure and one flat rectangle. It keeps the objects, but it does not automatically keep the experience of distance.
That is why a technically sharp photograph can still feel flat. The file may be missing the visual evidence our brains use to read depth: overlap, relative size, foreground-to-background progression, directional light, atmospheric softness, tonal separation and a clear route through the frame. The camera did not fail. It simply needs the photographer to rebuild those cues intentionally.
Do not answer every flat image with more contrast or a wider lens. Diagnose the missing relationship first. The seven problems below are designed as a field and editing checklist. For the broader composition system behind them, continue with Five Ways to Add Depth to Landscape Photography.
1. Everything is the same distance away
The diagnosis: the frame may contain a mountain, trees and sky, yet every important shape appears to sit on the same plane. This often happens when you photograph from a distant overlook with no overlap or visible transition between distances. The scene has subjects, but it has no progression from near to far.
The fix: build three working layers. Give the foreground a clear entry point, let the middle ground connect the composition and use the background as the destination or context. Move before changing lenses. A step sideways can separate a tree from a ridge. A lower camera can give nearby texture more scale. A higher camera can reveal the river, trail or valley that connects the near layer to the distance.
The three layers do not need equal visual weight. In fact, they usually should not have it. Decide which distance holds the subject, then let the other two establish scale, direction or atmosphere. If a layer has no job, simplify it instead of forcing it into the photograph.
- Foreground: the place where the viewer enters
- Middle ground: the transition that prevents a visual jump
- Background: the destination, atmosphere or larger context
2. There is no foreground anchor
The diagnosis: the bottom of the frame is empty, generic or visually disconnected from the subject. The viewer skips across it and lands immediately on the distant mountain or sky. Without something near enough to establish scale, the photograph can read like a backdrop instead of a place you could enter.
The fix: choose an intentional entry point. A rock, flower, patch of ice, reflection, dune pattern or shoreline can establish the first distance, but it has to belong to the story. Get close enough for the shape to matter, then change camera height until it points, repeats or opens toward the subject. Leave a route around it. A foreground that blocks the middle ground becomes a barricade, not an anchor.
A wide angle lens can strengthen this relationship because nearby objects grow relative to the background. It can also make the distant subject tiny and fill the edges with clutter. Use the foreground because it introduces the scene, not because landscape photographs are supposed to have rocks at the bottom.
3. The light is flat
The diagnosis: surfaces have similar brightness from edge to edge, shadows reveal little form and the land seems evenly pasted across the frame. Front light and high overhead light can erase texture. Featureless overcast can also flatten a broad scene when color and atmosphere are not creating separation in another way.
The fix: look for light with direction or weather with layers. Side light rakes across rock, snow and dunes, letting highlight and shadow describe shape. Backlight can make fog, rain, dust or blowing snow visible between distances. A break in storm clouds can light one ridge while another falls quiet. Those differences help the eye understand which forms sit in front of others.
Soft light is not automatically flat light. Forests, waterfalls and intimate scenes often benefit from overcast conditions because glare is controlled and color becomes the separating cue. Ask what the light is revealing. If it is not revealing texture, form, atmosphere or hierarchy, wait, move or choose a subject that fits the conditions.
4. There is no visual pathway
The diagnosis: the eye enters the frame, finds several unrelated objects and has no reason to move toward the subject. The photograph may have foreground, middle ground and background, but the layers feel like separate pictures stacked together.
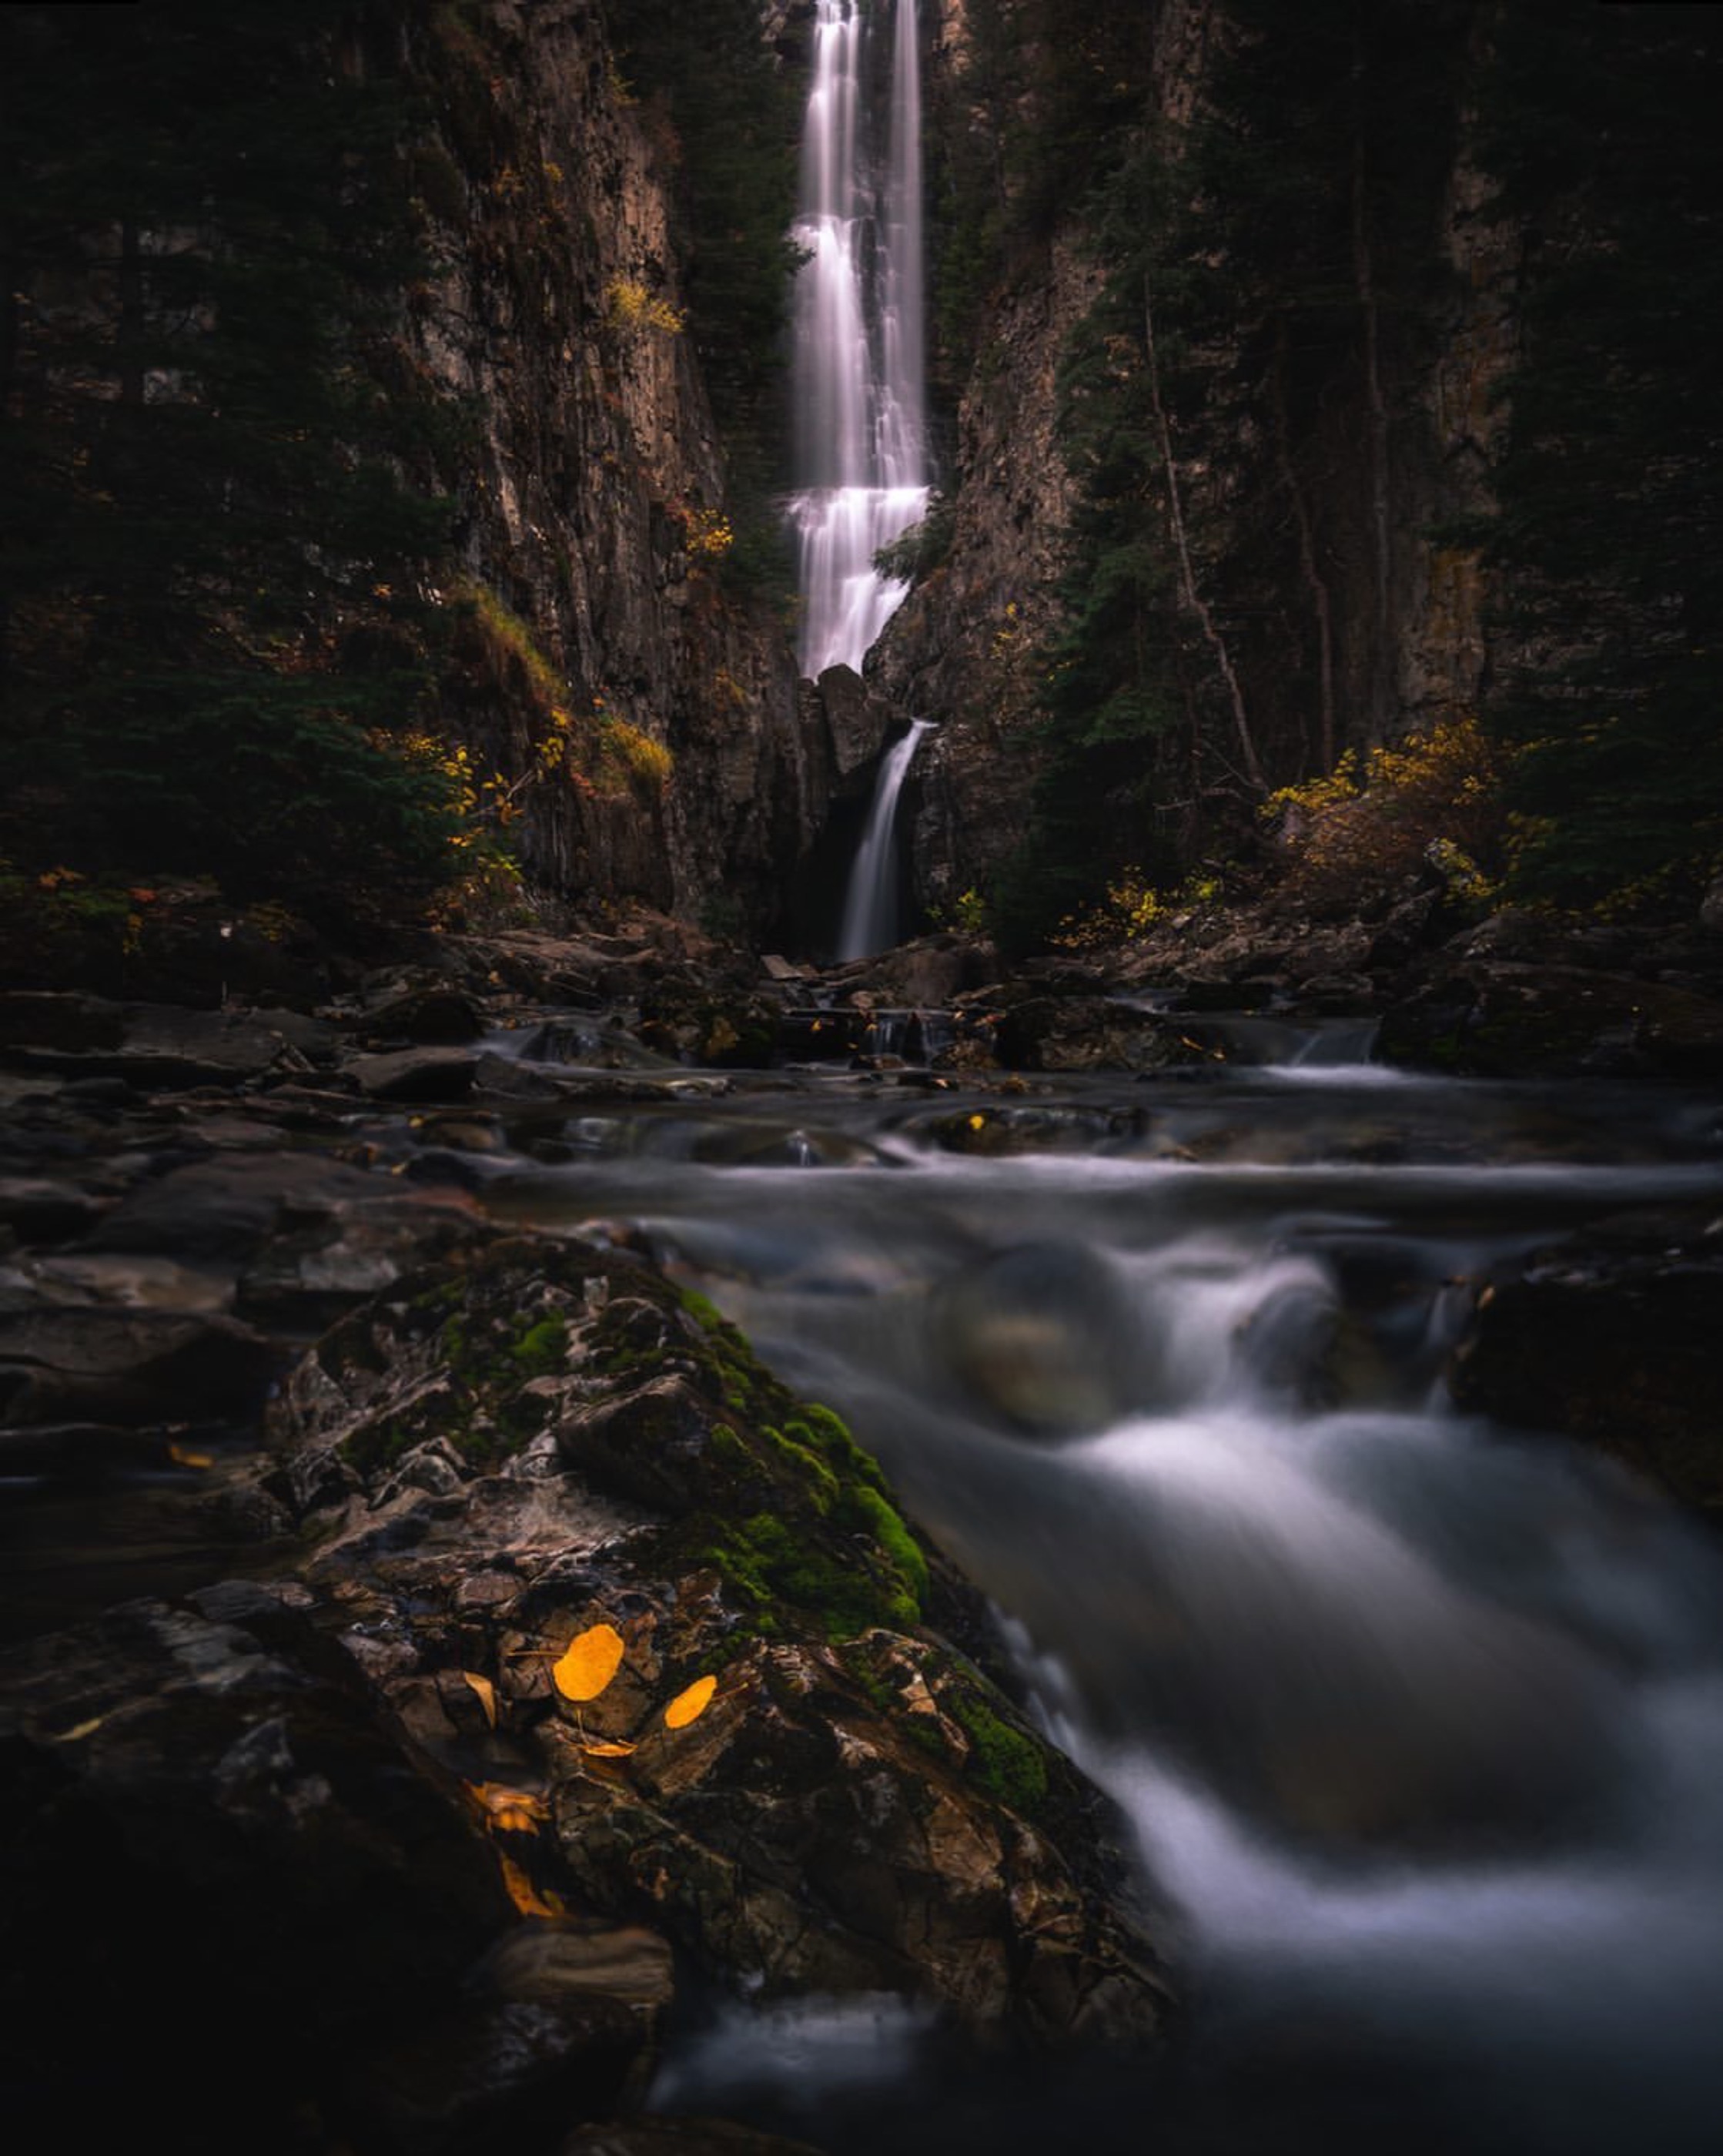
The fix: connect the layers with visual flow. A riverbank, road, shadow or crack can become a literal leading line, but the route does not have to be continuous. A bright foreground shape can hand attention to a curve in the middle ground, which points toward a distant peak. Repeated forms, stepping stones of light and warm-to-cool color shifts can all guide the same journey.
Trace the route before pressing the shutter. Where does the eye enter? What does it touch next? Where does it arrive? Watch for a bright edge, branch or patch of sky that steals attention halfway through. Good flow does not force the viewer to follow an arrow. It makes exploring the photograph feel natural.
5. The lens is working against the scene
The diagnosis: the grand mountain looks small, the foreground feels stretched or the distant layers merge into one strip. Lens choice changes the apparent relationship among subjects, but the useful choice depends on the story. A wider view is not automatically deeper. A longer view is not automatically flatter.
The fix: use a wide angle lens when a nearby foreground and the distant subject need to interact. Move close to the foreground so the near-to-far relationship becomes visible, then protect the edges and make sure the background still matters. If the foreground is weak or the mountain is the real subject, a longer lens may create the stronger photograph.
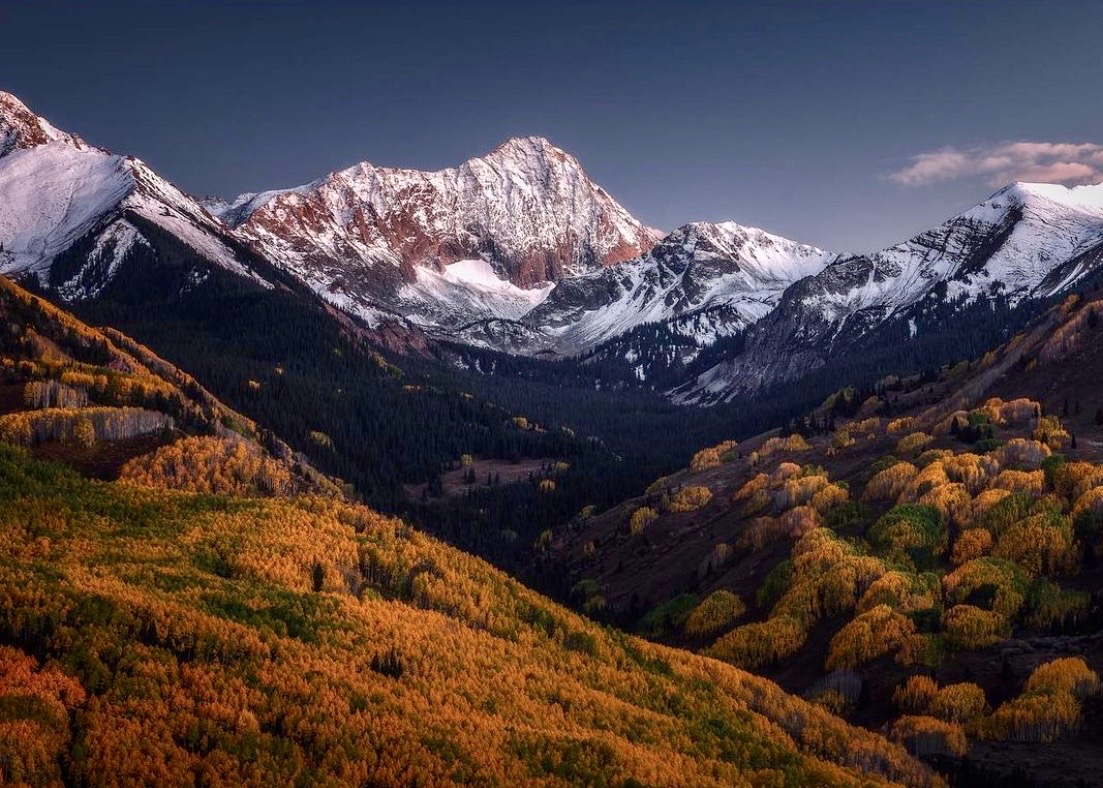
Telephoto compression can make overlapping ridges, trees or bands of weather feel dense and dimensional. The lens does not physically compress the landscape; the distant camera position and narrow angle of view reveal those layers with less space between them. Test both interpretations when the scene allows it: an immersive near far composition and a tighter study of overlapping distance.
- Choose wide angle for foreground scale, immersion and strong near far relationships
- Choose a normal or telephoto view for distant layers, isolation and overlap
- Change camera position after changing focal length; perspective comes from where the camera stands
6. Everything has equal importance
The diagnosis: every rock, tree, cloud and patch of color asks for attention at the same volume. When nothing is allowed to lead, the viewer cannot tell what the photograph is about. The result often feels both busy and flat because visual weight is spread evenly across the frame.
The fix: build hierarchy through contrast, brightness, color and placement. Let the subject occupy a strong position and give it the clearest light-dark separation or most purposeful color contrast. Quieter areas can still contain detail, but they should support the subject instead of competing with it. Darkening a corner, waiting for a cloud shadow or moving a bright object away from the edge can be enough.
Squint at the scene or the edit. The fine detail disappears and the largest light-dark shapes remain. If your eye still goes to the subject first, the hierarchy is working. If three areas shout equally, simplify the composition or decide which one should be quiet.
7. The edit removed the depth
The diagnosis: the raw file had atmosphere and separation, but global adjustments made every distance equally crisp, bright, saturated and warm. Opening all the shadows can erase form. Adding the same clarity everywhere can pull the background forward. Removing haze can destroy the soft transition that told the eye how far away a ridge was.
The fix: edit locally and protect differences between layers. Keep stronger texture and local contrast where the viewer enters. Let distant forms remain slightly softer or cooler with lower contrast when the natural atmosphere supports it. Use small tonal adjustments to separate overlapping shapes and guide brightness along the route you want the eye to travel.
Color should reinforce the light that was present. A subtle warm foreground against a cooler background can strengthen distance; an extreme orange-and-blue split usually announces the edit before it explains the landscape. Start with a useful profile, make restrained global corrections and then shape individual areas only where the composition needs help.
Pre-shutter depth checklist
Run this checklist after the composition feels close, not while you are still reacting to the first view. It takes less than a minute and separates a deliberate frame from a record of where you stood.
- Name the subject: where should the viewer arrive?
- Identify foreground, middle ground and background: does each layer have a job?
- Choose the entry point: is the foreground inviting the eye in or blocking it?
- Trace the visual path: what connects the entry point to the subject?
- Read the light and weather: where do shadow, atmosphere or color separate forms?
- Test the lens decision: would a wider near far view or a tighter layered view tell the story better?
- Check hierarchy: when you squint, does the subject still win?
- Clean the edges: is anything bright, cut off or merging in a way that pulls the eye out?
- Protect the depth in the edit: note which differences in texture, tone and color must remain believable later
Fix the missing cue, not the whole photograph
Most flat landscape photographs do not need every technique in this guide. One may need a lower camera and a foreground anchor. Another may need a longer lens so distant ridges overlap. A third may already have a strong composition and only needs the atmospheric softness protected during editing.
Make the smallest change that restores the missing relationship. That restraint keeps the picture grounded in what it felt like to stand there. Once the photograph has an entry point, a path and a clear destination, stop adding depth for its own sake. The goal is not to prove that the image is three-dimensional. The goal is to help the viewer feel the landscape.
Frequently asked questions
Why do my landscape photos look flat?
A landscape usually looks flat when the frame is missing one or more depth cues: clear near-to-far layers, overlap, directional light, atmosphere, scale, visual flow or tonal and color separation. The camera records a two-dimensional image, so those cues must be included intentionally.
How do I create depth in a landscape photograph?
Start with distinct foreground, middle ground and background layers. Give the eye an entry point and connect it to the subject with leading lines, repeated shapes, light or contrast. Differences in scale, detail, color and atmosphere reinforce the distance.
What lens is best when a landscape looks flat?
Use a wide angle lens when a strong nearby foreground can interact with the background. Use a normal or telephoto lens when distant layers, overlap and compression create the better story. Camera position and subject distance matter more than the focal-length label alone.
Why do mountains look smaller and flatter in photos?
A wide lens from a distant viewpoint gives the mountain less space in the frame and may include a large, weak foreground. Move closer to a useful near subject for an immersive composition. You can also use a longer lens to give the mountain more visual weight and reveal overlapping ridges.
What lighting creates the most depth in landscape photography?
Directional side light is reliable because highlight and shadow reveal texture and form. Backlight, fog, rain, dust and broken storm light can also separate layers. Soft overcast light works when color, atmosphere or subject separation supplies the depth instead of strong shadows.
How do I add depth while editing a landscape photo?
Use local adjustments to preserve differences among distances. Keep stronger texture and contrast near the entry point, allow distant layers to remain softer when appropriate, separate overlapping tones and guide brightness along the visual path. Avoid applying the same clarity, saturation and shadow recovery everywhere.
Before adding more contrast, name the depth cue that is missing. The right diagnosis keeps the fix believable.