A wide angle lens changes relationships, not importance
A wide angle lens does not automatically make a landscape feel dramatic. It changes the apparent relationship between objects. Anything near the camera grows in the frame while distant features become smaller and seem farther away. That can create depth. It can also reduce a mountain to a background detail surrounded by empty space.
The beginner question is, ‘How much can I fit?’ The more useful question is, ‘What relationship am I creating?’ I choose a wide lens when I want the foreground, middle distance and background to interact. The lens gives me room to build that relationship, but composition decides whether it means anything.
Treat focal length as a visual decision rather than a gear decision. Before changing lenses, name the subject and decide where the viewer should enter the frame, what should carry the eye and where the journey should end.
The common mistake: including everything
The most common wide angle mistake is stepping back until the entire view fits. The result often contains more information but less meaning: a tiny subject, a vacant foreground, a weak visual path and several edges that do not support the photograph.
When the frame feels empty, my first answer is usually not a longer lens. I get closer. Move toward the rock, flower, tree or pattern that deserves to begin the story. Lower the camera, raise it or move a few feet sideways until that foreground has useful shape and clear separation. A small object near the lens can carry more visual weight than a large object far away.
Getting closer does not mean filling every corner. It means choosing one nearby form and letting it earn the space. If the foreground still has no job after you move, remove it from the composition or choose a focal length that does not depend on it.
- Move closer when the main subject looks too small inside a broad view
- Change camera height to control how strongly the near object stretches
- Keep clean separation around the foreground so it reads as a shape instead of clutter
- Step back only when the space itself contributes scale, quiet or atmosphere
Use the foreground as the entry point
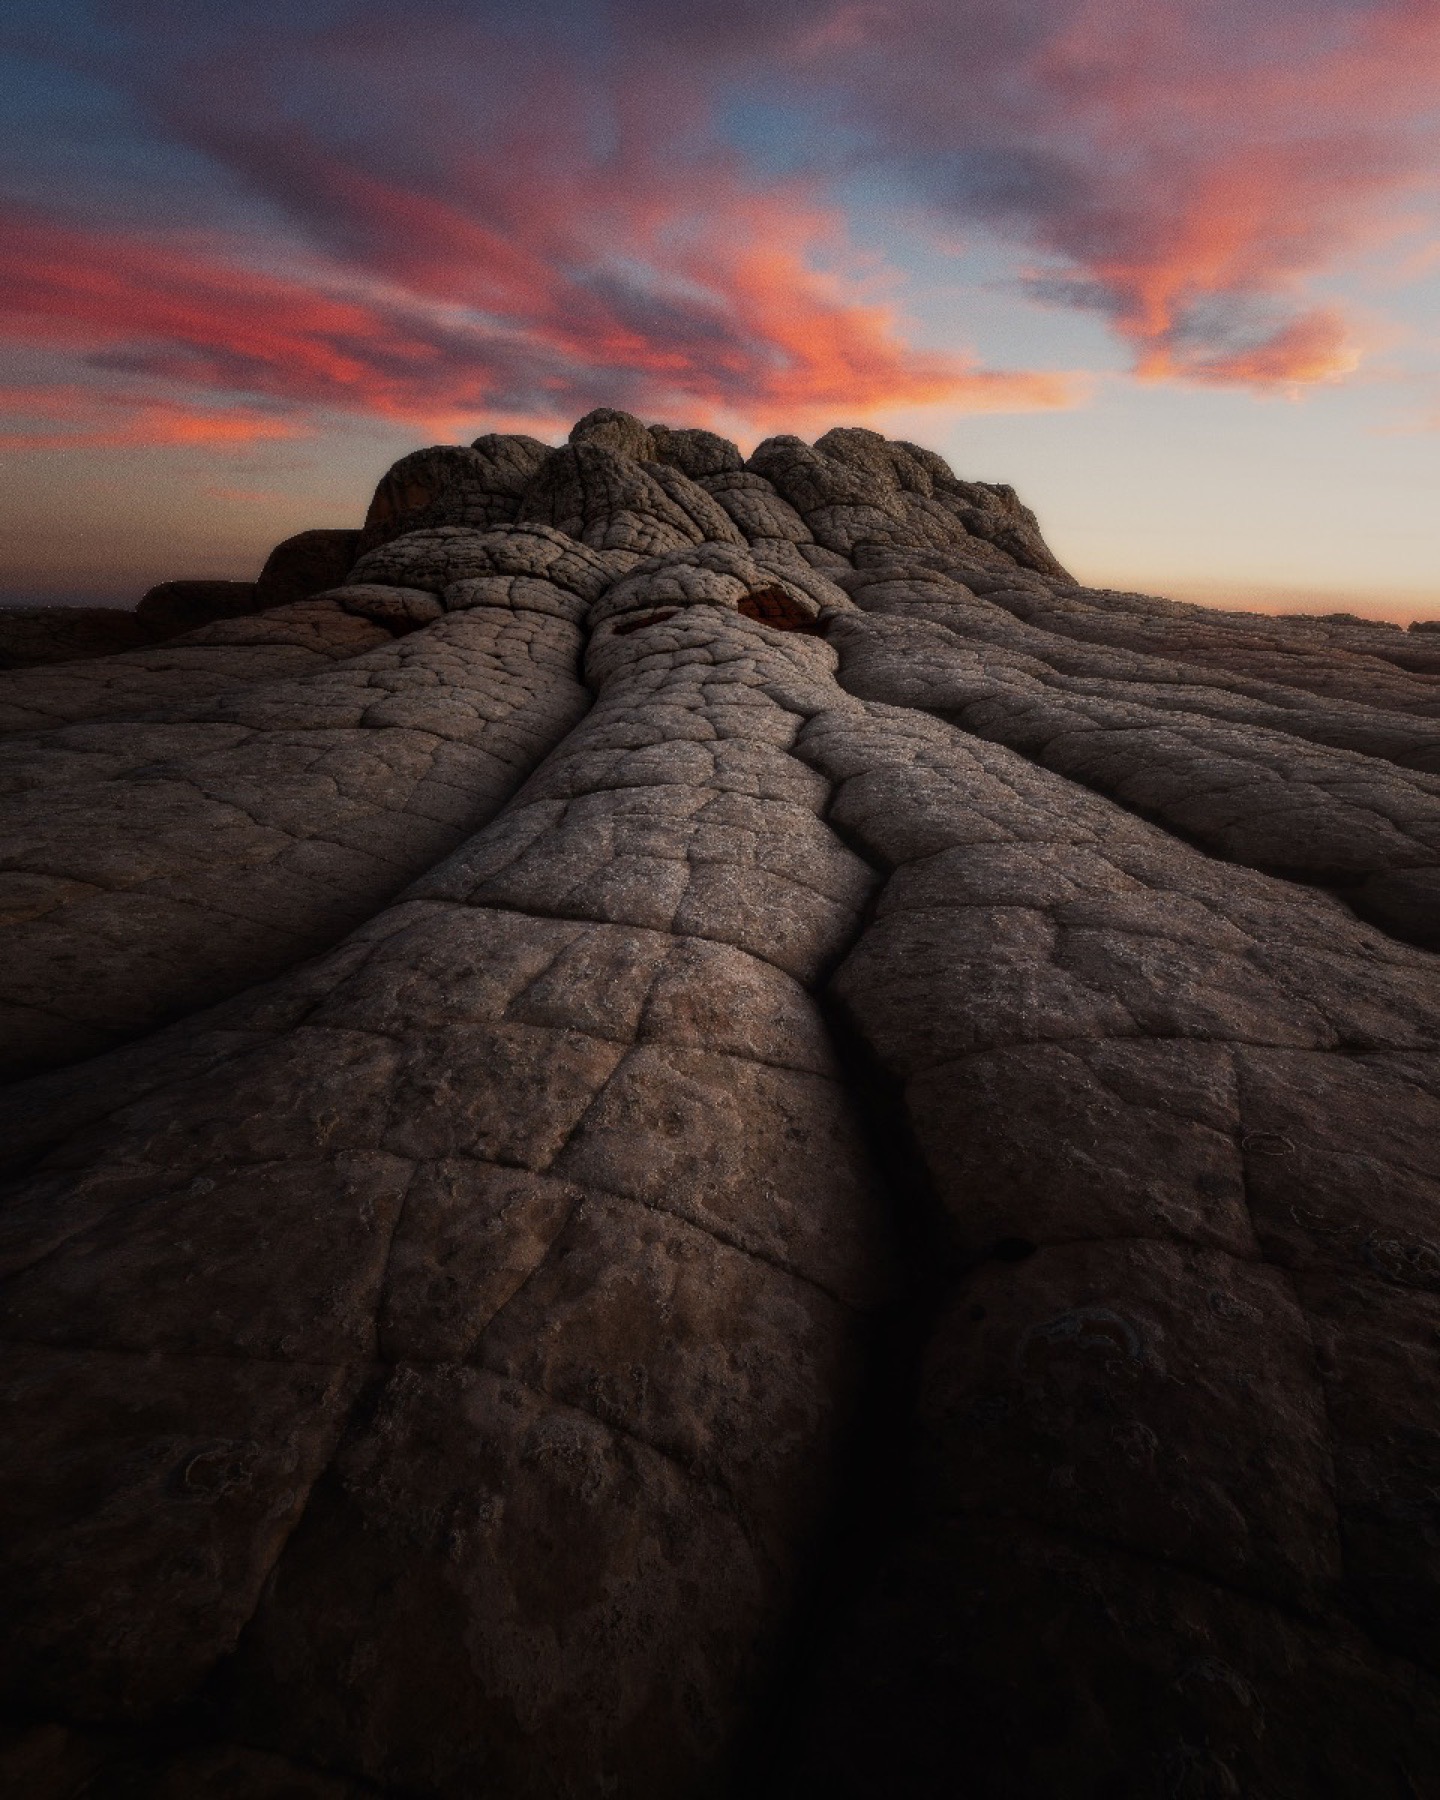
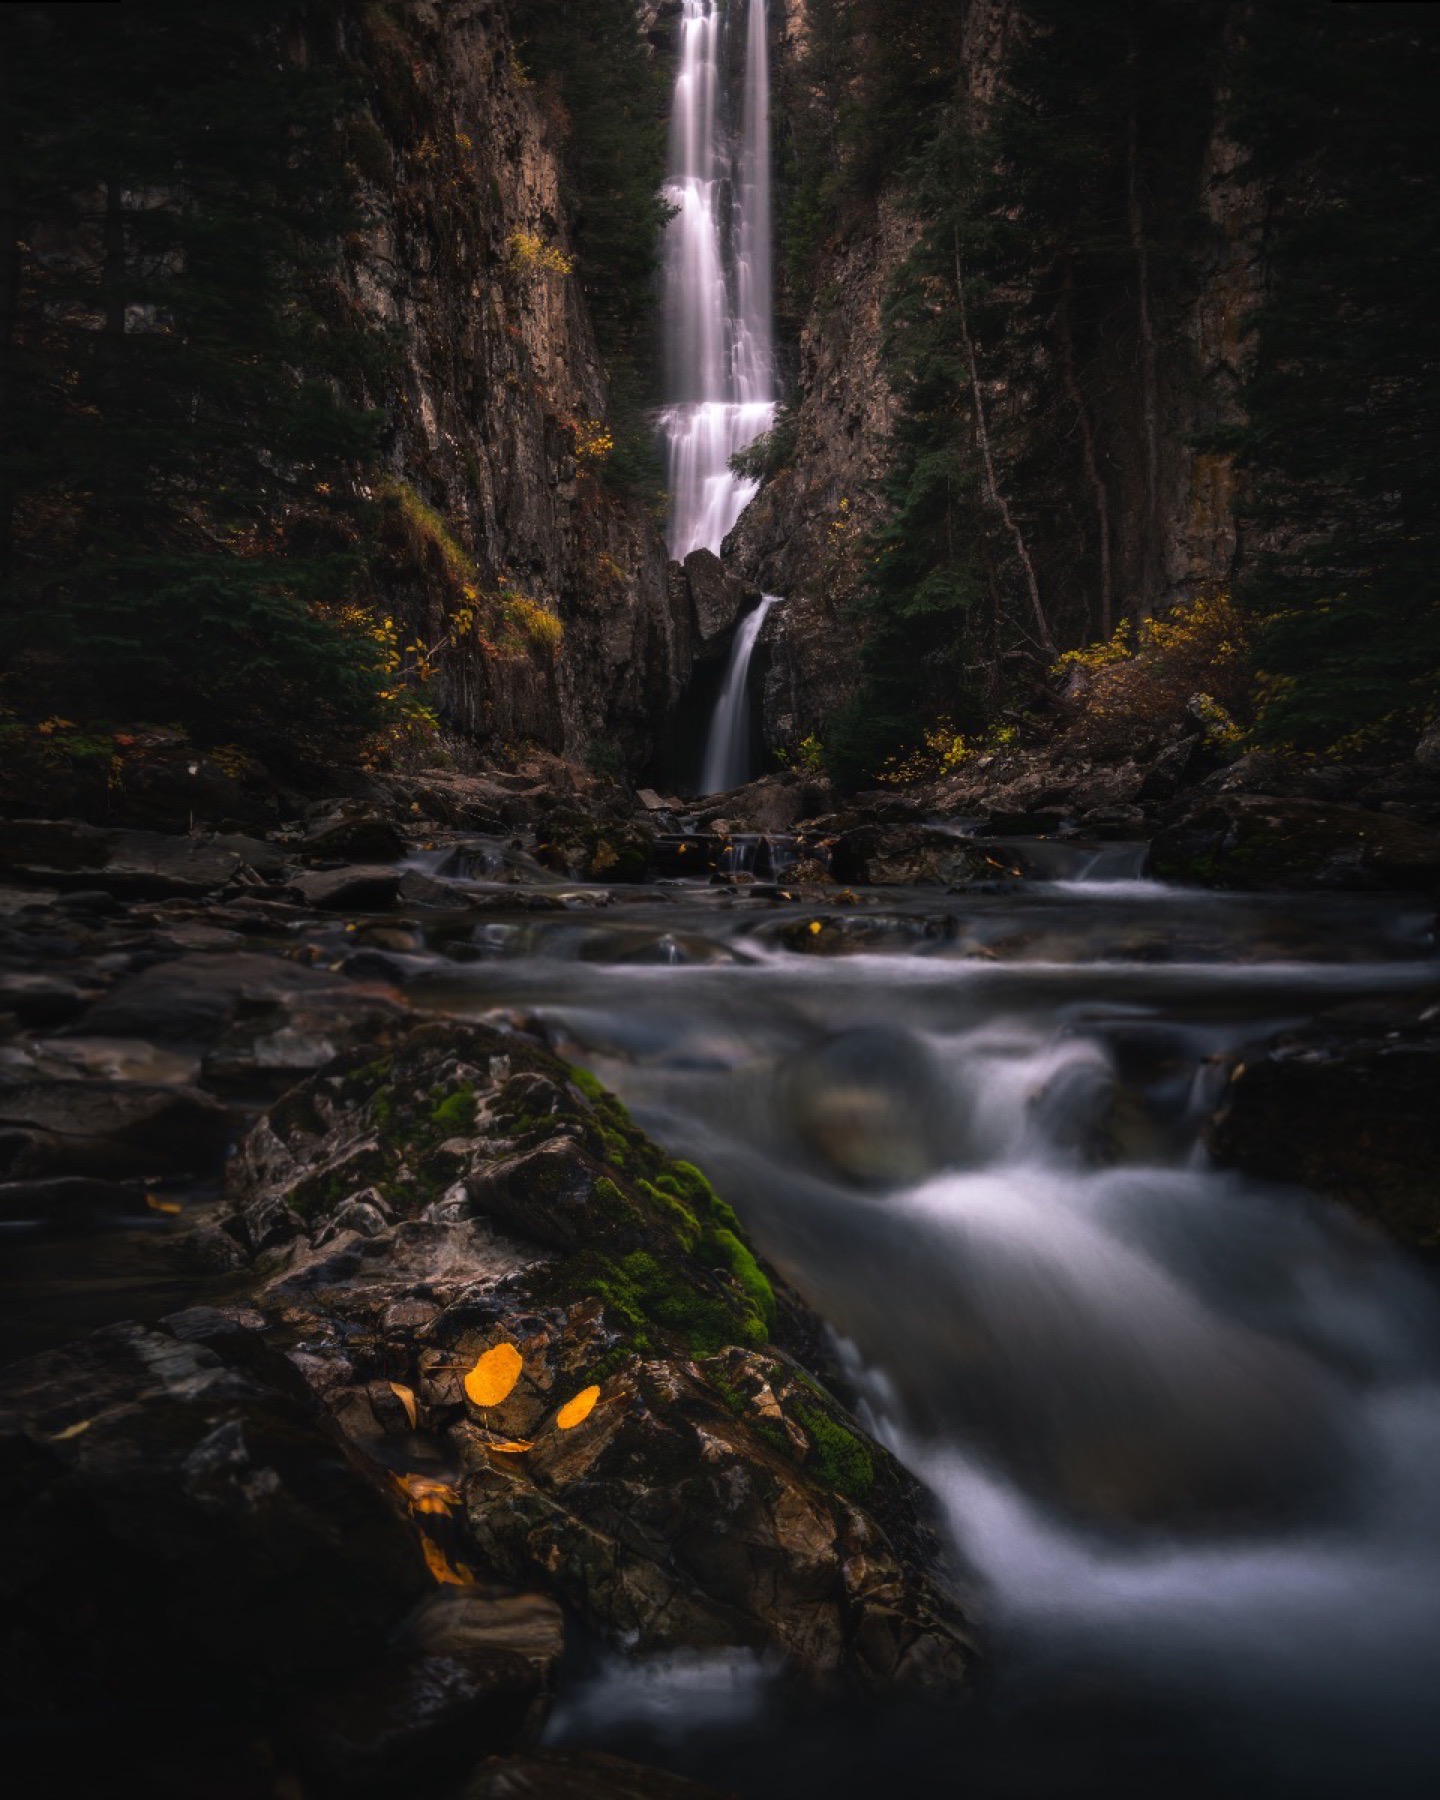
A strong foreground is not decoration. It is the entry point into the photograph. It tells the viewer where to begin, then hands attention to the next layer. Rocks, flowers, reflections, cracked earth, trails, shadows and water can all do this when their shape points into the scene rather than stopping at the bottom edge.
I think of the foreground as saying, ‘Enter here,’ while the background says, ‘Look there.’ The middle distance has to connect those instructions. Without that connection, the near object can feel pasted onto a separate landscape no matter how sharp or colorful it is.
Choose a foreground with direction. Look for a curve that turns inward, a diagonal that continues toward the subject or a repeating pattern that becomes quieter with distance. Then leave enough breathing room for the eye to move beyond it. The closest object can be the hero, but it should not become a barricade.
Build a near far composition
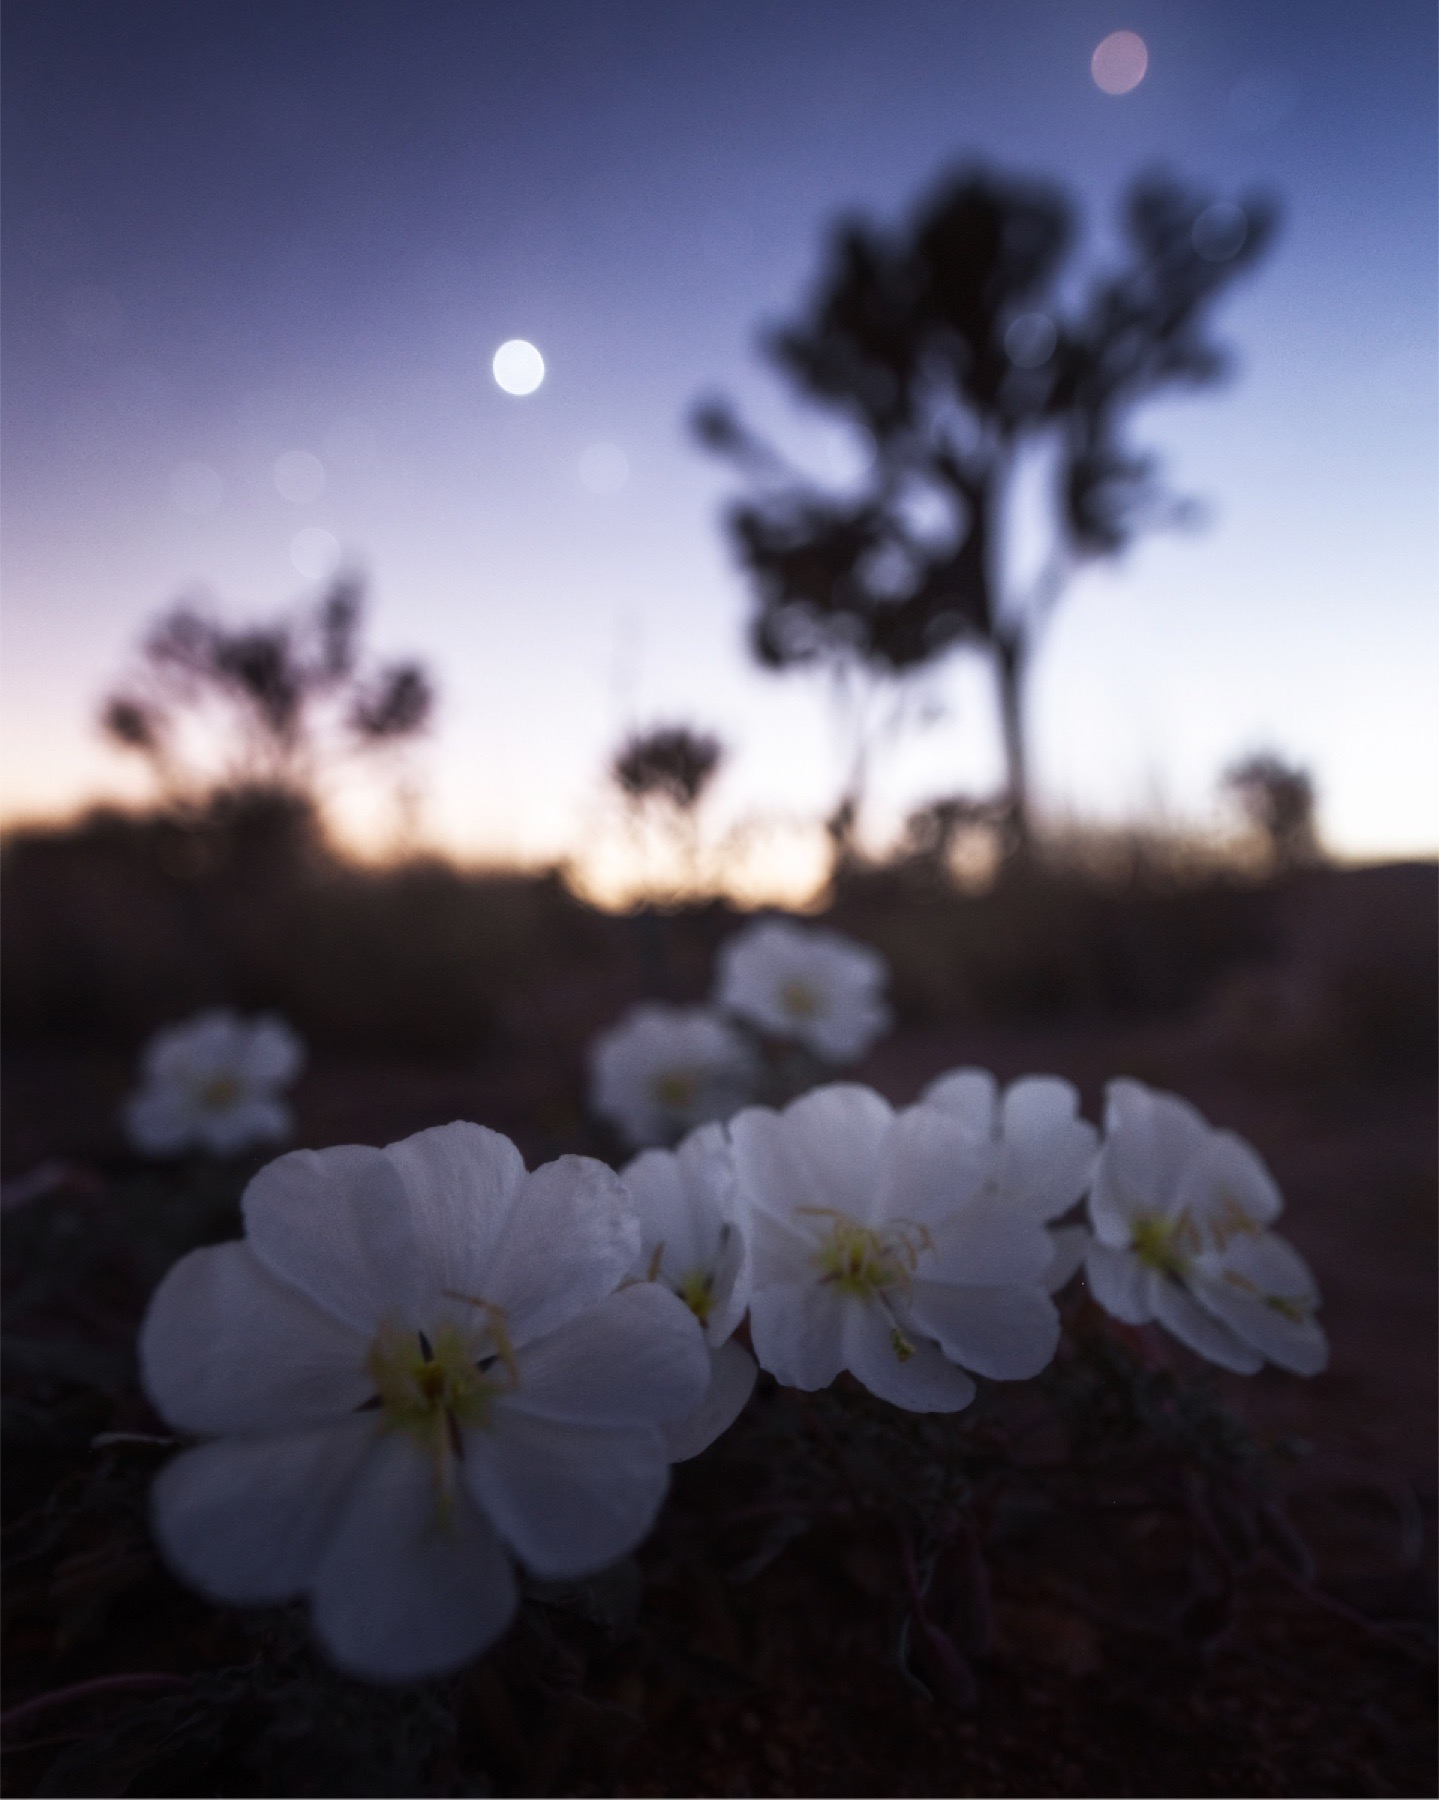
Near far composition gives each distance in the landscape a different job. The foreground is the immediate visual anchor. The middle ground is the transition that carries attention through the scene. The background is the destination. A wide angle lens can make those three layers feel connected, but only when the shapes, light or direction in one layer lead naturally into the next.
Think of flowers leading into a valley and then to the mountains, rocks guiding the eye toward a river and distant peaks or textured earth opening into a landscape beneath the sky. In each example, the foreground creates immersion, the middle ground prevents a visual jump and the background completes the story.
The layers do not need equal attention. Decide which one is the subject, then let the other two support it. If the foreground is vivid and close, simplify the middle ground. If the mountain is the subject, keep the foreground quieter and use it as a directional cue rather than a competing destination.
How close is too close?
Get close enough to create scale, but stay far enough away to maintain the overall story. When you remain too far from the nearest useful subject, the foreground loses weight and every layer can feel equally distant. When you move too close, the foreground can swallow the frame, hide the middle ground and reduce the background to context instead of a destination.
Start where the foreground reads clearly, then move forward in small steps. At each position, check three things: does the near object still have a clean shape, can the eye move around or beyond it and does the background retain enough visual importance? Stop moving closer when one of those relationships begins to break.
Camera height matters as much as distance. A slight rise can reveal space between overlapping shapes, while a lower position can make the foreground feel more immersive. The right distance is not measured in inches or feet. It is the point where the near subject adds scale without taking over the photograph.
- Too far: the foreground feels weak and the scene loses its entry point
- Too close: the foreground dominates and the background loses importance
- Balanced: the foreground creates scale while the middle ground and background complete the story
Build distance and scale deliberately
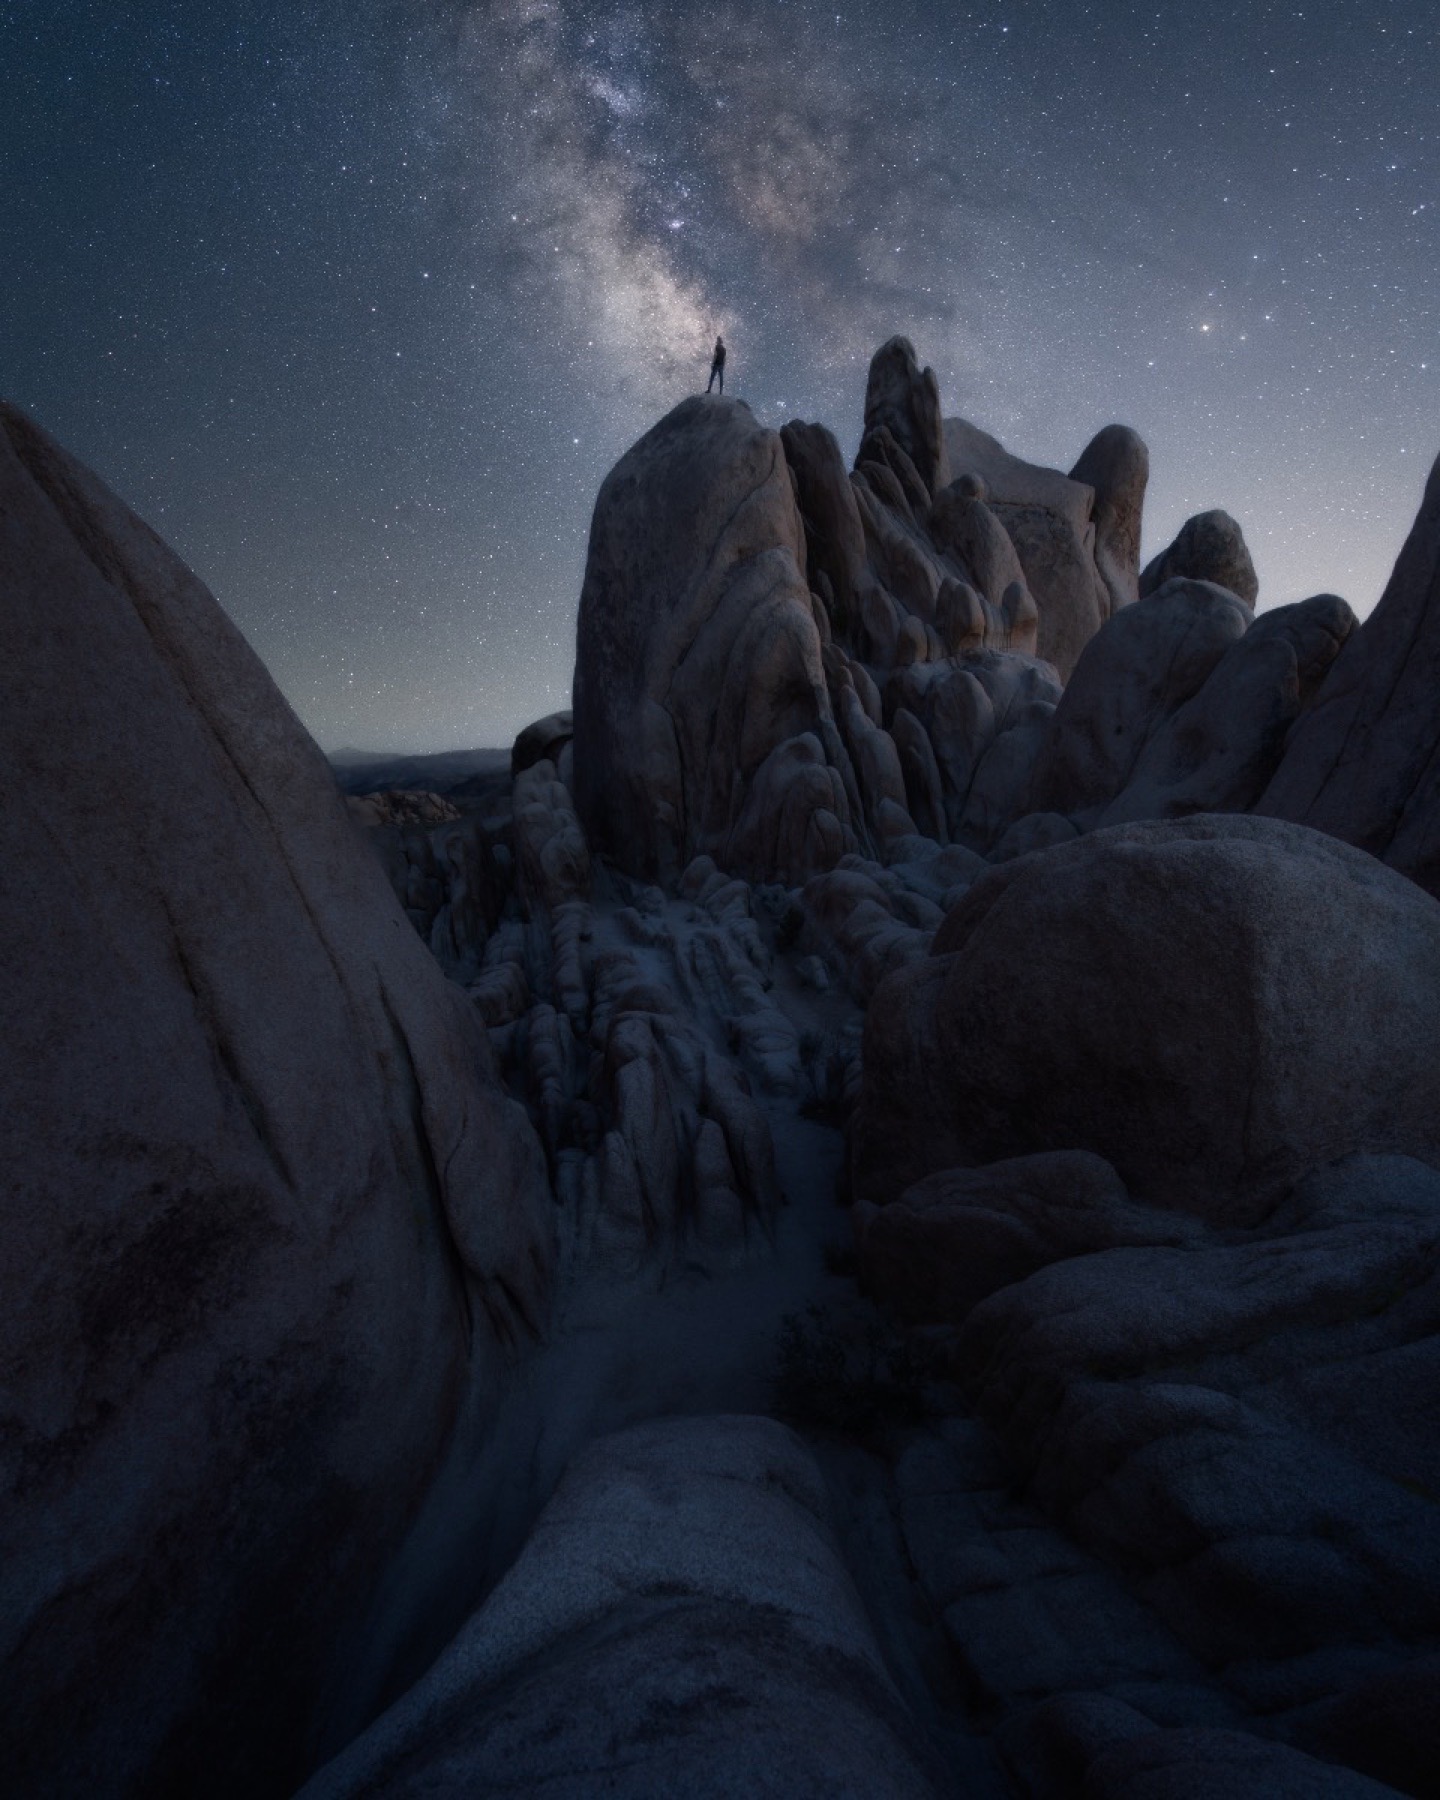
Wide lenses exaggerate the difference between near and far. A wildflower a few inches from the lens can feel as important as a mountain miles away. A person on a ridge can make the terrain feel immense. Neither subject changed size; the camera position changed their visual relationship.
This is why distance matters more than the focal-length label. Move the camera closer to the foreground and it grows quickly. Move the camera backward and the near-to-far relationship becomes quieter. Zooming from 24mm to 14mm without moving simply includes more of the scene. Moving after you change focal length is what redesigns the perspective.
The dramatic perspective associated with an ultra-wide image is created primarily by camera position and the distance between subjects, not by the lens alone. A wide lens encourages you to move closer. That closer viewpoint exaggerates the apparent size difference between near and far objects. Lens distortion can bend or stretch shapes near the edges, but perspective determines the relationship among the layers.
Use that exaggeration with a purpose. Make the foreground larger when it introduces the subject or establishes scale. Let it become smaller when the distant landform needs authority. If the mountain is the story, do not let an ordinary rock near the tripod become the loudest object only because the lens can stretch it.
- Closer camera position: stronger near-to-far scale change and more immersion
- Higher camera position: more surface area and separation between foreground shapes
- Lower camera position: more overlap and a stronger feeling of looking through the scene
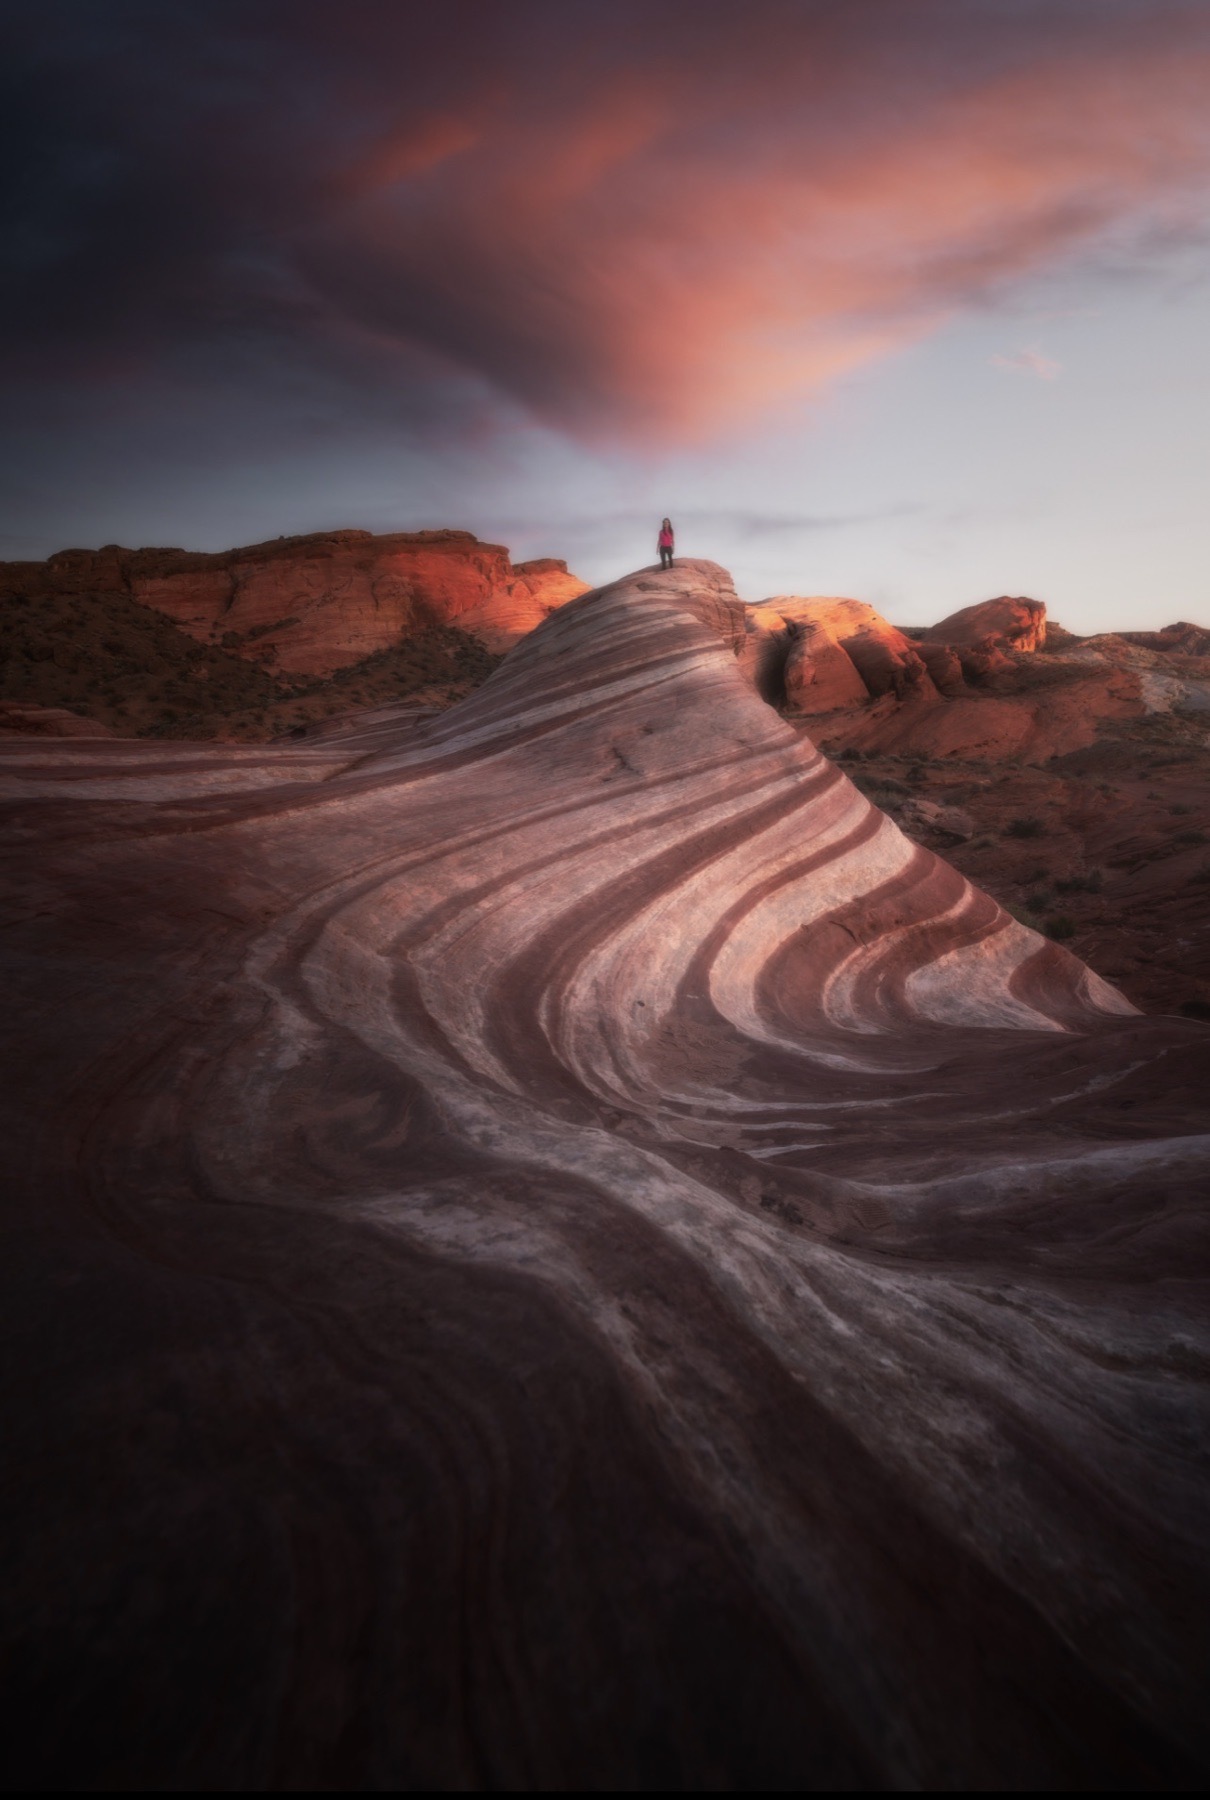
- A person or recognizable object: a clear scale reference when the terrain alone feels abstract
Clean the edges before you press the shutter
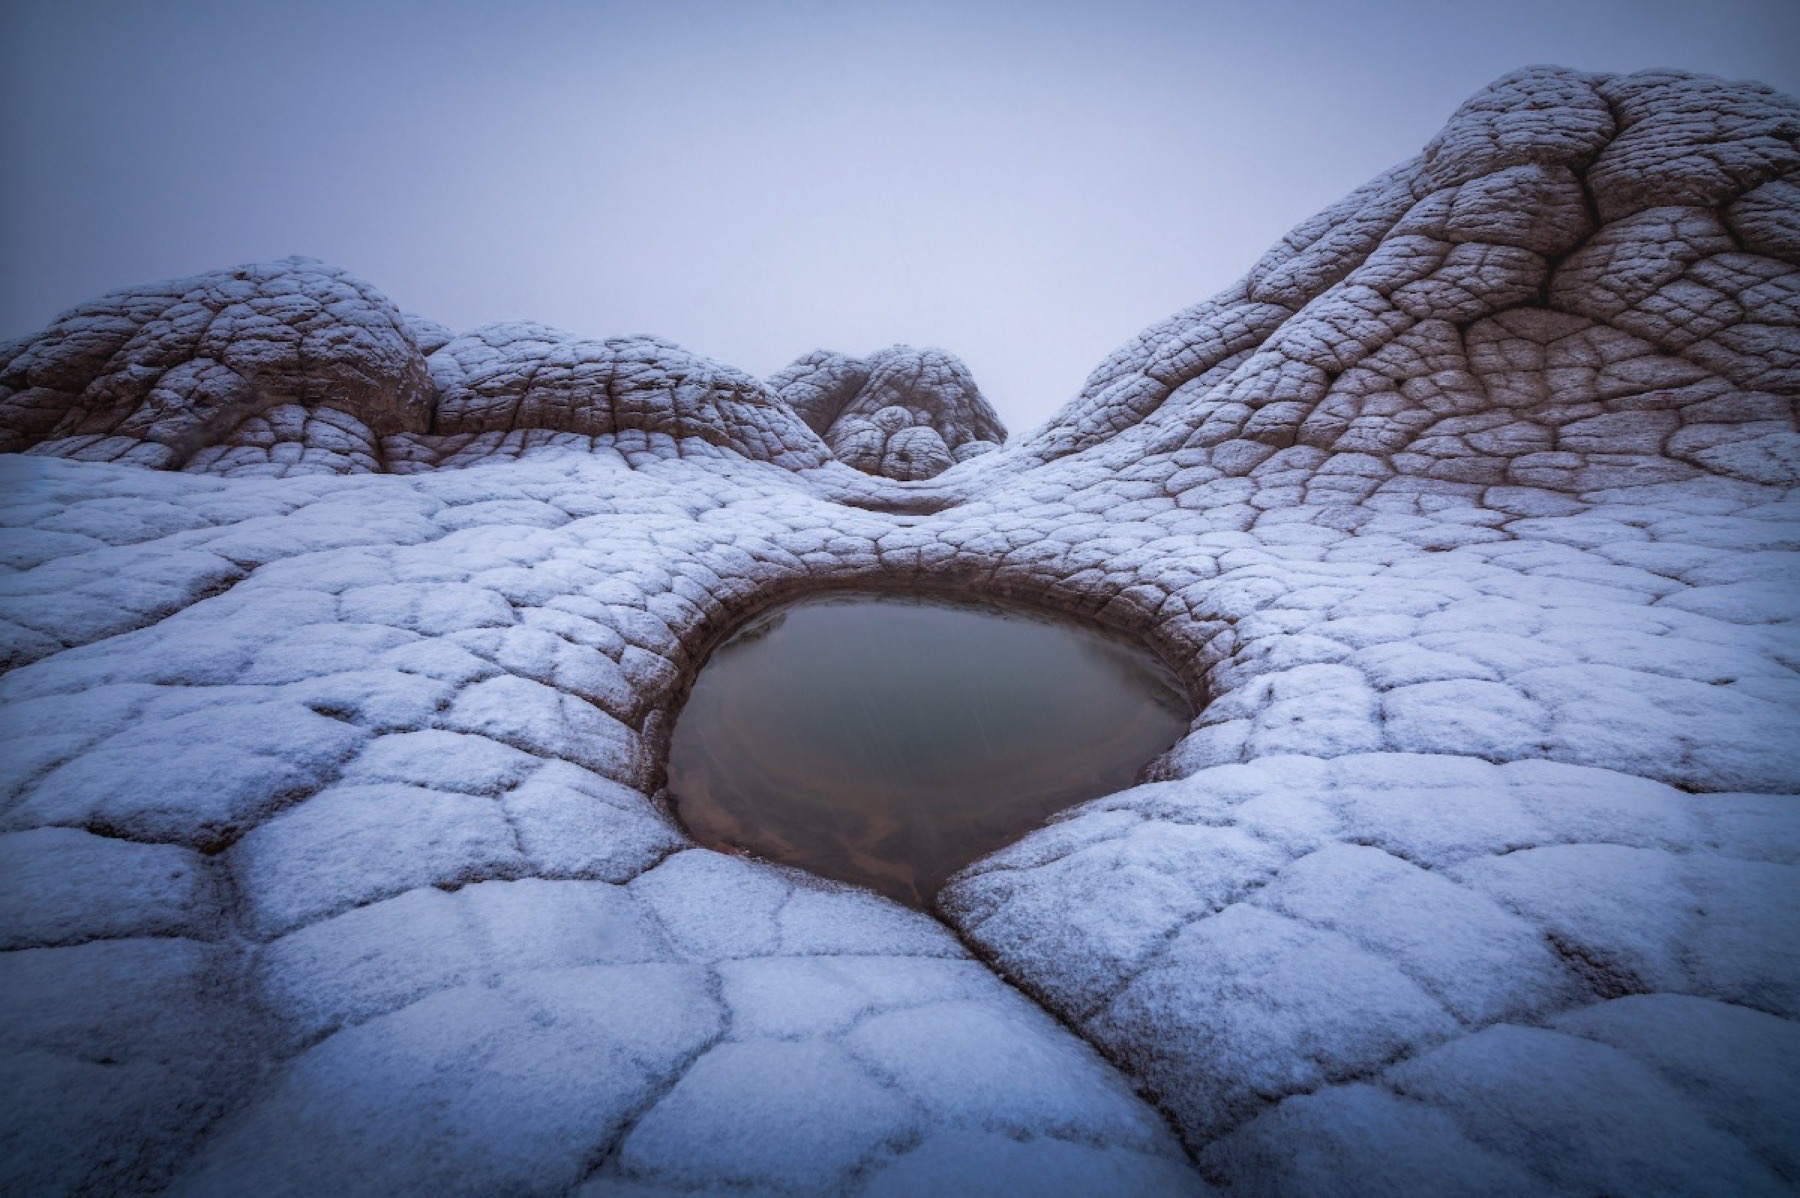
A wide angle photograph often fails at the edges before it fails in the center. The center holds the subject, so it receives most of our attention. The corners quietly collect clipped branches, bright sky gaps, half-visible rocks, tilted verticals and shapes that point out of the frame.
After the main composition is set, I make a deliberate border scan. Start in one corner and travel around all four edges. Check what enters the frame, what is cut off and where the brightest small object sits. Then move the tripod. A few inches in height or one step sideways can solve a problem that would require an obvious crop later.
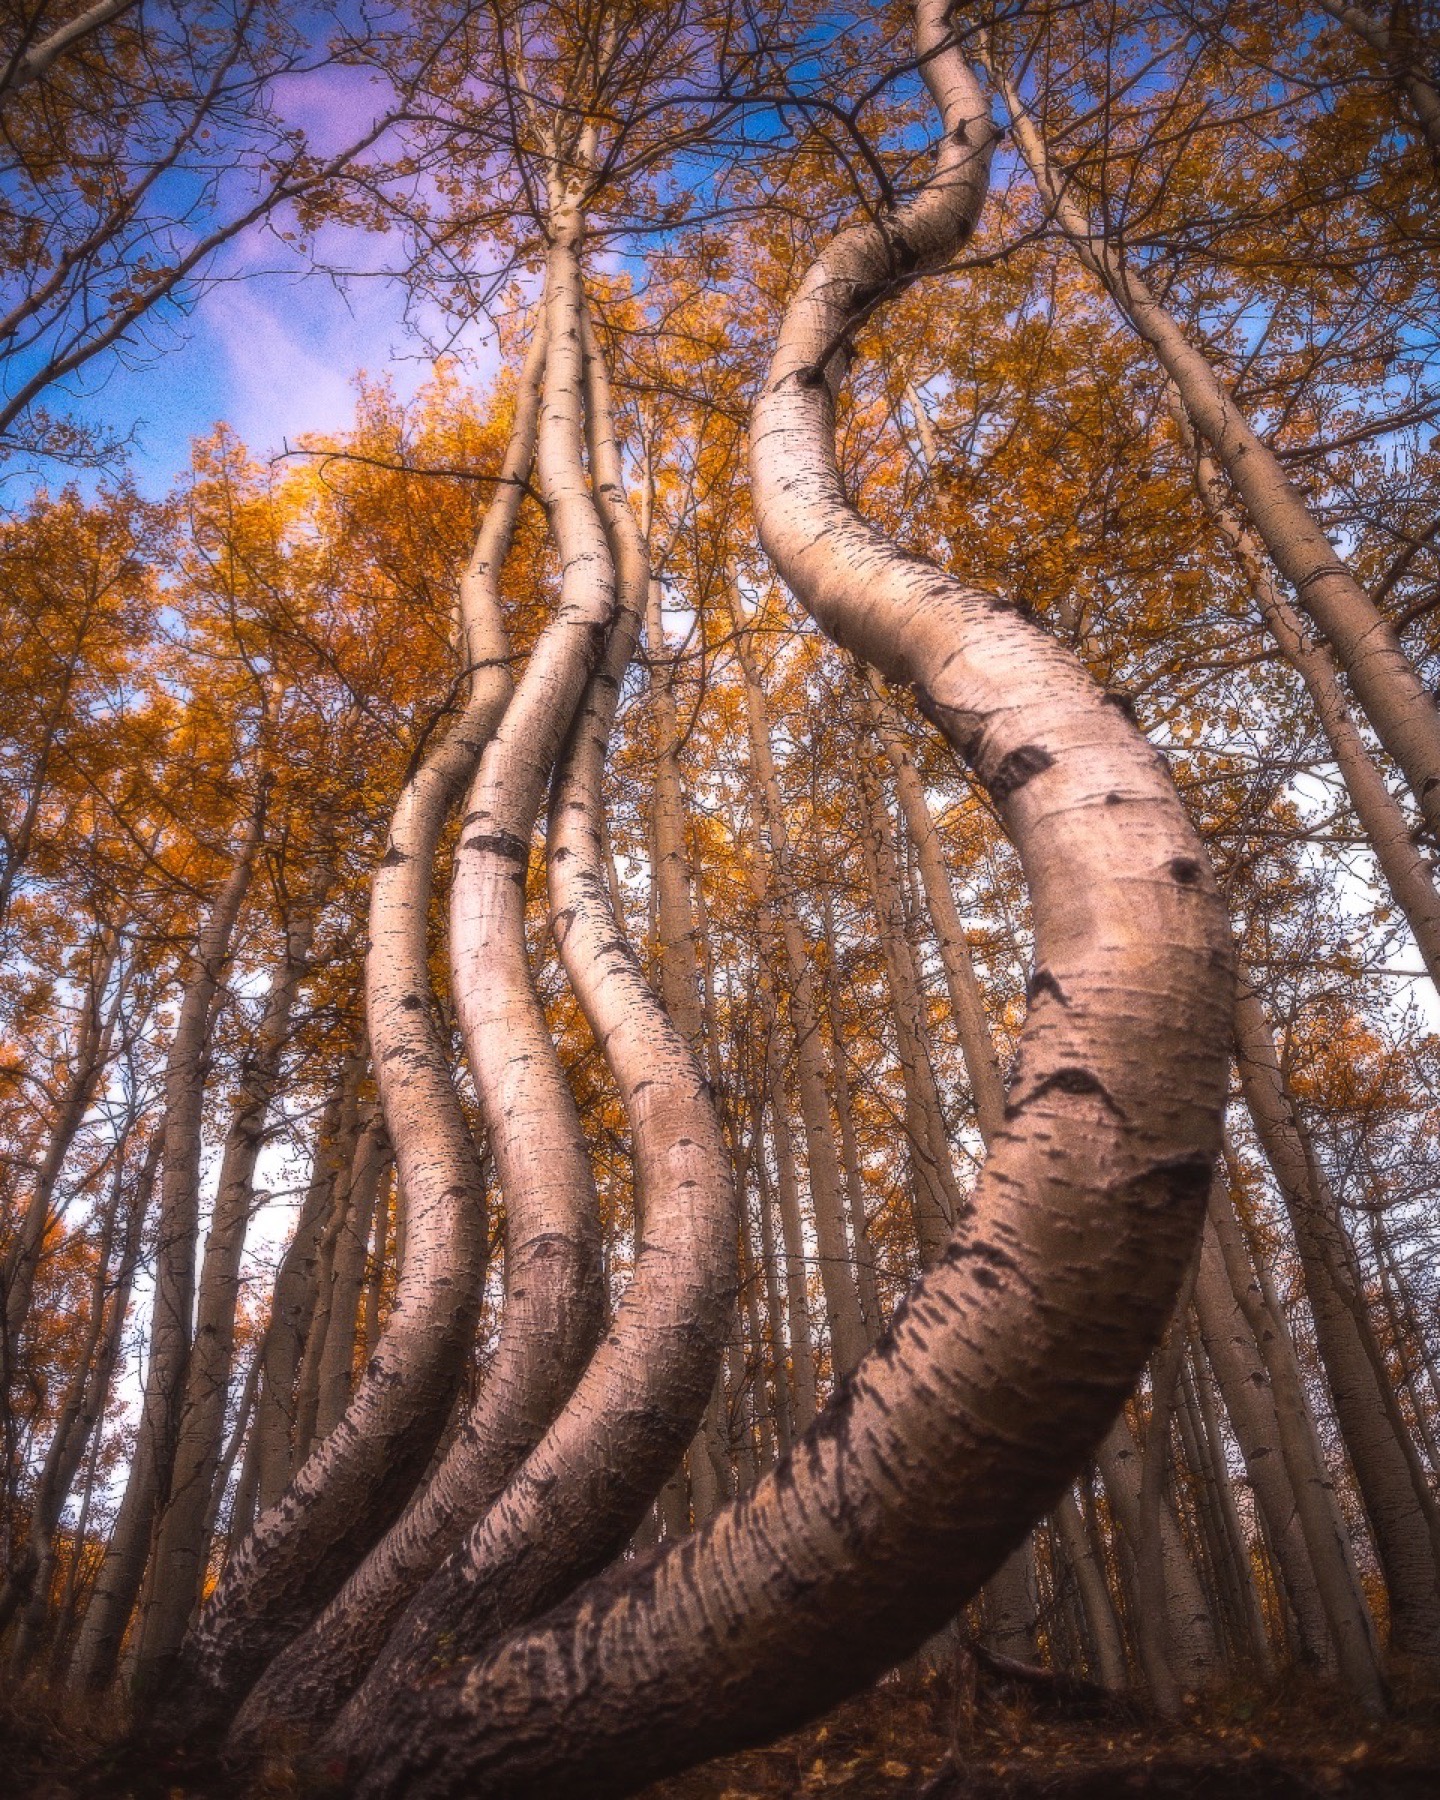
Be especially careful when tilting an ultra-wide lens. Trees and buildings near the edges lean or stretch quickly. That distortion can reinforce movement, as it does with a curving aspen, but it should look chosen. If it distracts from the subject, level the camera, move farther back or use a more moderate focal length.
- Clipped trees, flowers or rocks that look accidental
- Bright slivers of sky near a corner
- Strong lines that lead out of the frame
- Stretched people or recognizable objects near the edges
- Empty space that weakens the balance instead of creating calm
Create leading lines, visual pathways and layers
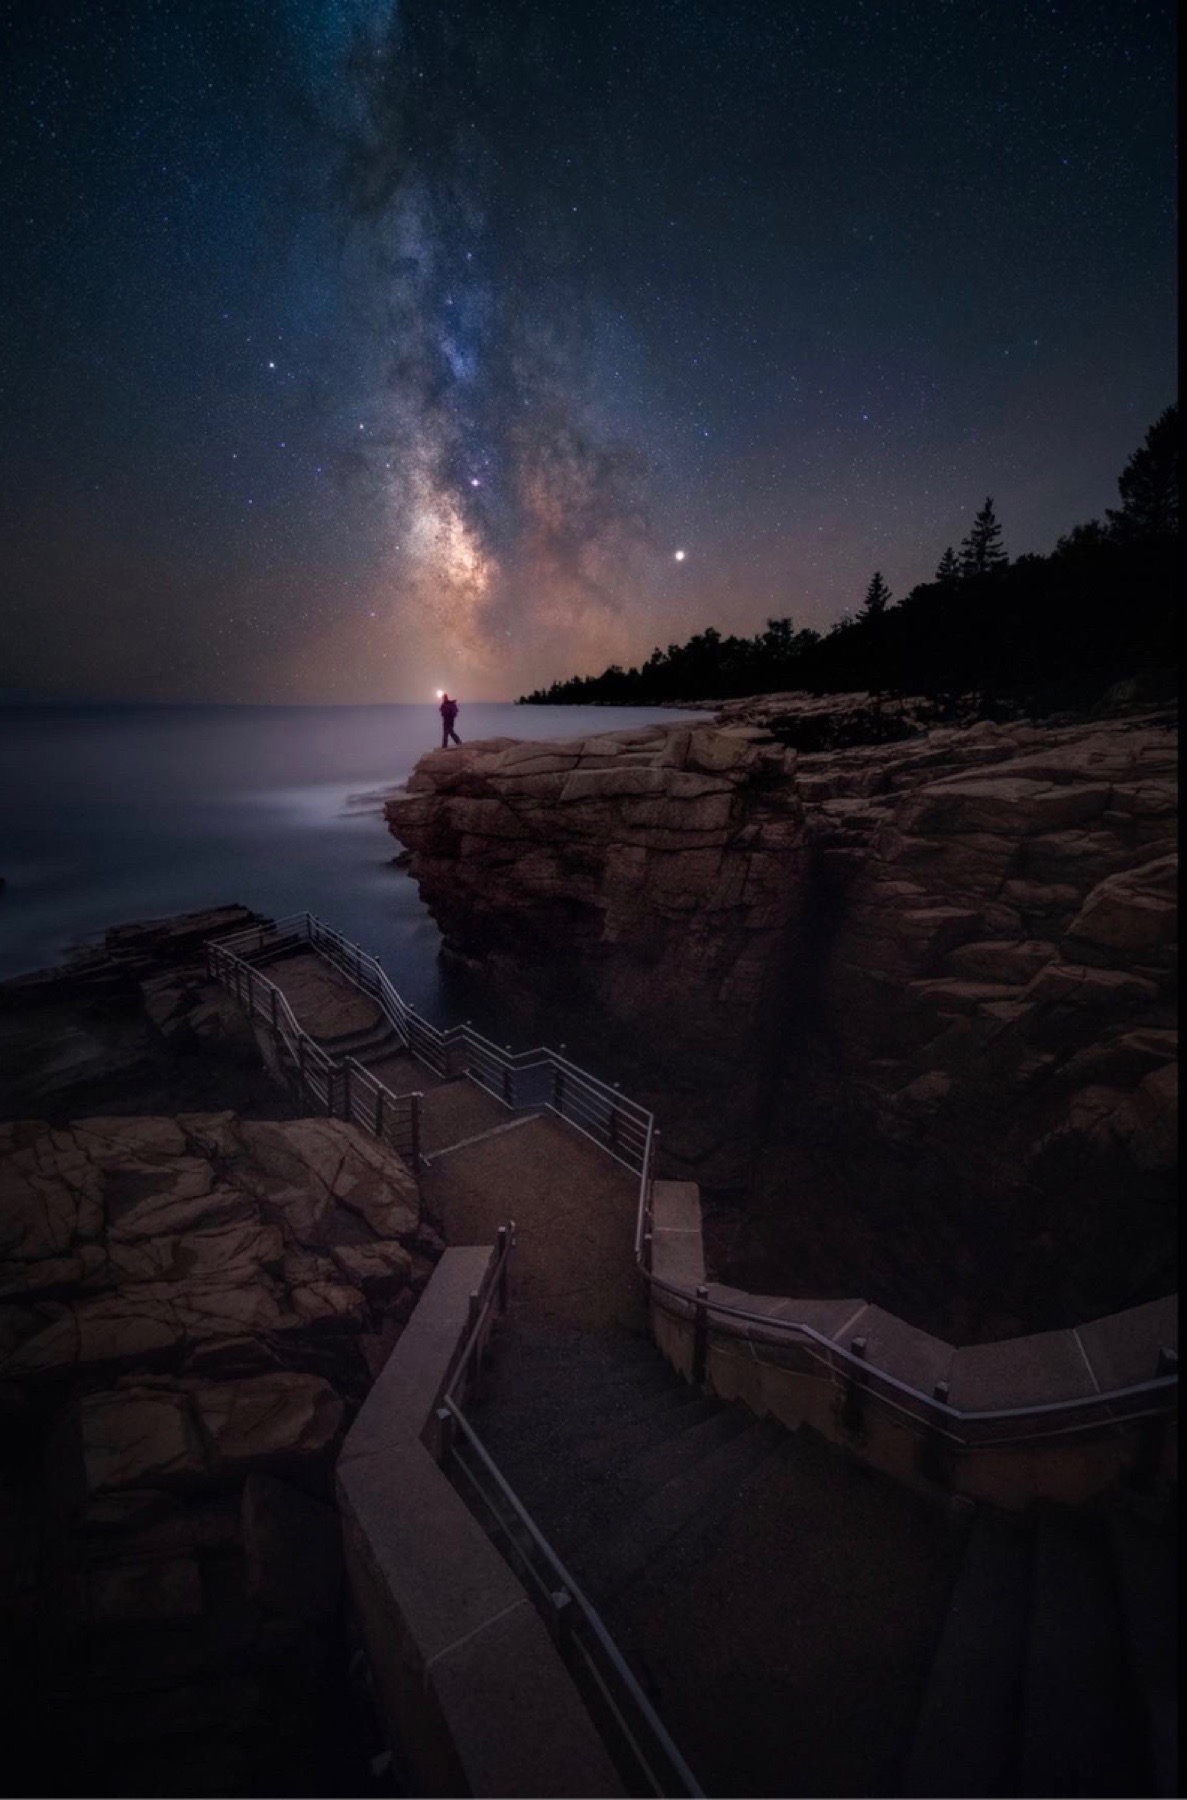
Leading lines are useful only when they lead somewhere. A road, river, staircase or sandstone curve should carry the viewer toward a subject or through a meaningful sequence. If the line exits the frame or ends in visual clutter, its strength works against the photograph.
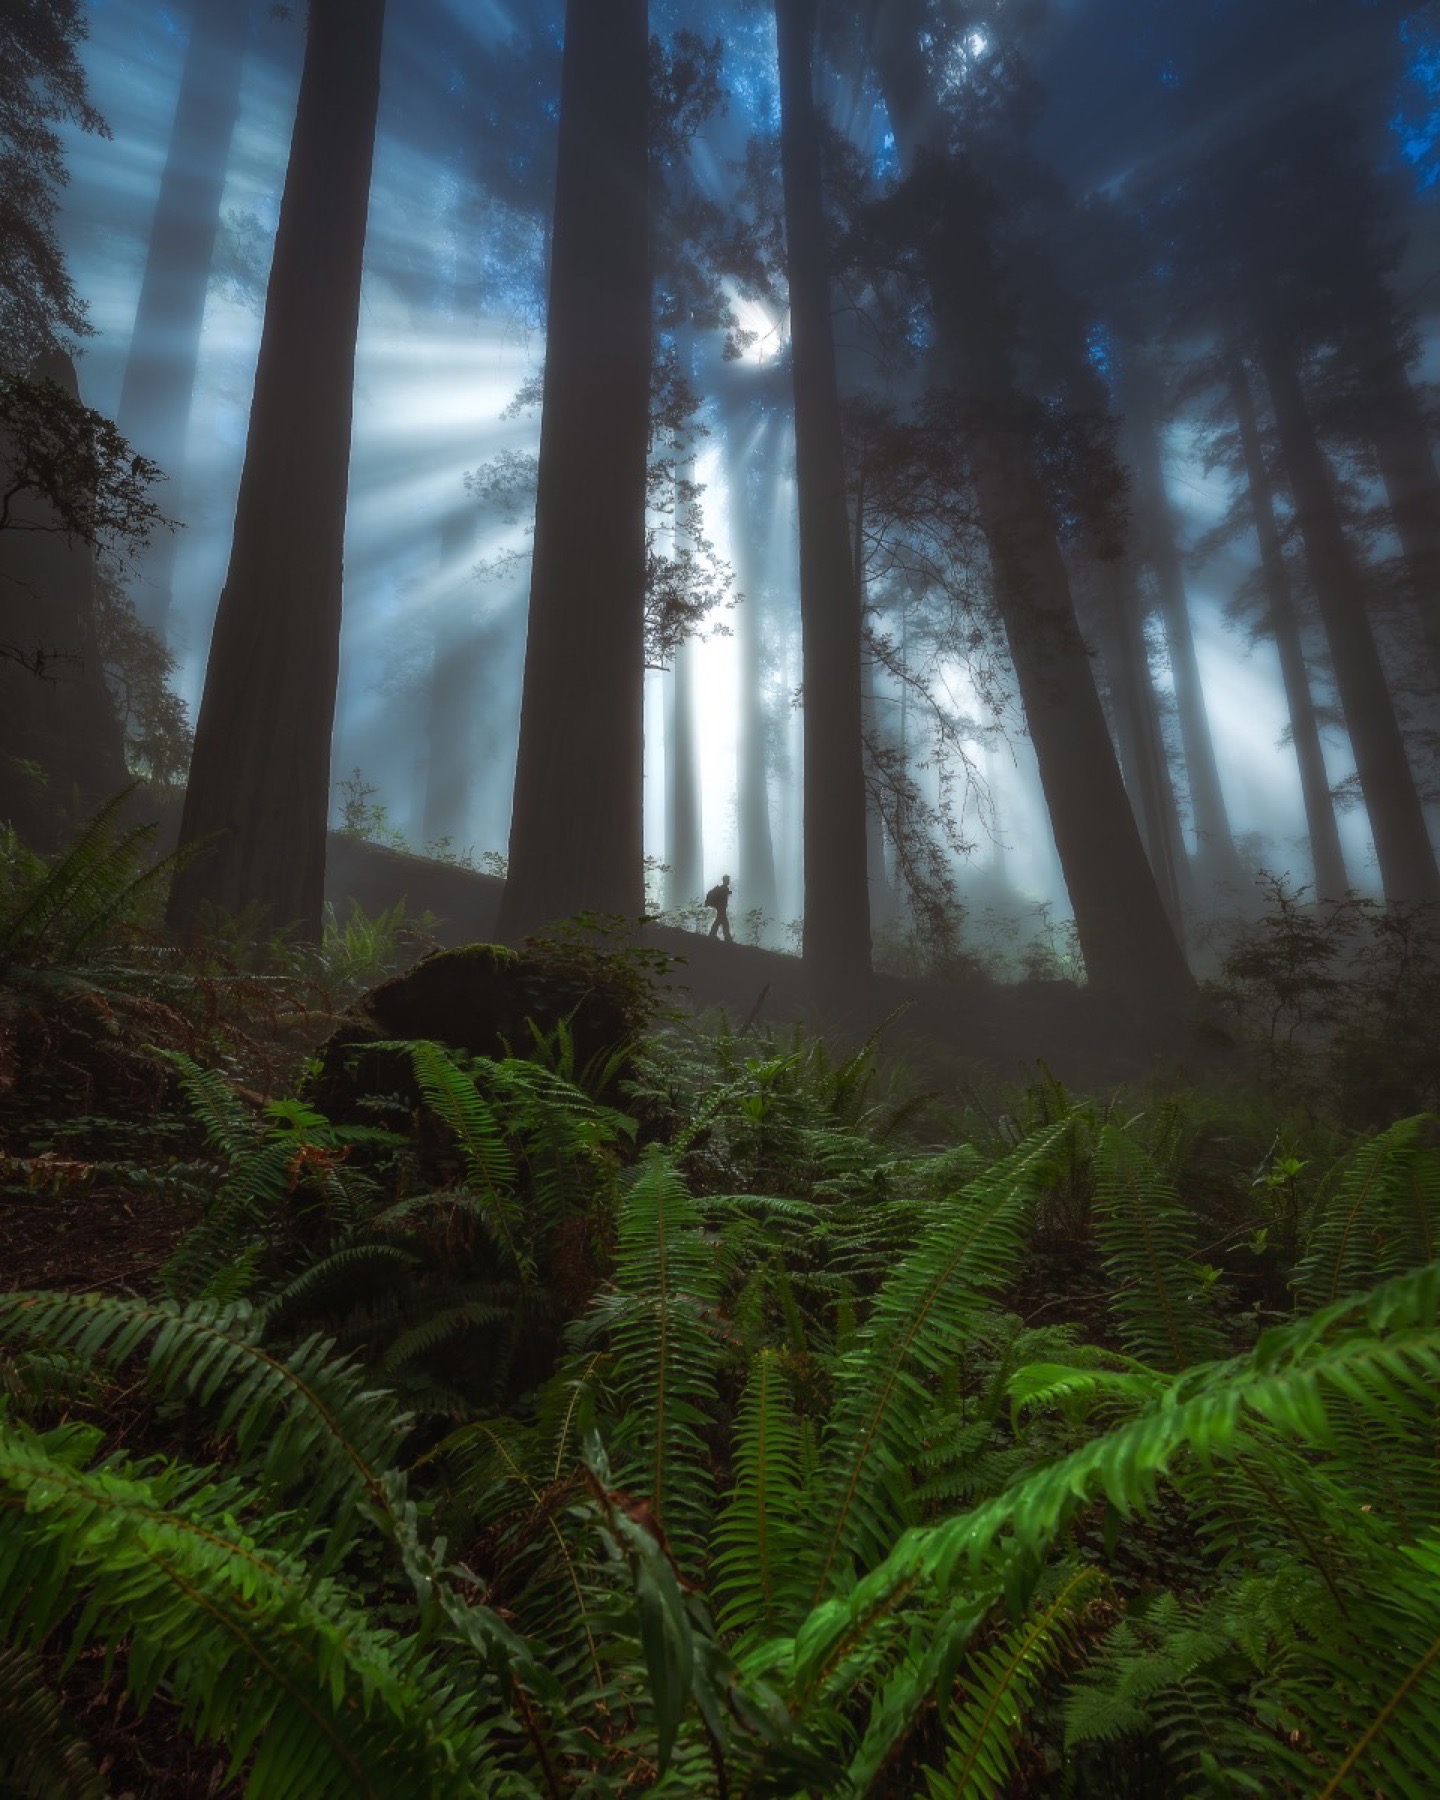
I use the broader idea of a visual pathway. A pathway can be a line, but it can also be a series of light areas, repeated shapes or changes in contrast. The eye might begin on a fern, move to a person between the trees and finish in a shaft of light. That journey is composition even when no single line connects every step.
Layering gives the pathway depth. Let the foreground establish the entry, the middle distance carry the story and the background provide the destination. Avoid stacking every object on the same vertical line. Small changes in camera position can separate the layers and make the route easier to read.
Focus for the composition, not the focal length
A wide lens can provide generous depth of field, but it does not make everything sharp automatically. Foreground distance, aperture, focus distance and final display size still matter. The closer the nearest important detail sits to the lens, the harder it becomes to hold that detail and the background in one exposure.
For many daylight landscapes, f/8 to f/11 and a focus point placed a little way into the scene will hold the important depth. Make a test frame and inspect the closest detail, the main subject and the far background at high magnification. Do not stop down to the smallest aperture by default. Diffraction can soften the entire photograph while the nearest foreground still remains outside the useful depth of field.
Focus stack when the foreground is extremely close, when both near texture and distant detail are essential or when the photograph will be printed large enough to reveal the transition. Lock the tripod, exposure and white balance. Capture overlapping focus positions from the nearest important surface through the background. Watch moving water, flowers and branches because they can create blend seams.
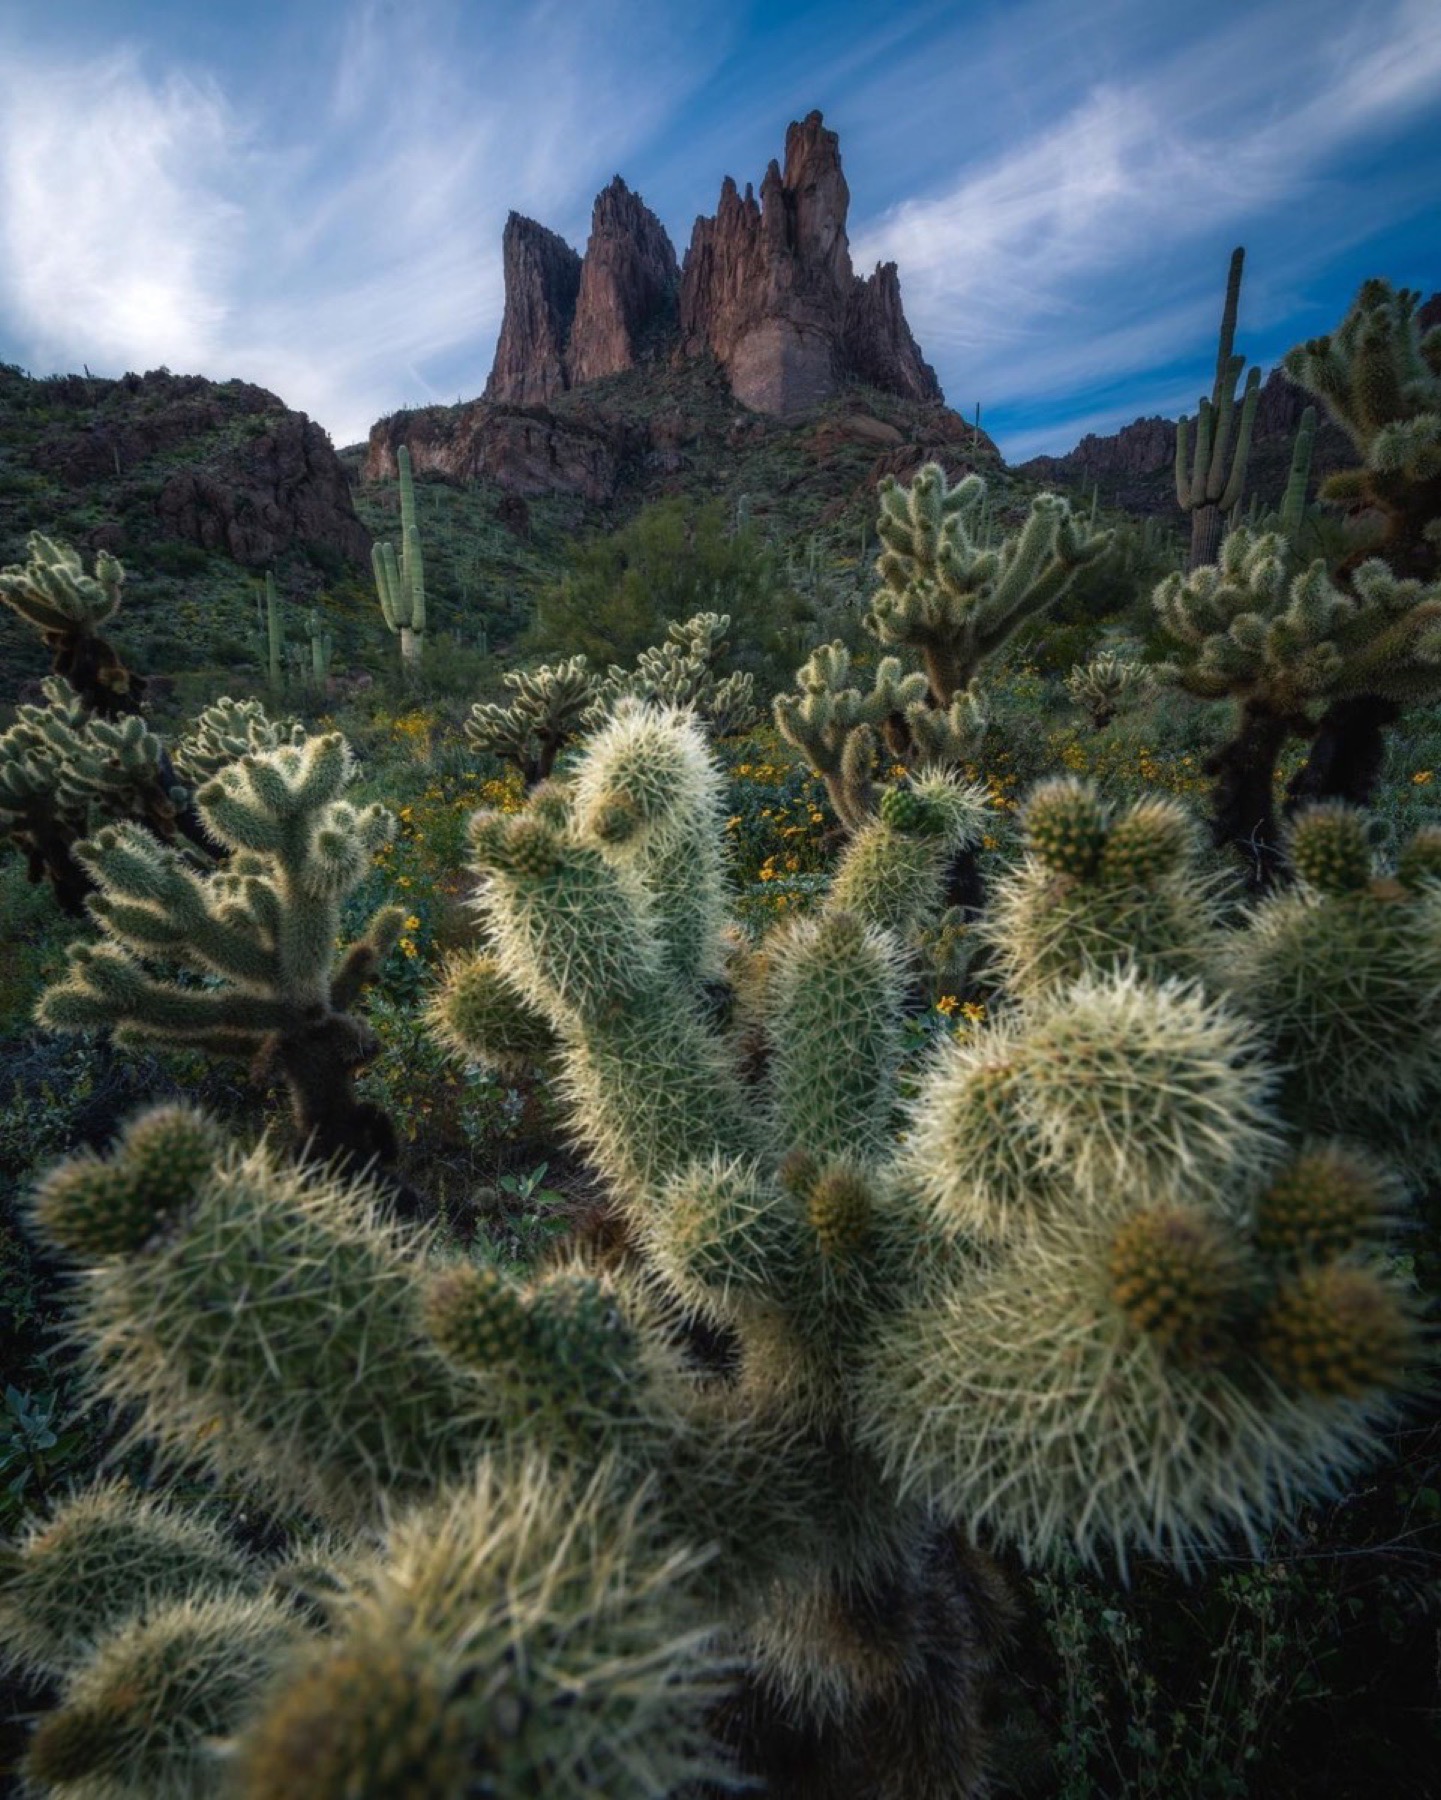
Do not stack only because the lens is wide. One exposure is often enough when the nearest important object is several feet away, the image will be displayed small or a little softness supports the story. Selective focus can also be intentional. A sharp cactus against a quieter background tells a different story than a frame where every layer competes with equal detail.
- Foreground proximity: is the nearest important detail close enough that it may fall outside the available depth of field?
- Background importance: decide whether the distant subject needs critical detail or whether slight softness can support the hierarchy
- When f/11 is enough: do a daylight test frame, then confirm the nearest detail, subject and background are all acceptably sharp at high magnification
- When focus stacking is needed: stack when an extremely close foreground and an important distant subject cannot both be held sharply in one exposure
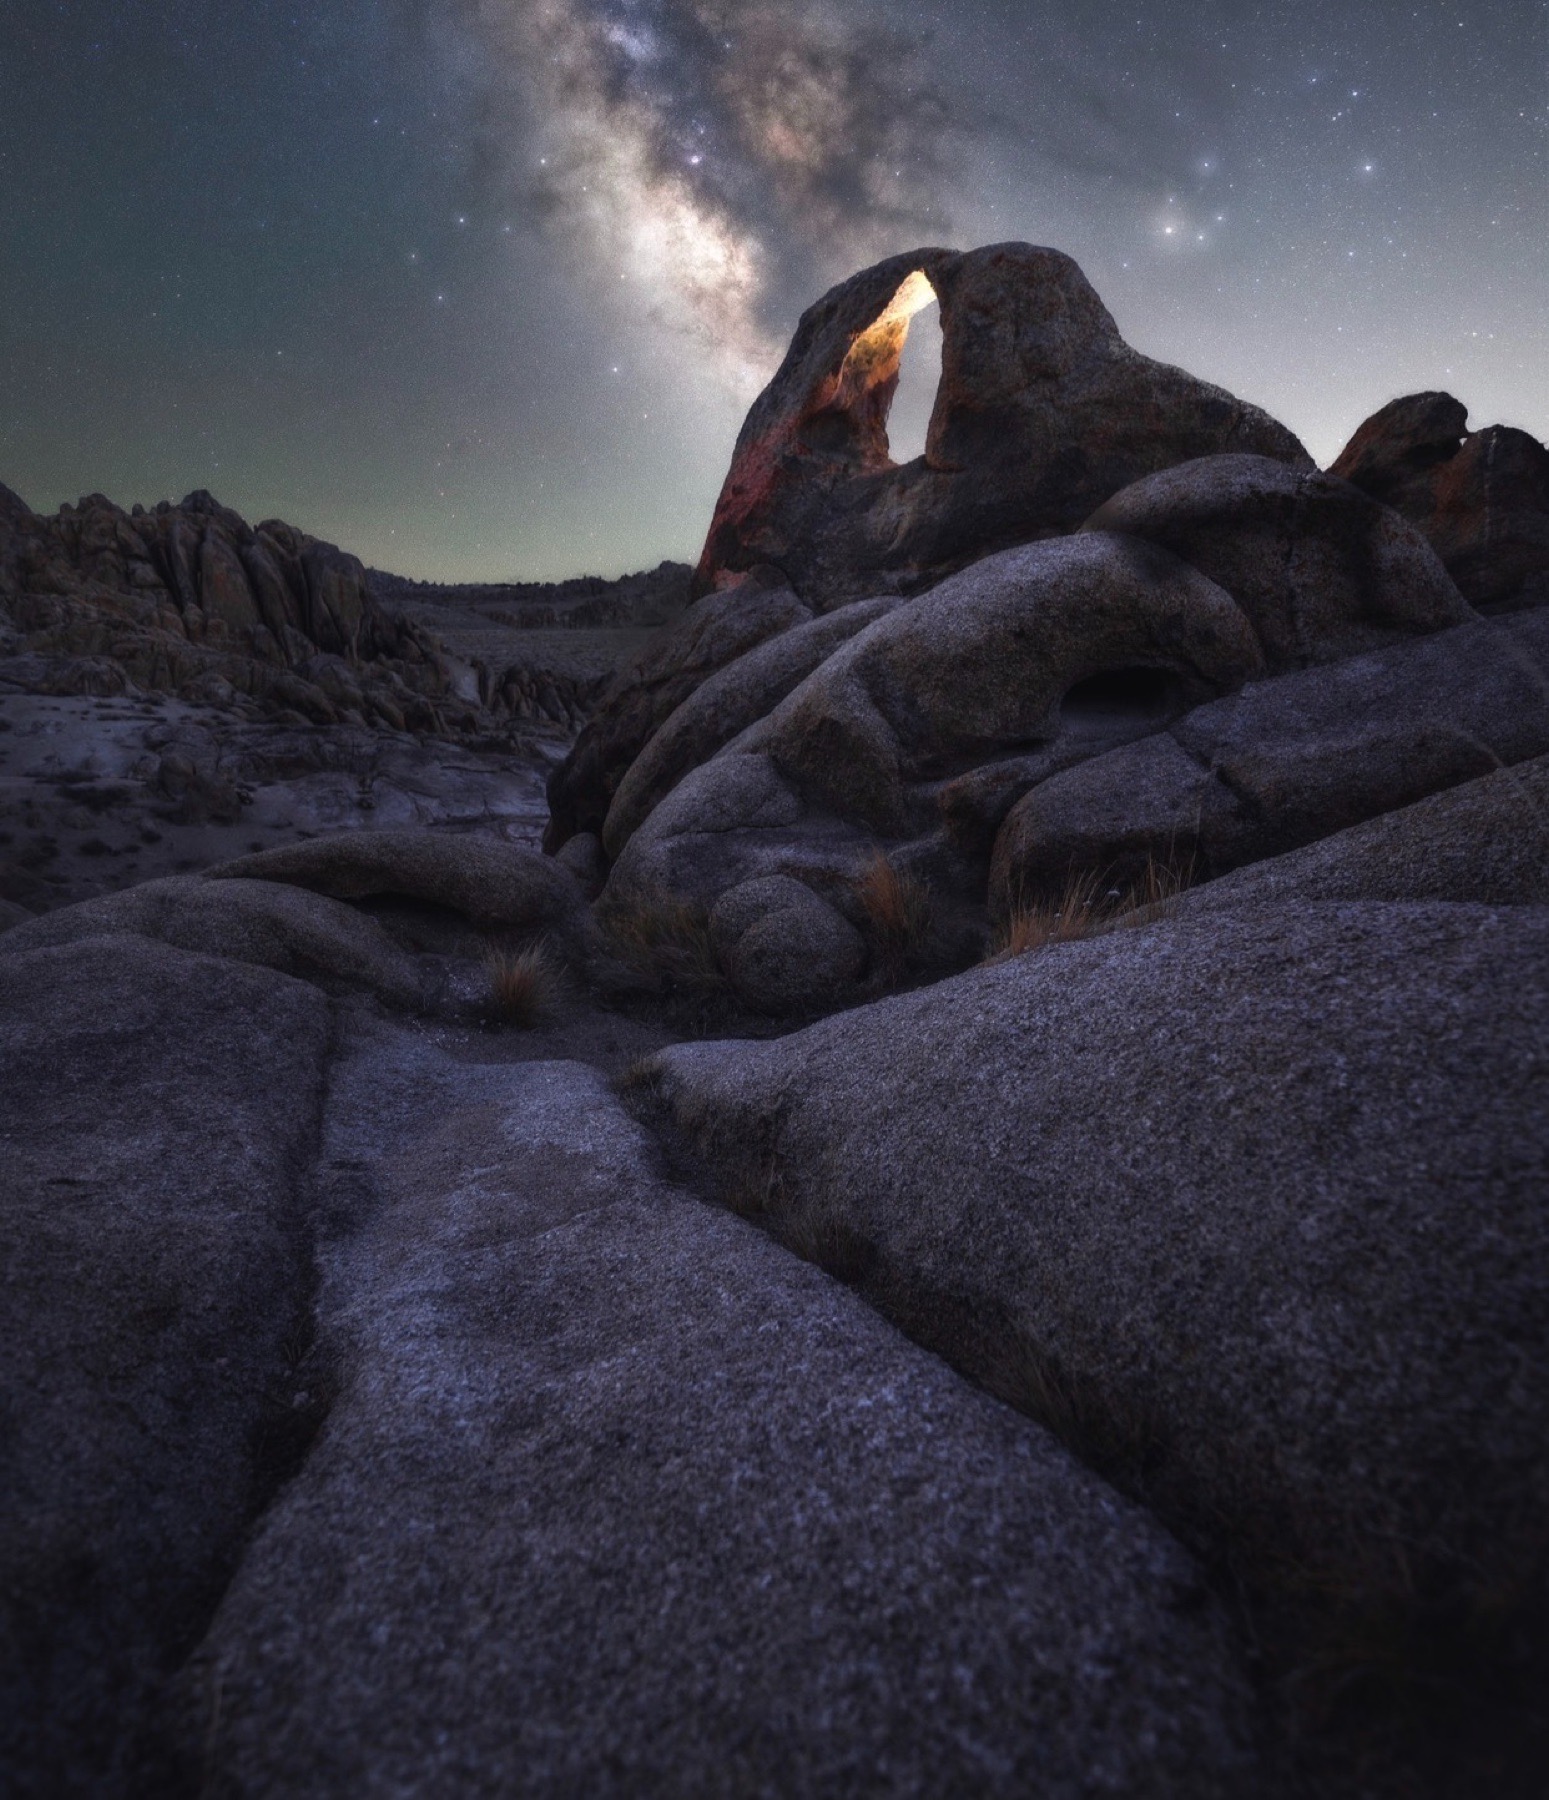
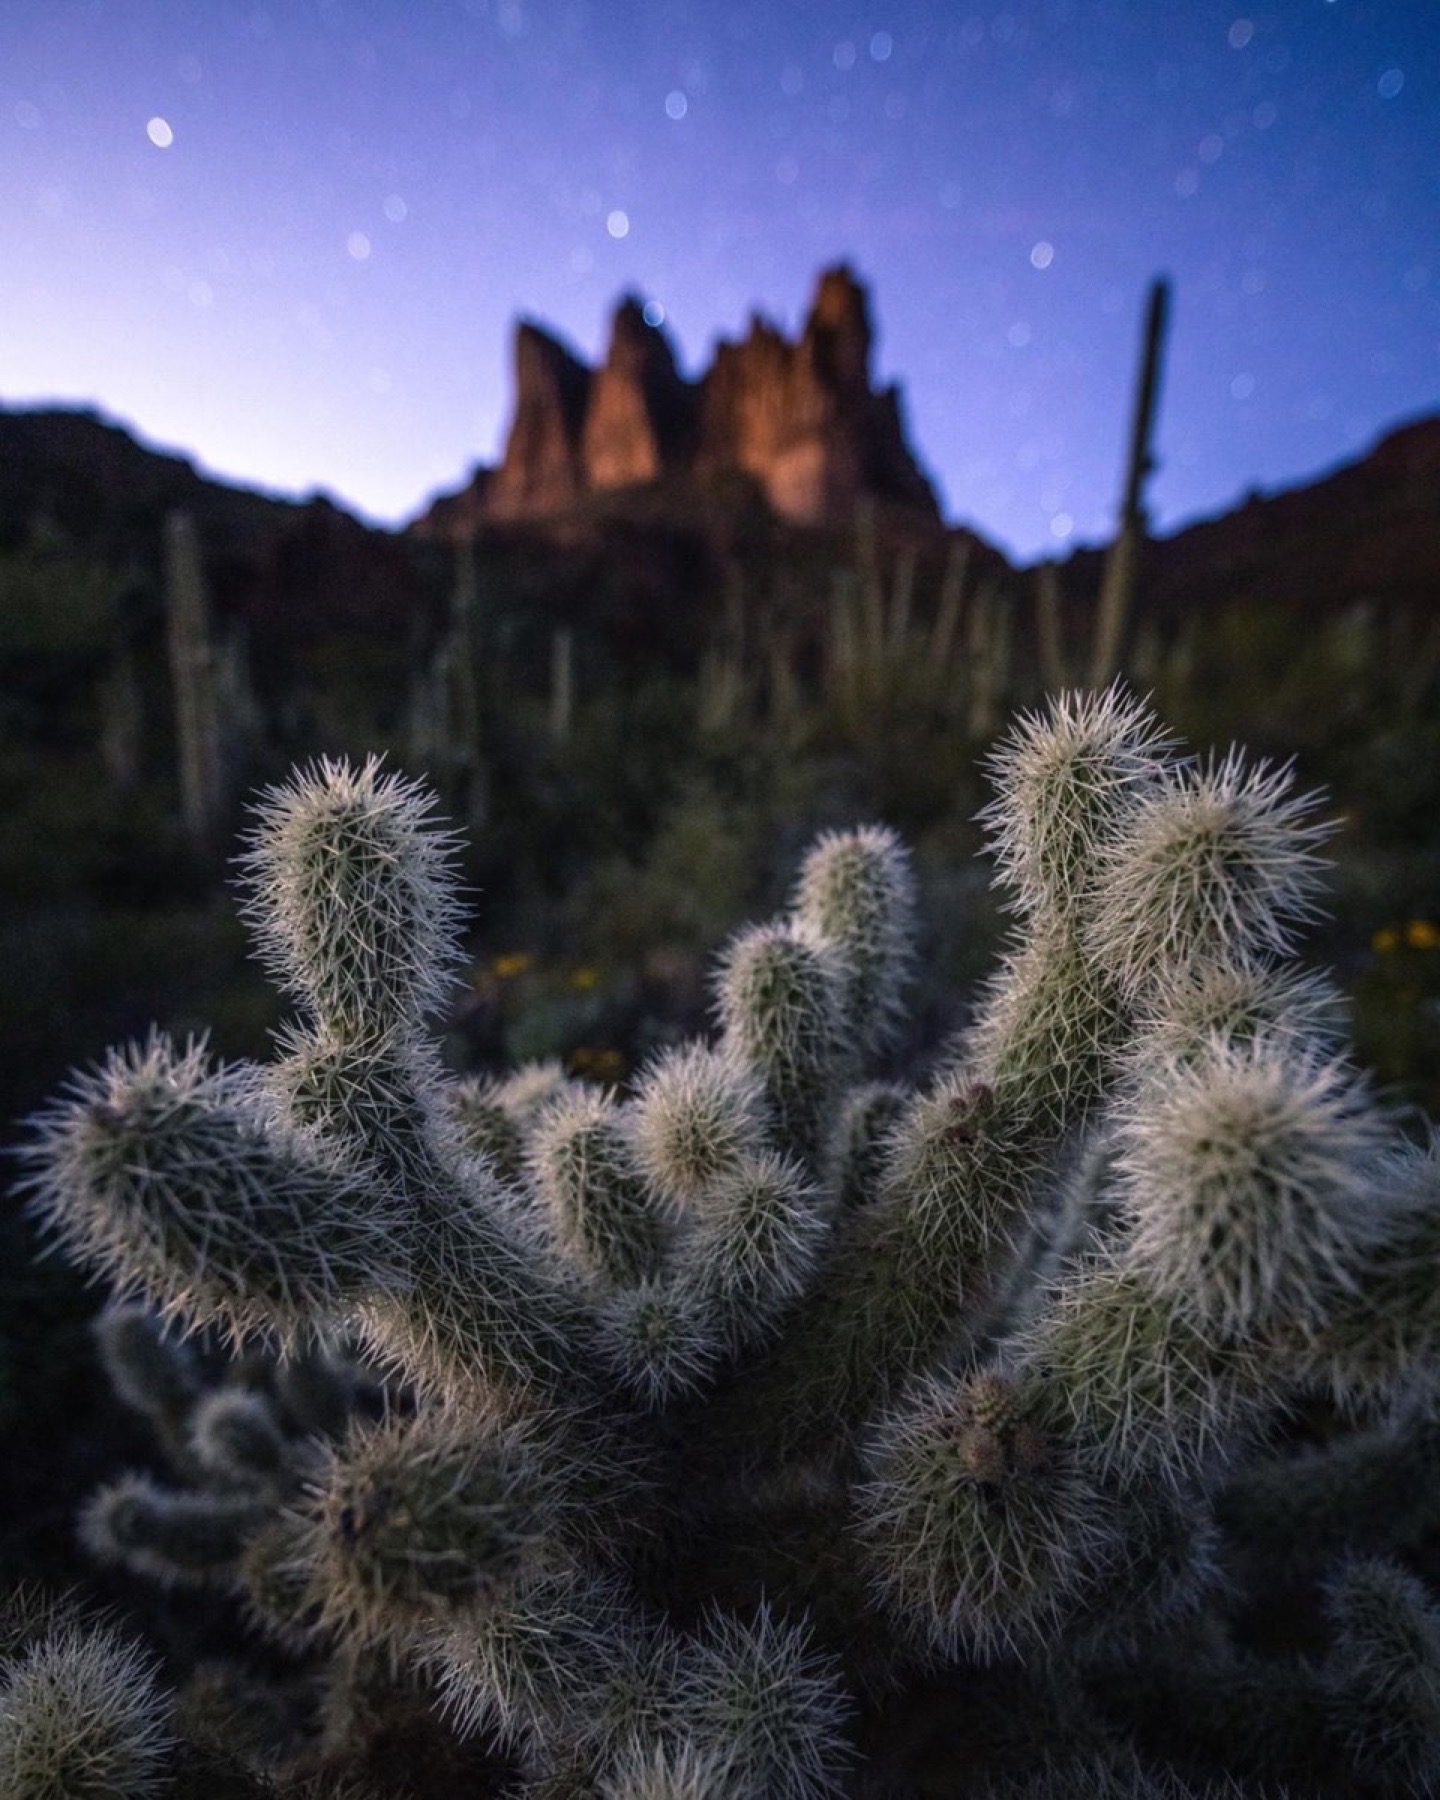
Choose ultra-wide or moderate-wide by the story
The useful focal length is the one that gives every part of the frame a job. Ultra-wide views demand stronger foreground decisions because they include more space and make distant subjects smaller. Moderate-wide views remove more of the edges, keep the background larger and often feel more natural.
The ranges below use full frame equivalents. On an APS-C or Micro Four Thirds camera, account for crop factor when comparing the field of view. Treat the ranges as starting points rather than rules; camera position and subject distance still shape the photograph more than the number printed on the lens.
| Full frame focal length | Best starting use | Main risk to manage |
|---|---|---|
| 14–16mm ultra-wide | Very close foregrounds, dramatic perspective, tall trees and expansive night landscapes | Cluttered edges, stretched shapes and a background that becomes too small |
| 17–24mm wide | Most foreground-to-background landscape compositions and environmental night scenes | Including more sky or ground than the story needs |
| 24–35mm moderate-wide | Cleaner layers, a more natural perspective and landscapes led by the distant subject | Losing the immersive foreground when the camera stays too far back |
Know when not to use a wide angle lens
A wide angle lens is the wrong choice when its strongest effect weakens the subject. If distant mountain layers matter, a wide view can make them feel small and separate. If one patch of light, one pattern or one peak carries the photograph, including the entire landscape may dilute it.
Use a longer lens when you need isolation, a simpler border or stronger apparent compression between distant layers. The lens itself does not create compression. Stepping farther back to frame the subject with a longer focal length changes the near-to-far relationship and makes those layers appear closer together. That is useful for overlapping ridges, atmospheric perspective and intimate landscape details.
A longer focal length can also protect the emotional scale of a mountain. If the foreground is ordinary and the distant peak is the reason you stopped, let the peak remain large. Lens choice should serve the hierarchy of the photograph, not prove that landscapes must be wide.
- Use a longer lens for overlapping mountains, fog layers or compressed ridgelines
- Isolate a pattern, patch of light or single landform when the surroundings add noise
- Choose moderate-wide when edge distortion distracts from people, trees or architecture
- Abandon the foreground when it has no visual connection to the distant subject
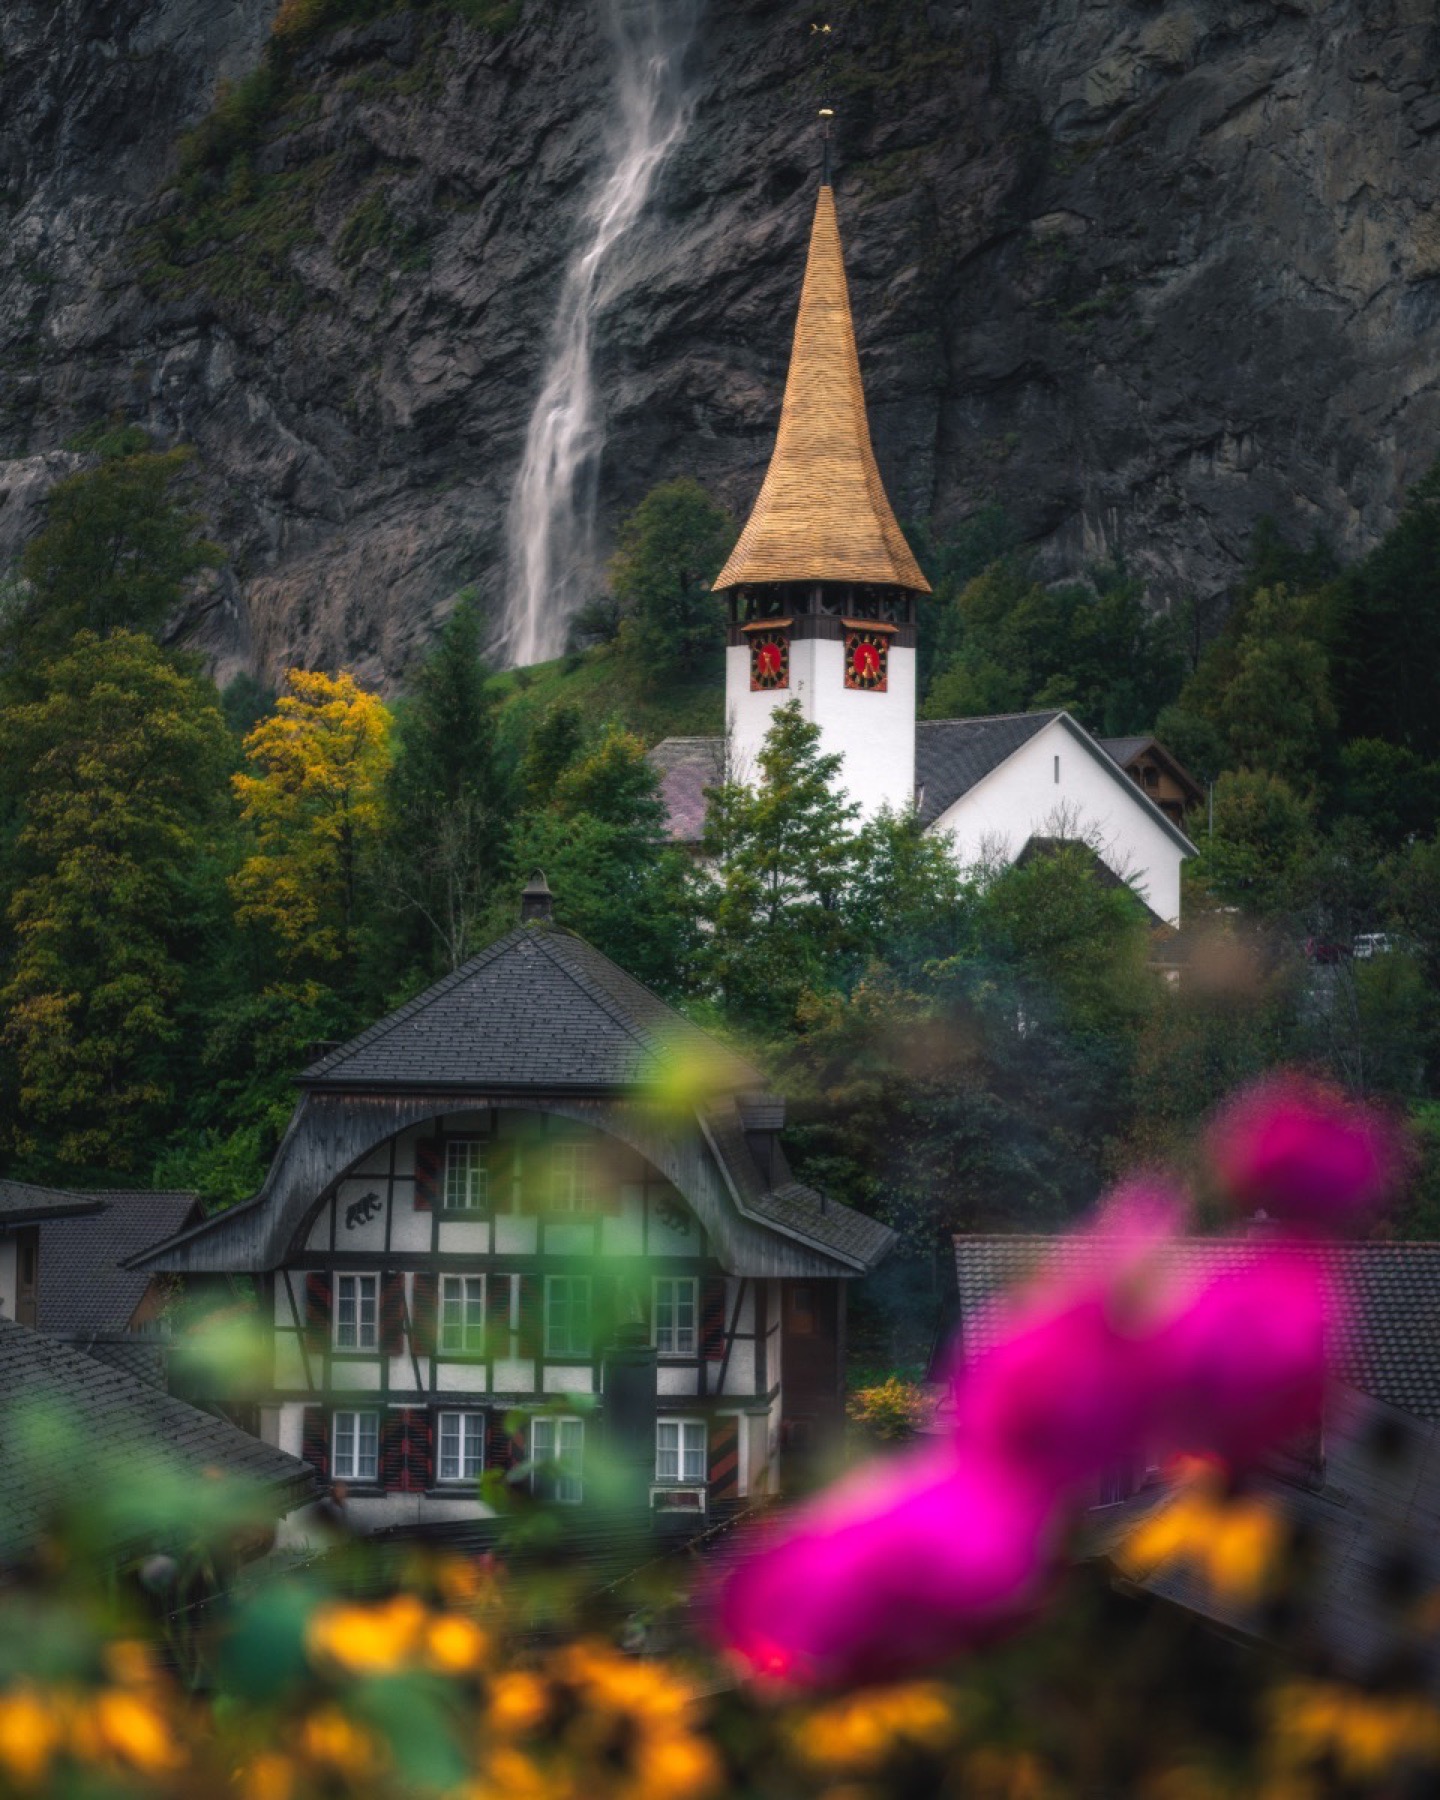
Use the wide angle lens as a storytelling tool
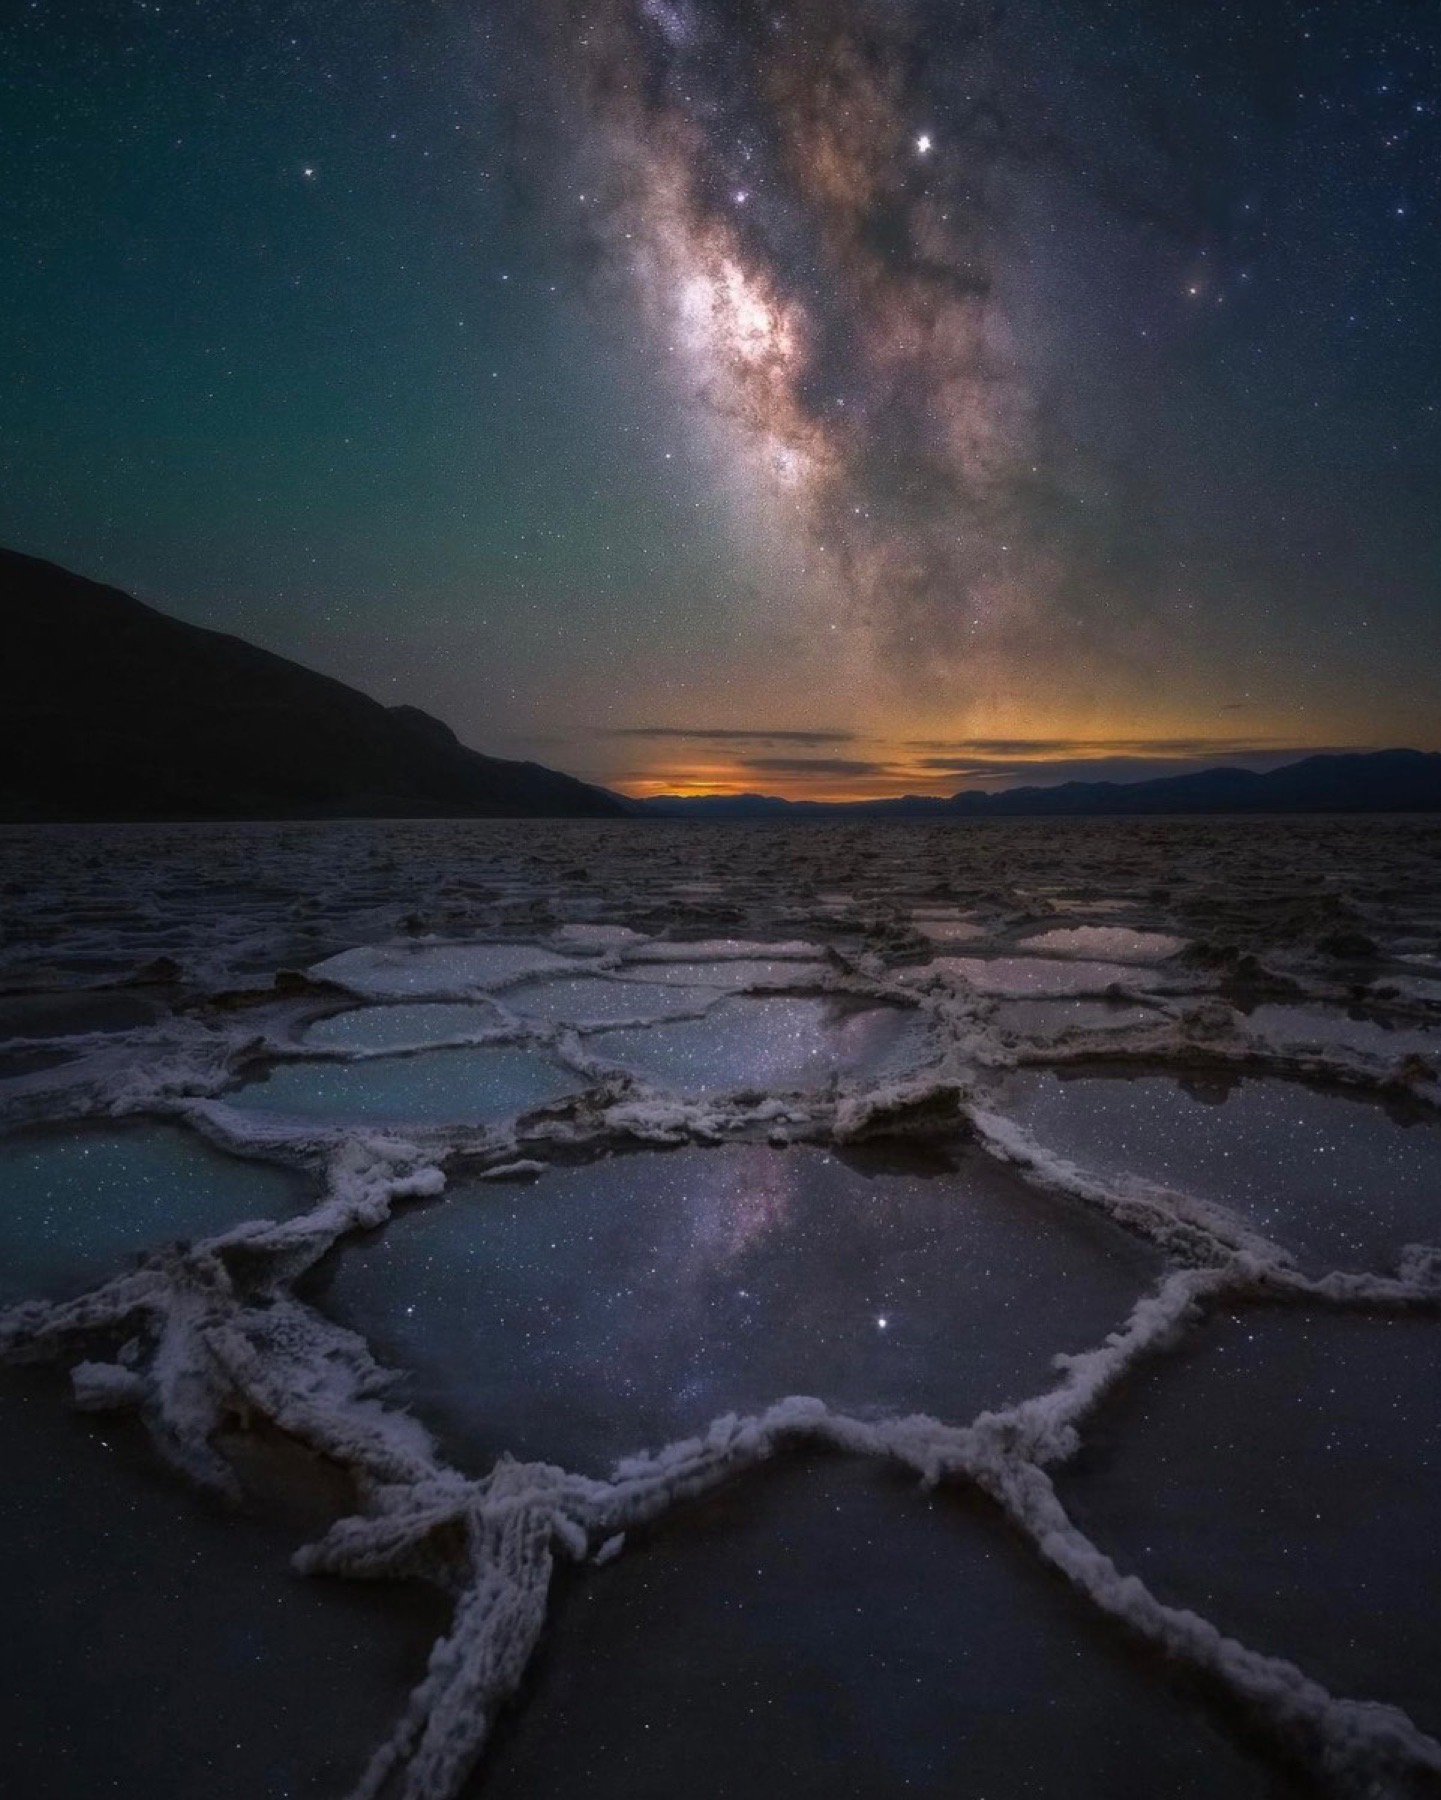
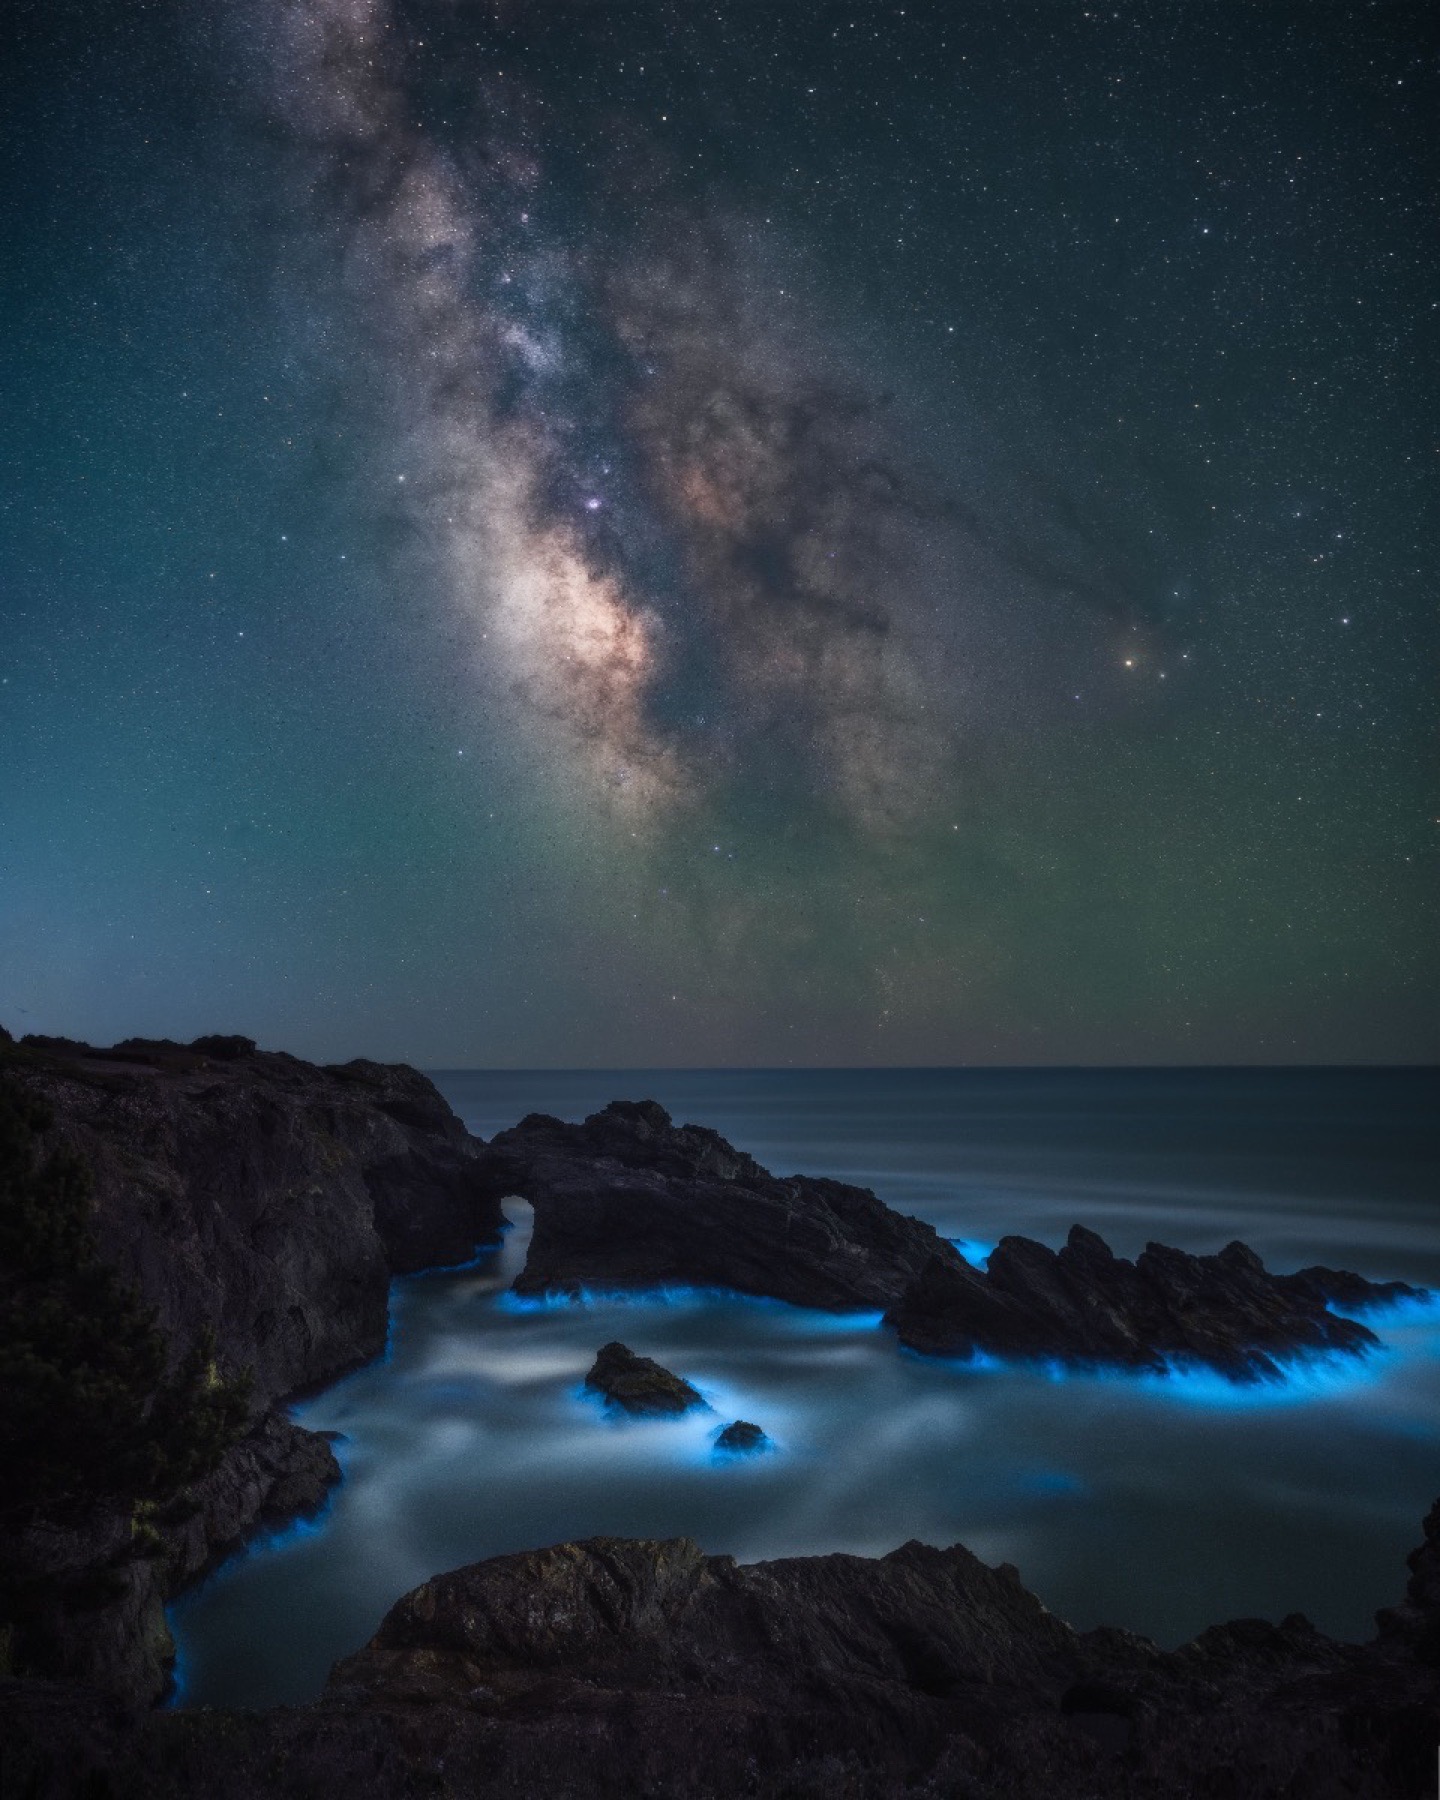
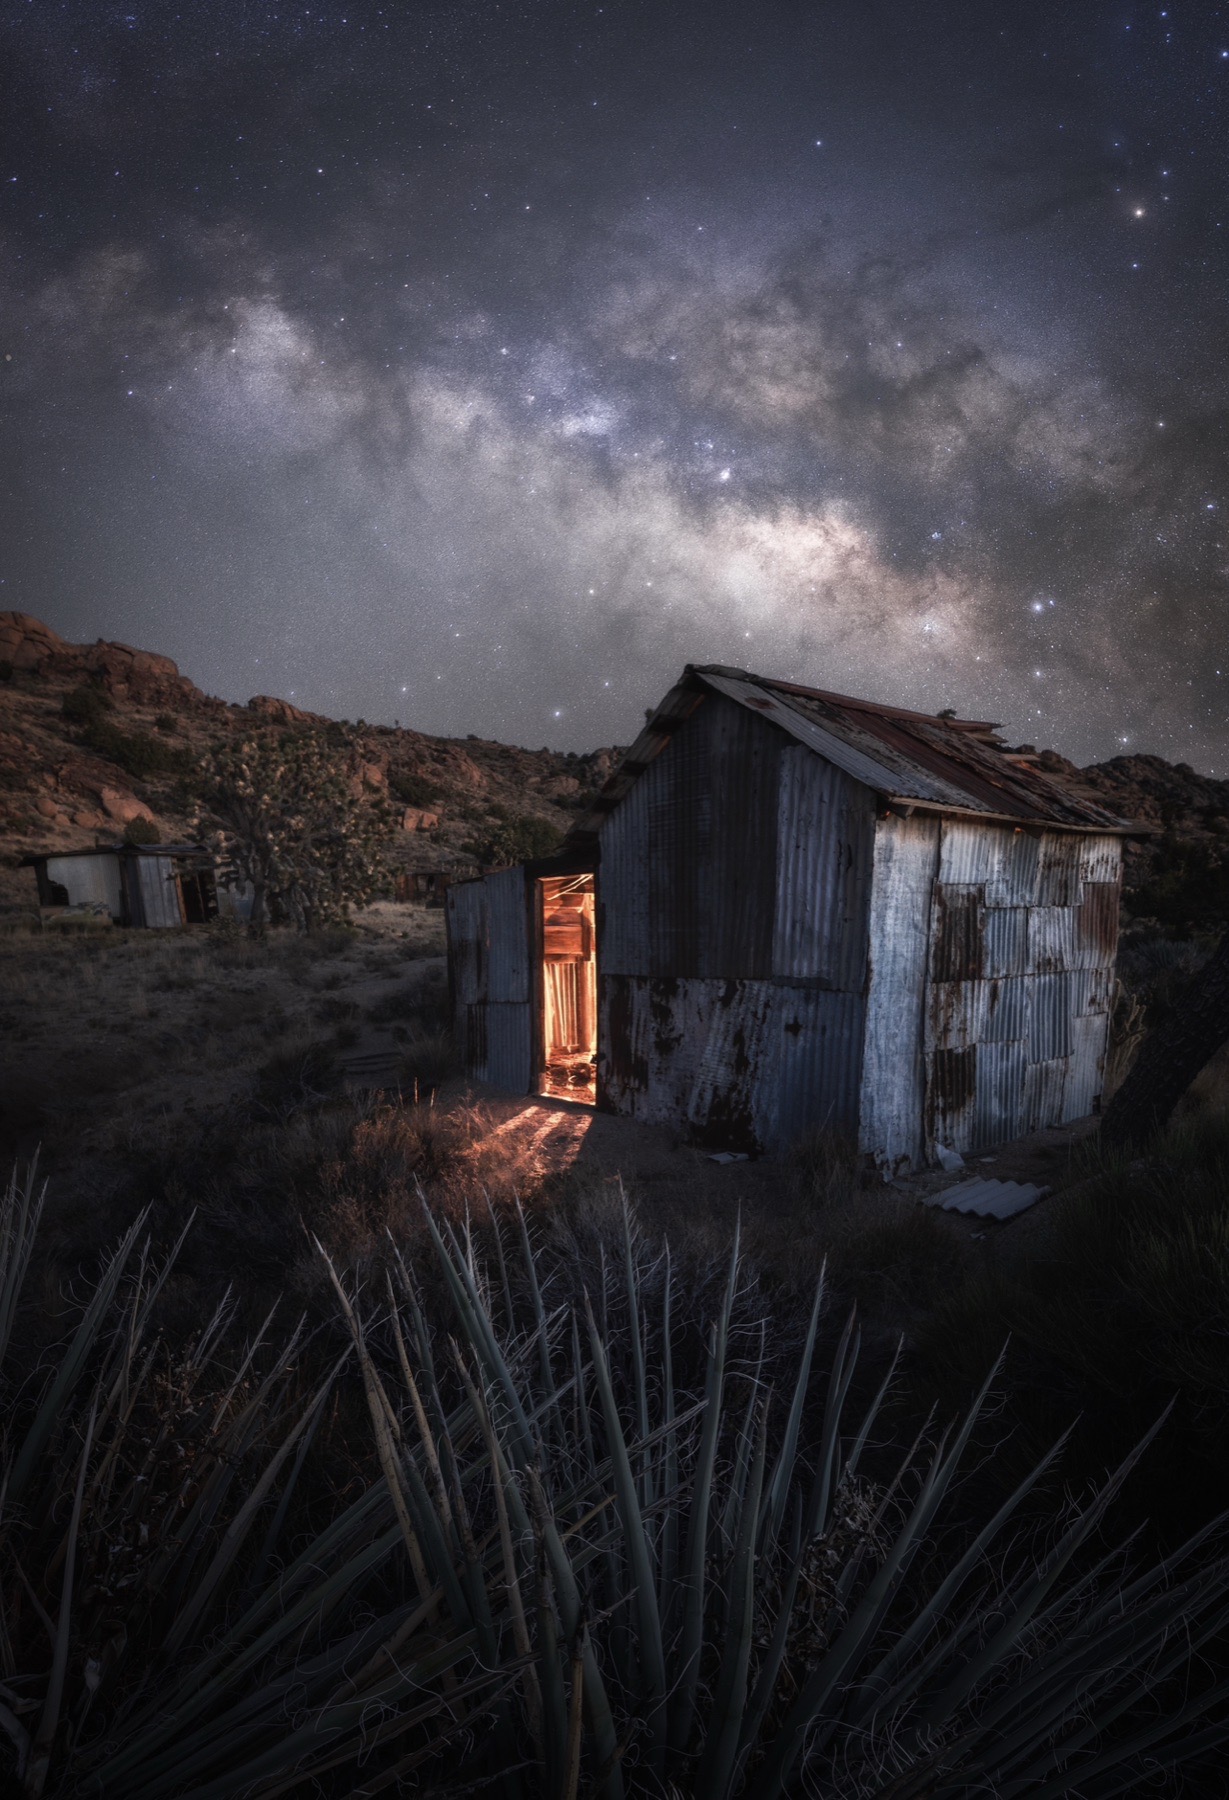
The strongest wide angle photographs do more than describe a large place. They place the viewer inside a relationship. A glowing shoreline connects to the Milky Way above it. A trail of sandstone carries us toward a person. Ferns open into a forest while shafts of light reveal where the eye should travel.
Build the photograph in that order: decide what the scene is about, choose the entry point and connect it to the destination. Then select the focal length that makes those elements feel related. Sometimes that is 14mm. Sometimes it is 28mm. Sometimes the right answer is to put the wide lens away.
This is the photography-first reason to understand wide angle. The lens is not the story. It changes the visual grammar available to you. Use exaggeration for scale, distance for emotion, edges for control and focus for hierarchy. When those decisions agree, the frame feels expansive because it has direction, not because it contains everything.
Frequently asked questions
What focal length is best for landscape photography?
There is no single best focal length. On full frame, 17–24mm is a versatile wide range for foreground-to-background compositions while 24–35mm gives cleaner edges and keeps distant subjects larger. Use 14–16mm when a very close foreground or expansive night sky is part of the design. Account for crop factor on smaller sensors.
Why do my wide angle landscape photographs look boring?
A wide lens often makes the main subject smaller while adding empty ground, sky and edge distractions. Get closer to one meaningful foreground, choose a clear visual path and remove anything that does not support the destination. If the foreground has no job, use a more moderate focal length.
How close should the foreground be with a wide angle lens?
Close enough to carry visual weight but not so close that it blocks the rest of the scene. Start a few feet away, then move closer while watching the corners, separation and focus. At 14–16mm, a foreground within inches of the lens can become dominant very quickly and may require focus stacking.
Do I need focus stacking with a wide angle lens?
Not always. One frame at a useful aperture is often enough when the nearest important detail is several feet away. Stack when a very close foreground and distant subject both need critical detail. At night, capture separate foreground and star focus when needed. Do not stack when movement or intentional selective focus makes one frame the stronger choice.
Is 14mm too wide for landscape photography?
No, but 14mm is demanding. It works best when the near foreground, stretched perspective or large night sky is essential to the story. It becomes too wide when the subject shrinks, the edges fill with distractions or empty space dominates. Compare the frame at 14mm and around 20–24mm before committing.
Should I always use a wide angle lens for landscapes?
No. Use wide angle to exaggerate near-to-far relationships and create an immersive pathway. Choose a longer lens for distant layers, compression, isolation, intimate details or any scene where the foreground weakens the subject.
Continue through the composition workflow
Use this guide to choose the perspective, then refine the depth and visual pathway with the related composition articles. Future guides on foreground design, leading lines and landscape focus stacking can build from the same principle: every technique should help the viewer see the relationship you saw in the field.
Do not ask how much scene fits. Ask which relationship the lens is making stronger.