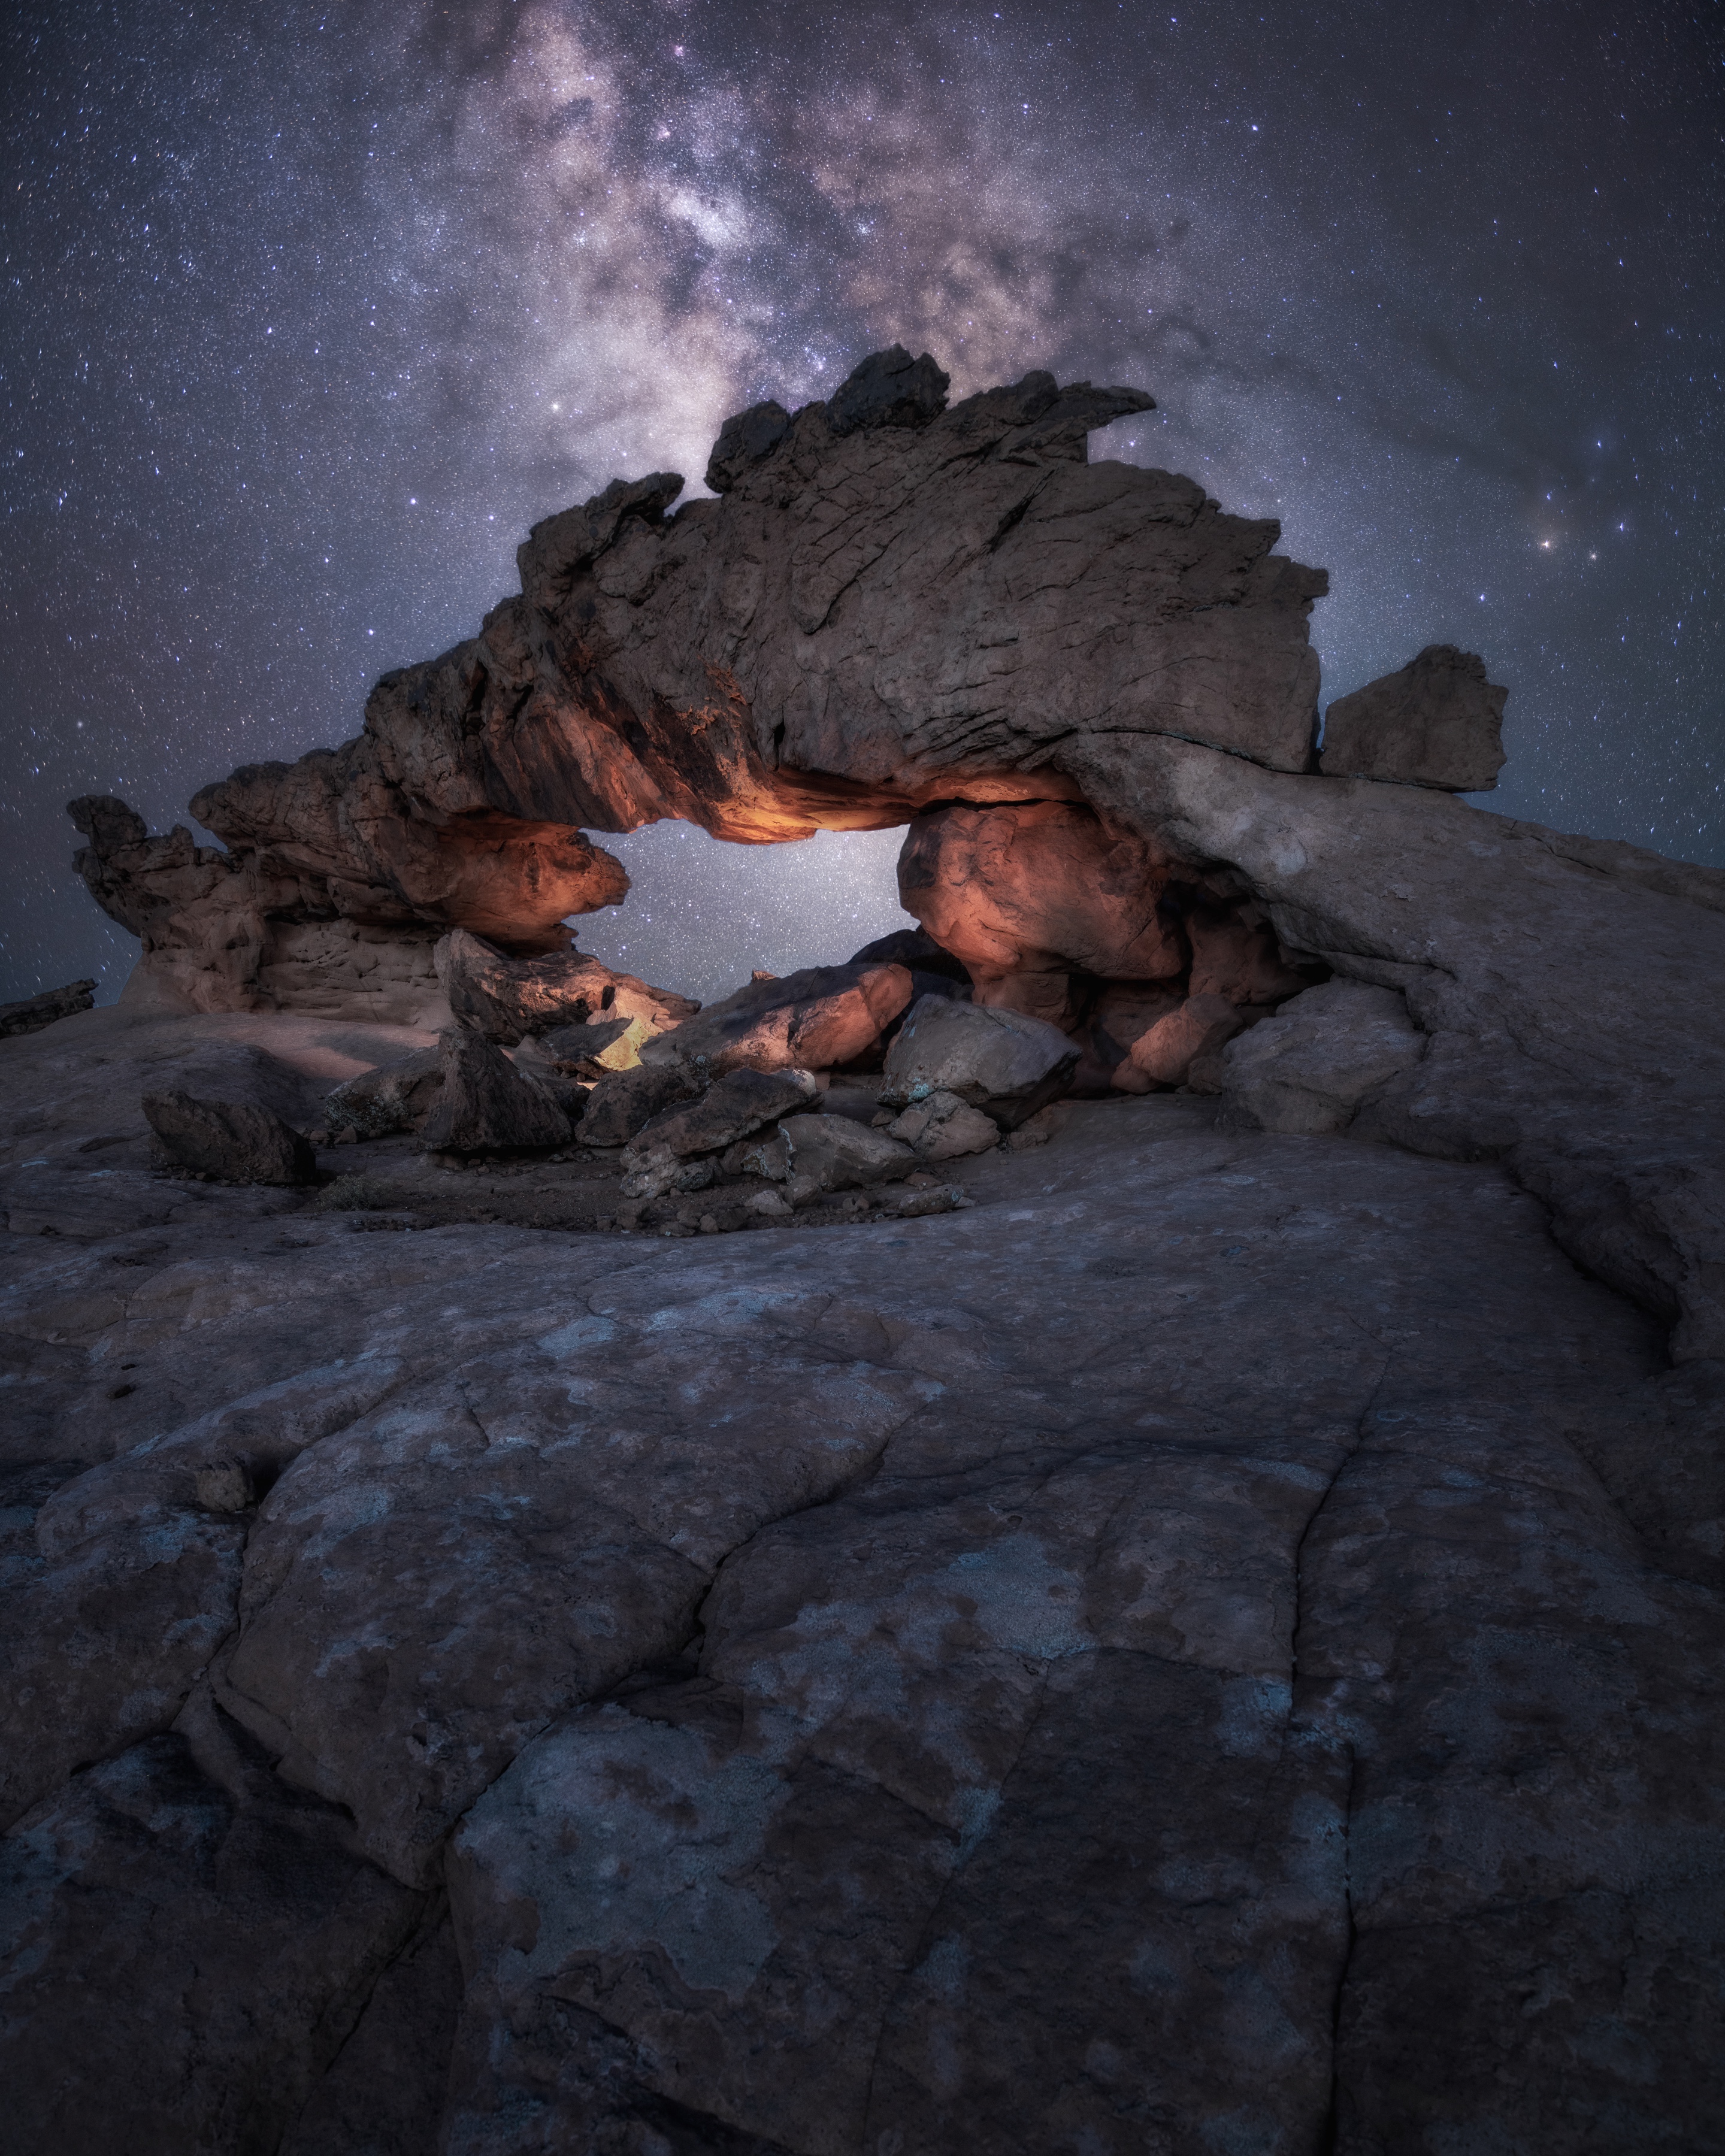
The image I saw in the landscape
Some photographs happen in one exposure.
This one was built one ingredient at a time.
I have spent a lot of time exploring Utah's desert landscapes. Arches have always pulled me in because they can completely change depending on where you stand, how the light hits them and what your imagination sees in the shape.
This formation did not read to me as just an arch.
The craggy ridge along the top looked like spines running down the back of a curved animal. The longer I studied it, the more it felt like some ancient dragon curled around the landscape.
That became the visual idea for the finished photograph.
I wanted the warm Milky Way core to sit inside the opening almost like an egg the dragon was hugging or protecting.
There was one obvious problem.
The arch faces north.
The Milky Way core does not go there.
Start with a locked composition
Once I found the composition, the tripod did not move.
That matters because I knew the foreground was going to be assembled from several different exposures.
Normally I like having a completely clean blue hour base before I start adding light. In this case, I knew the arch would require enough supplemental illumination that the first useful Nanlite exposure still gave me all the ambient blue hour information I needed for a foundation.
After that, the exact exposure could change depending on the light I was trying to capture.
Each additional frame had one job: give me useful illumination.
Approximate foreground starting exposure
- Camera
- Nikon D850
- Aperture
- f/11
- Shutter speed
- 30 seconds
- ISO
- 100
The approximate foreground starting exposure with 30 seconds, ISO 100 and f/11 is my standard blue hour.
When the exposure value is right with those settings, I know I am at the best blue hour light.
Why one light position was not enough
The arch is roughly 30 feet across.
Lighting something that large from one position creates problems quickly. One section can become too bright while another goes dead. Shadows can become harsh. Parts of the inner arch can look like they were simply missed.
So I moved the Nanlite around the scene and made a series of exposures from different lighting positions while leaving the camera completely untouched.
I ended up using nine RAW frames as source material for the foreground.
The important idea is that none of those nine exposures needed to be a finished photograph.
Each one only needed to contribute something useful.
That is a concept I use constantly in composite work:
A source exposure does not have to be a finished photograph. It only needs to contribute the ingredient you captured it for.
Locked composition, different lighting positions
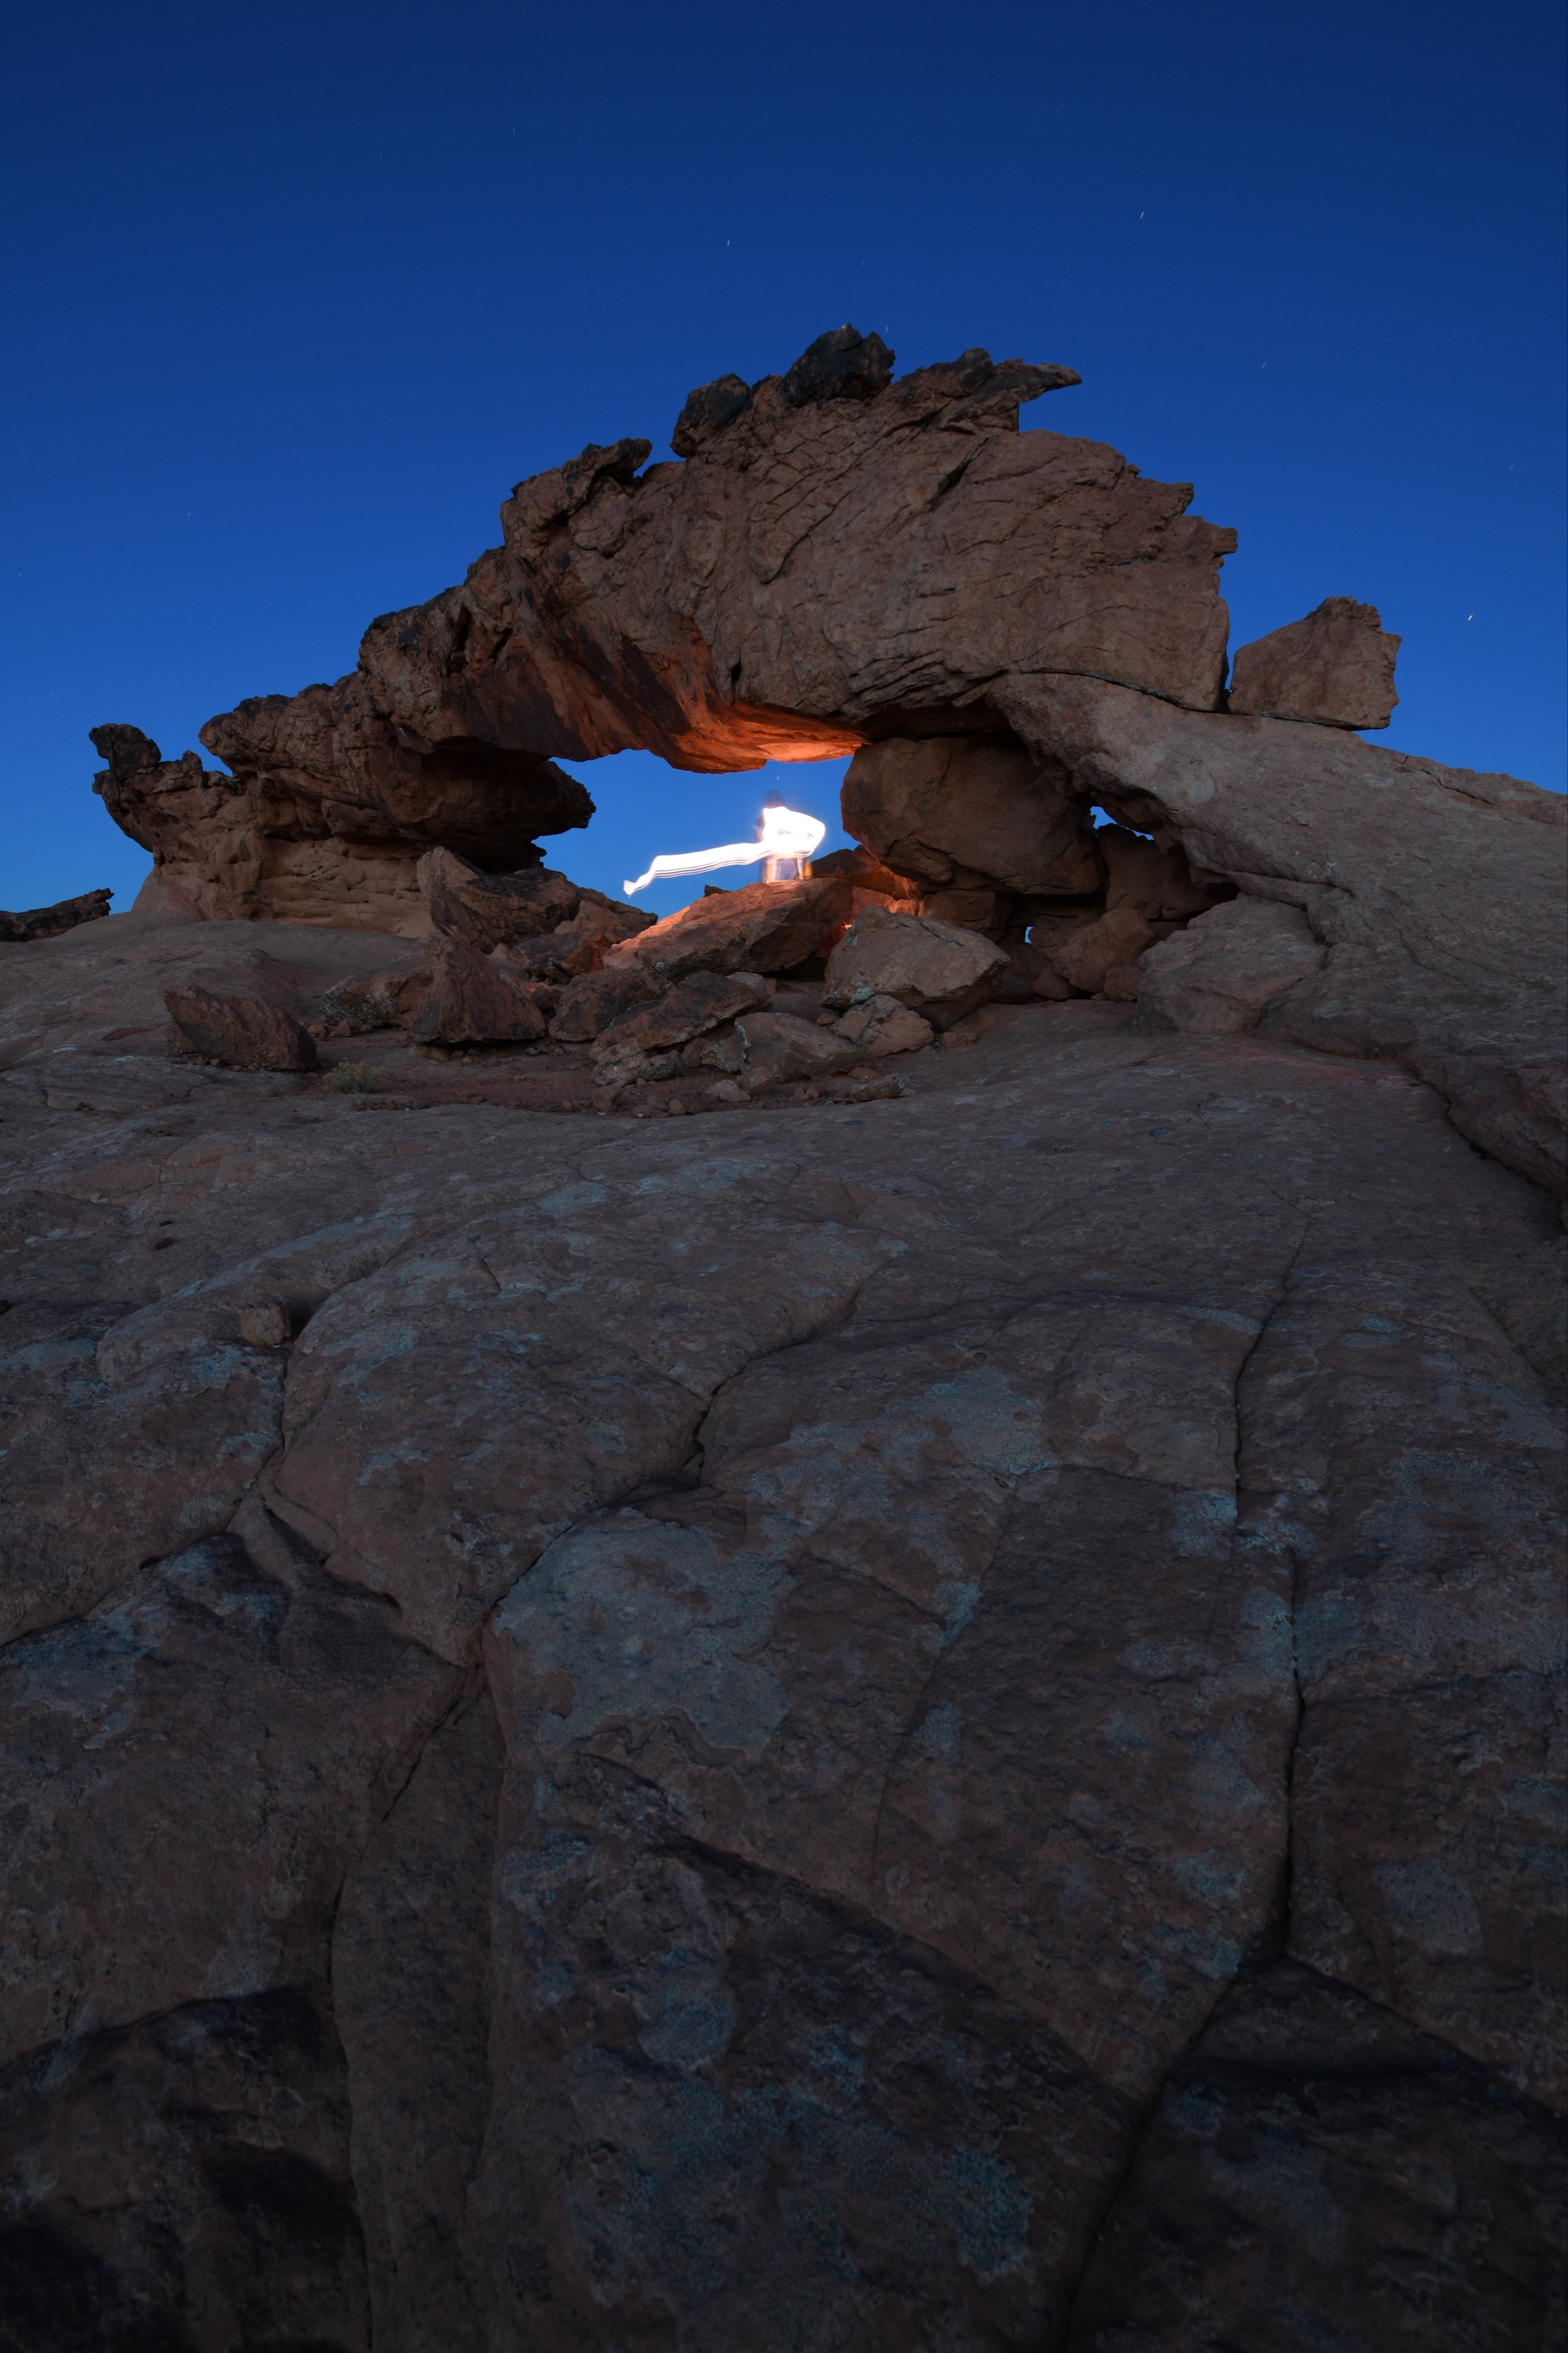
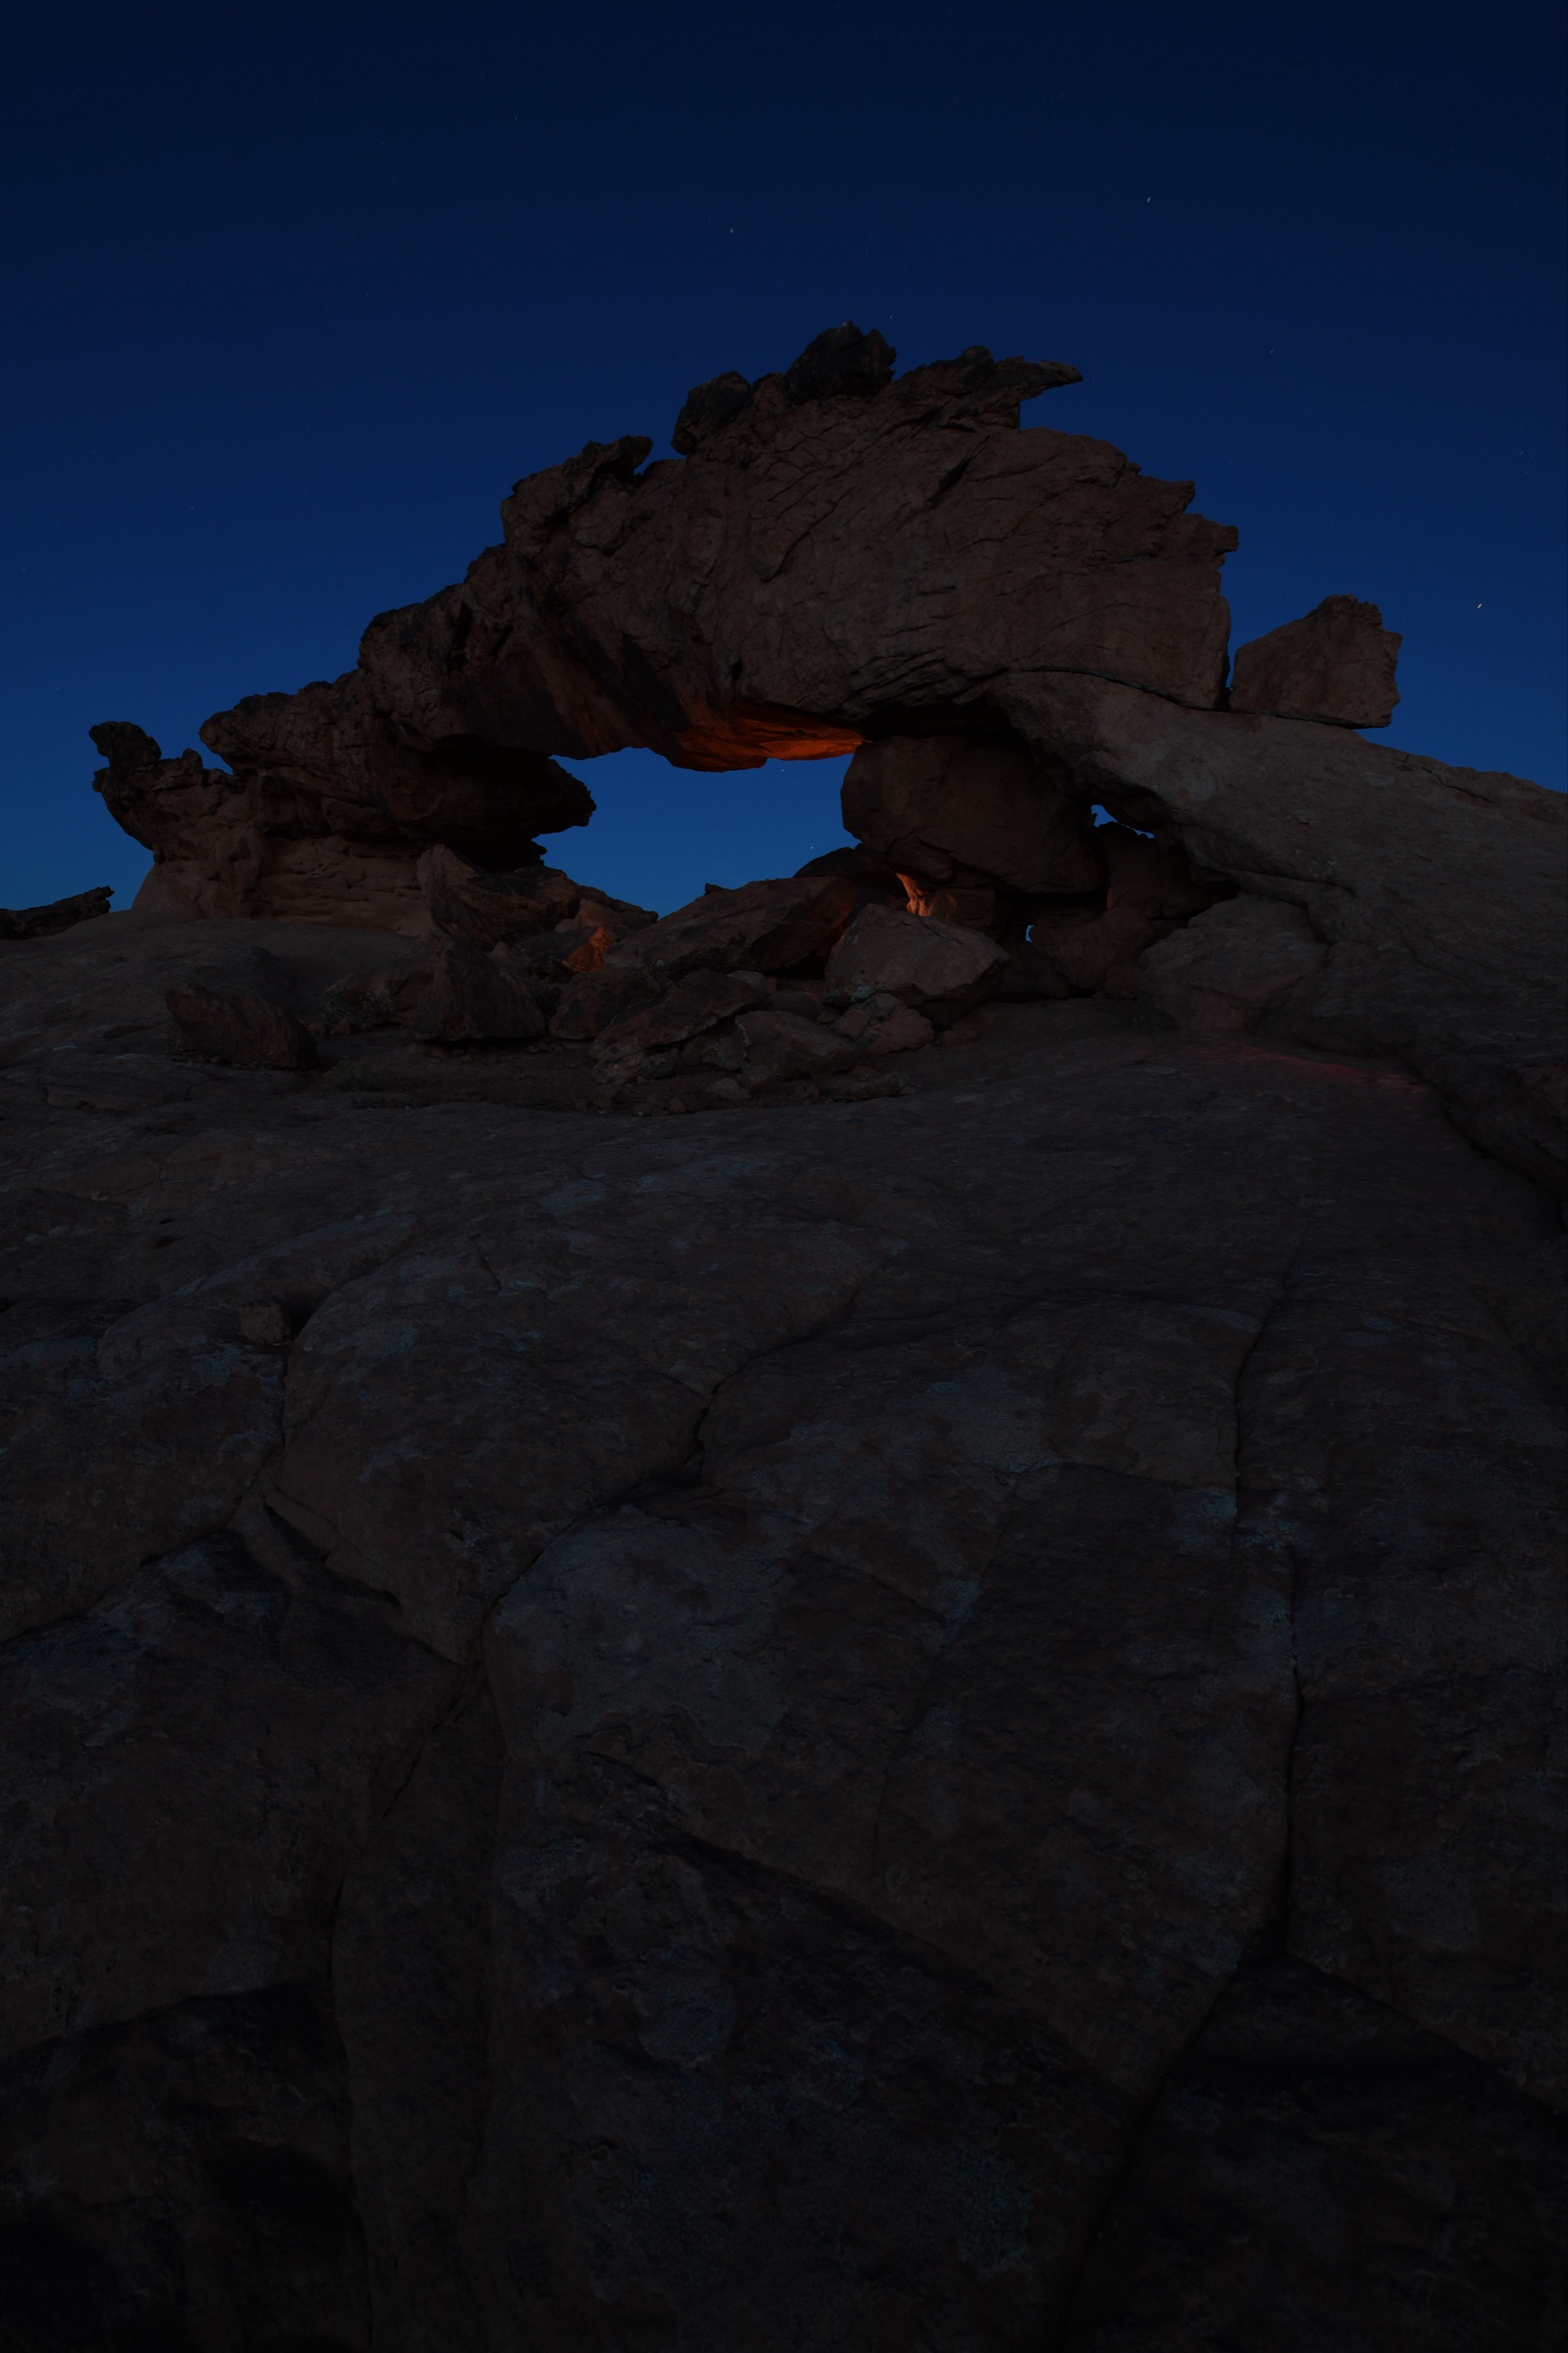
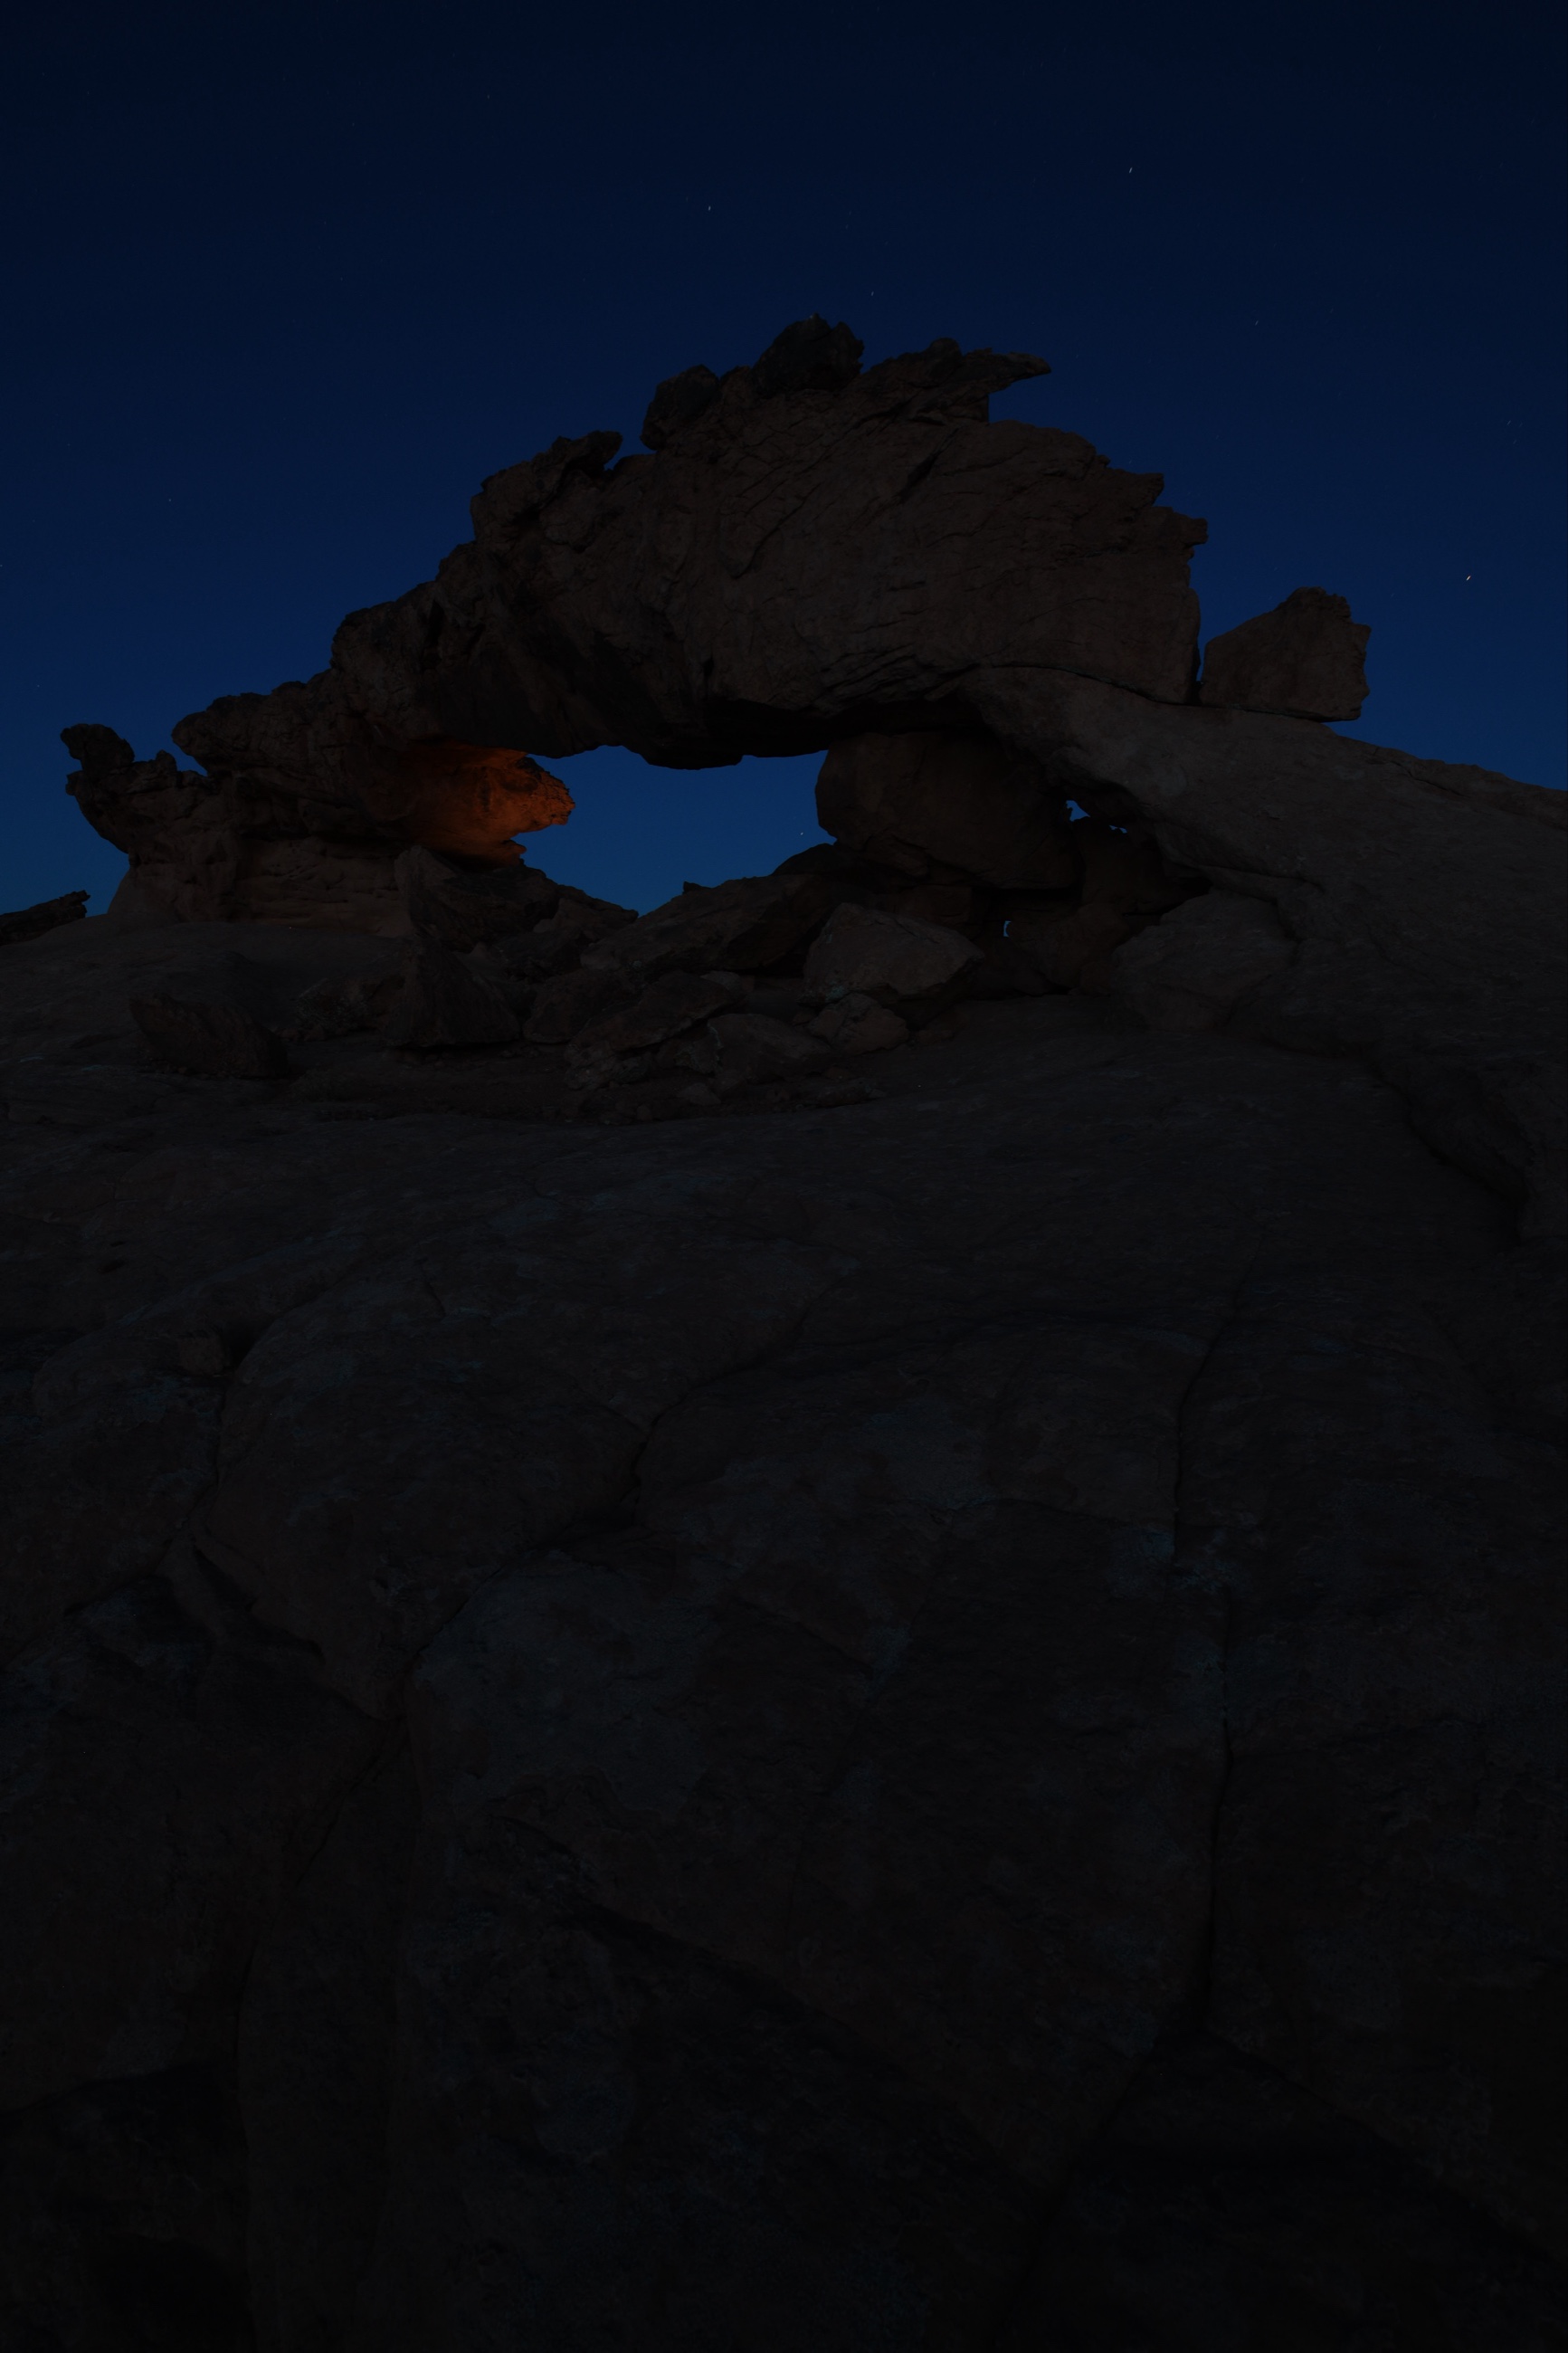
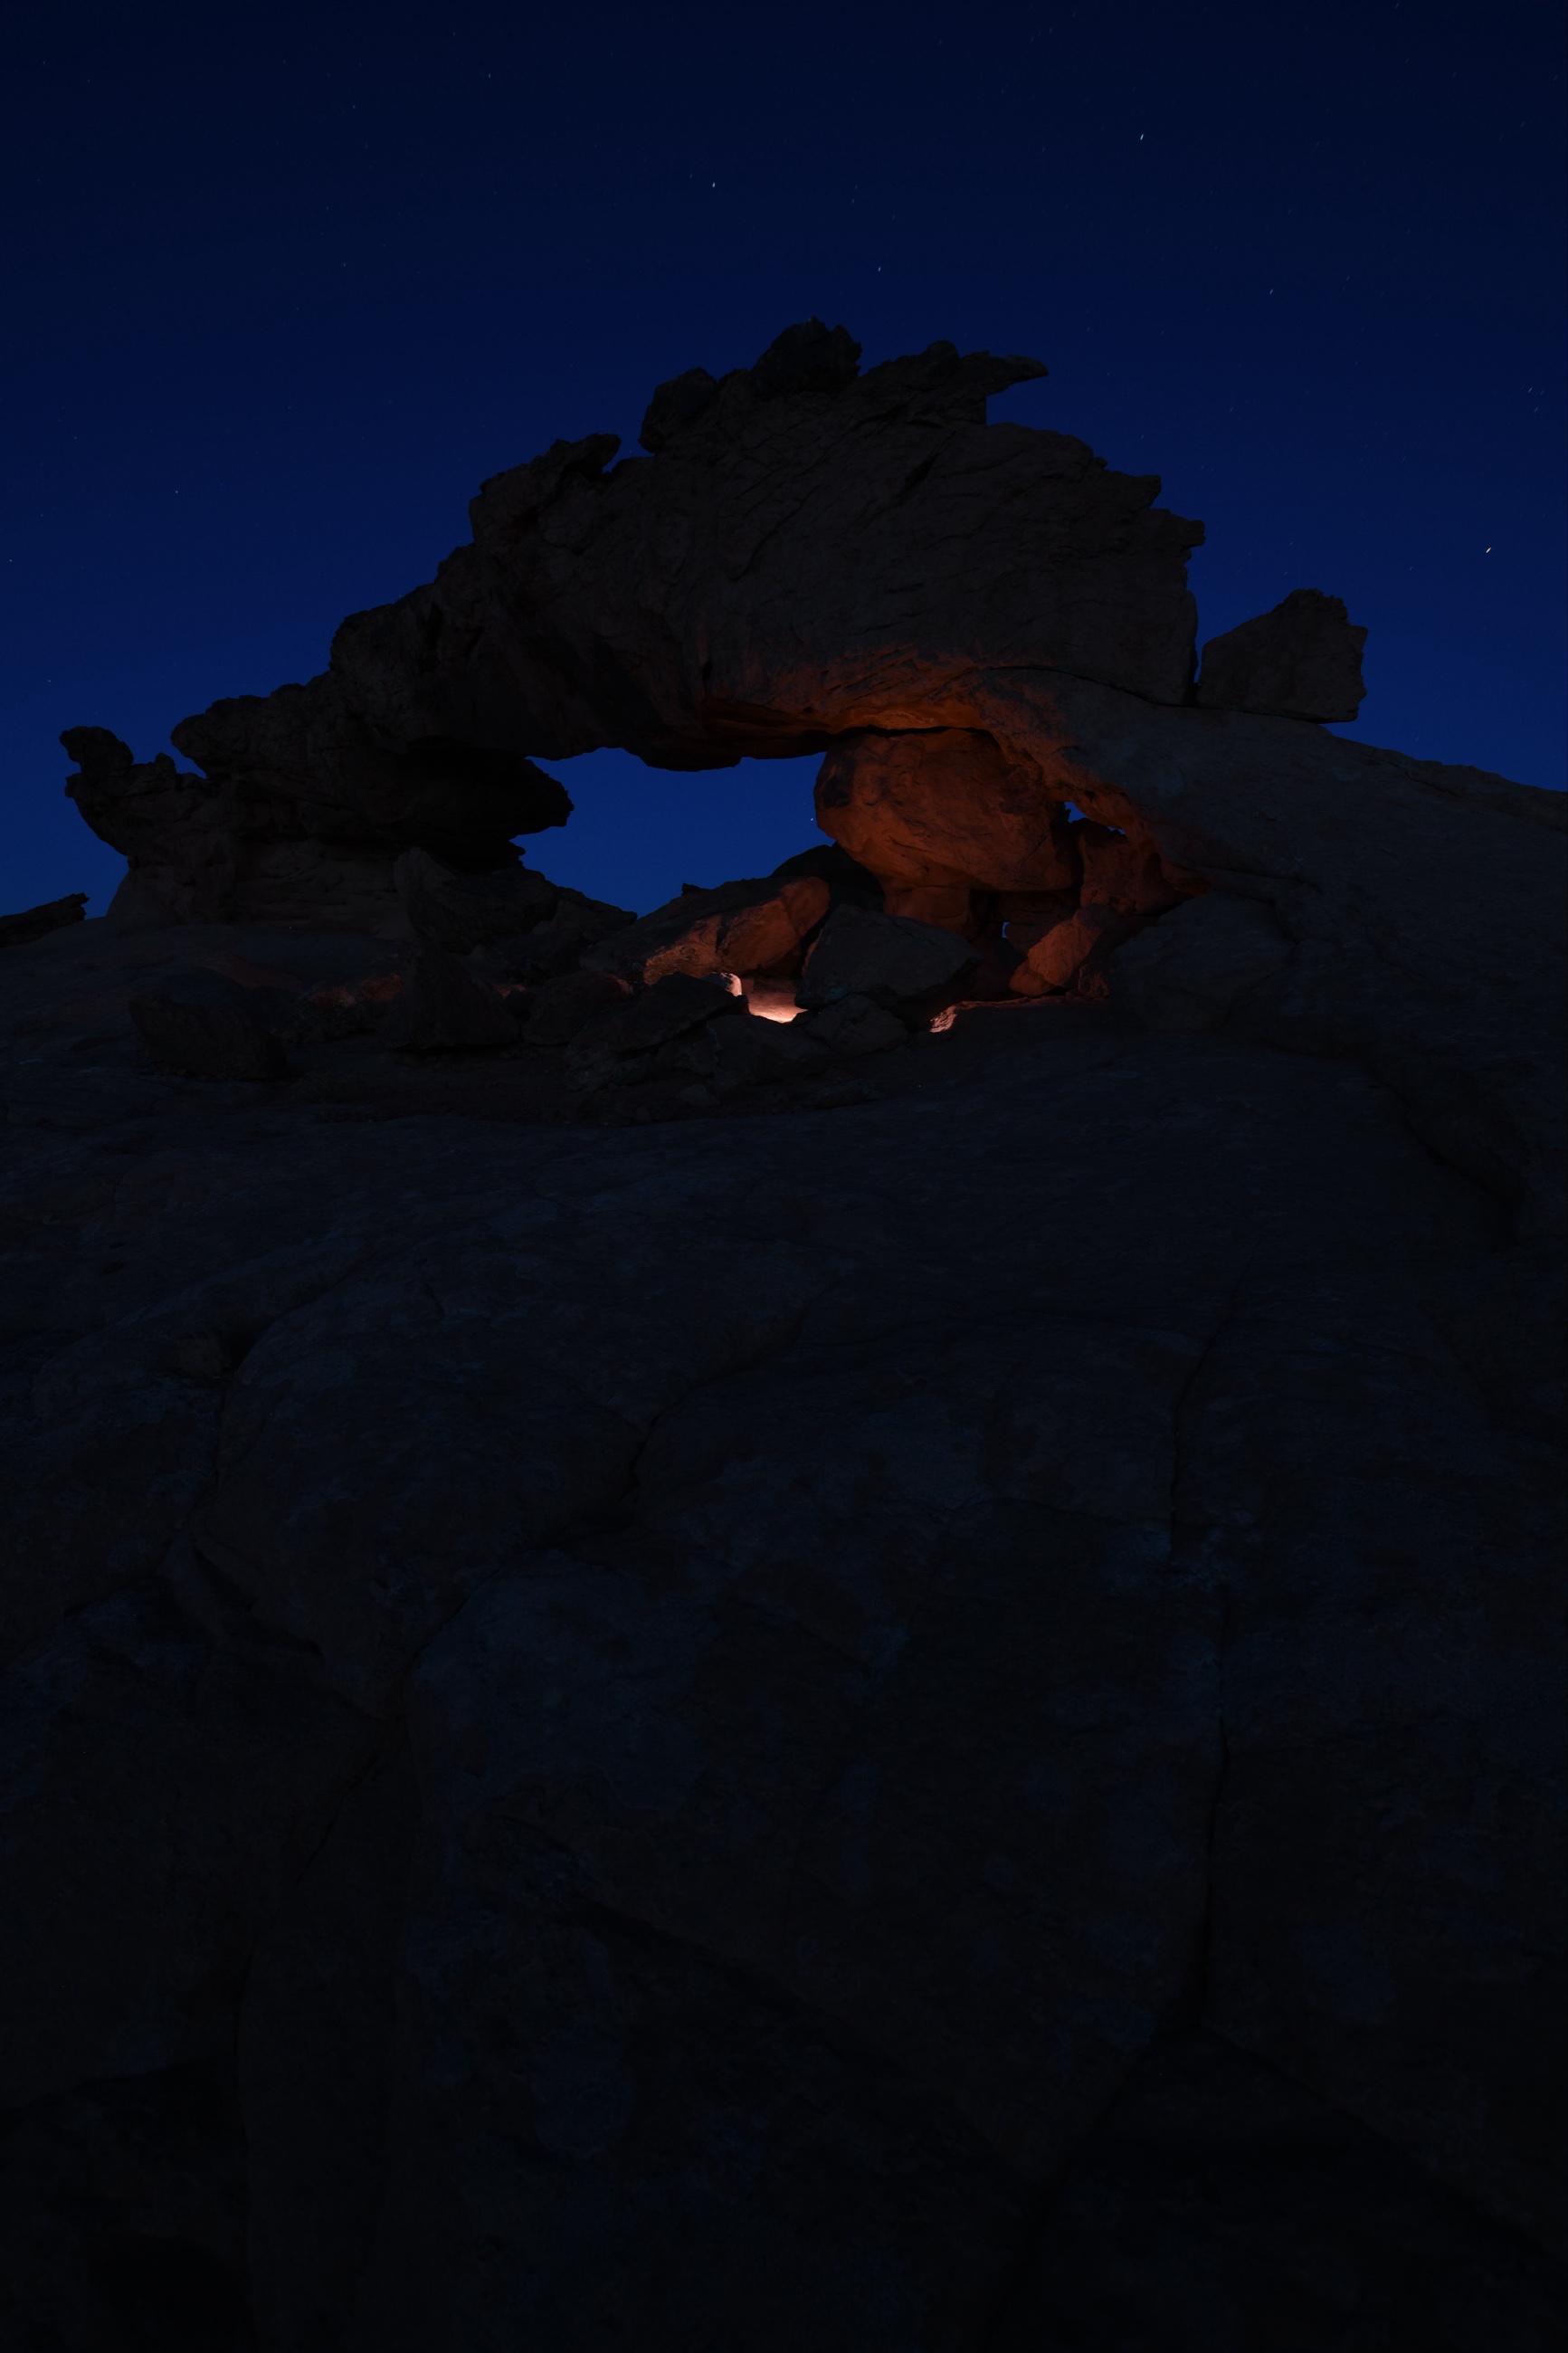
In the dark, it is difficult to know whether every section of a large formation has been illuminated perfectly. I would rather overshoot the lighting positions and give myself overlapping coverage than get home and discover one dim patch that makes the final light look accidental.
Sculpting the arch in Photoshop
Because the camera never moved, the lighting frames registered cleanly.
That lets me build the foreground piece by piece.
One frame might have the best light on the left interior wall. Another might give me the cleanest illumination through the center. Another may solve a shadow problem farther around the curve.
The goal is not to preserve each frame as a complete exposure.
The goal is to take the useful light from each one and gradually sculpt a continuous interior glow.
The exterior sandstone stays cooler and quieter.
The inside of the arch becomes warmer and more luminous.
That warm versus cool relationship gives the photograph depth and starts controlling where the eye travels.
Photographing the Milky Way separately
After the foreground sequence, I returned to camp and photographed the sky.
The Milky Way source was a 25 frame sequence.
I was already thinking about this arch when I photographed the sky.
The orientation was deliberate.
The foreground carries more visual weight toward the lower right, so I framed the Milky Way with the core closer to the center and its structure extending toward the upper left.
That counterbalances the foreground.
If I had pushed the Milky Way far to one side of the frame, the final composition would have felt lopsided.
I was not simply photographing a technically good Milky Way.
I was photographing a sky component designed to solve a compositional problem later.
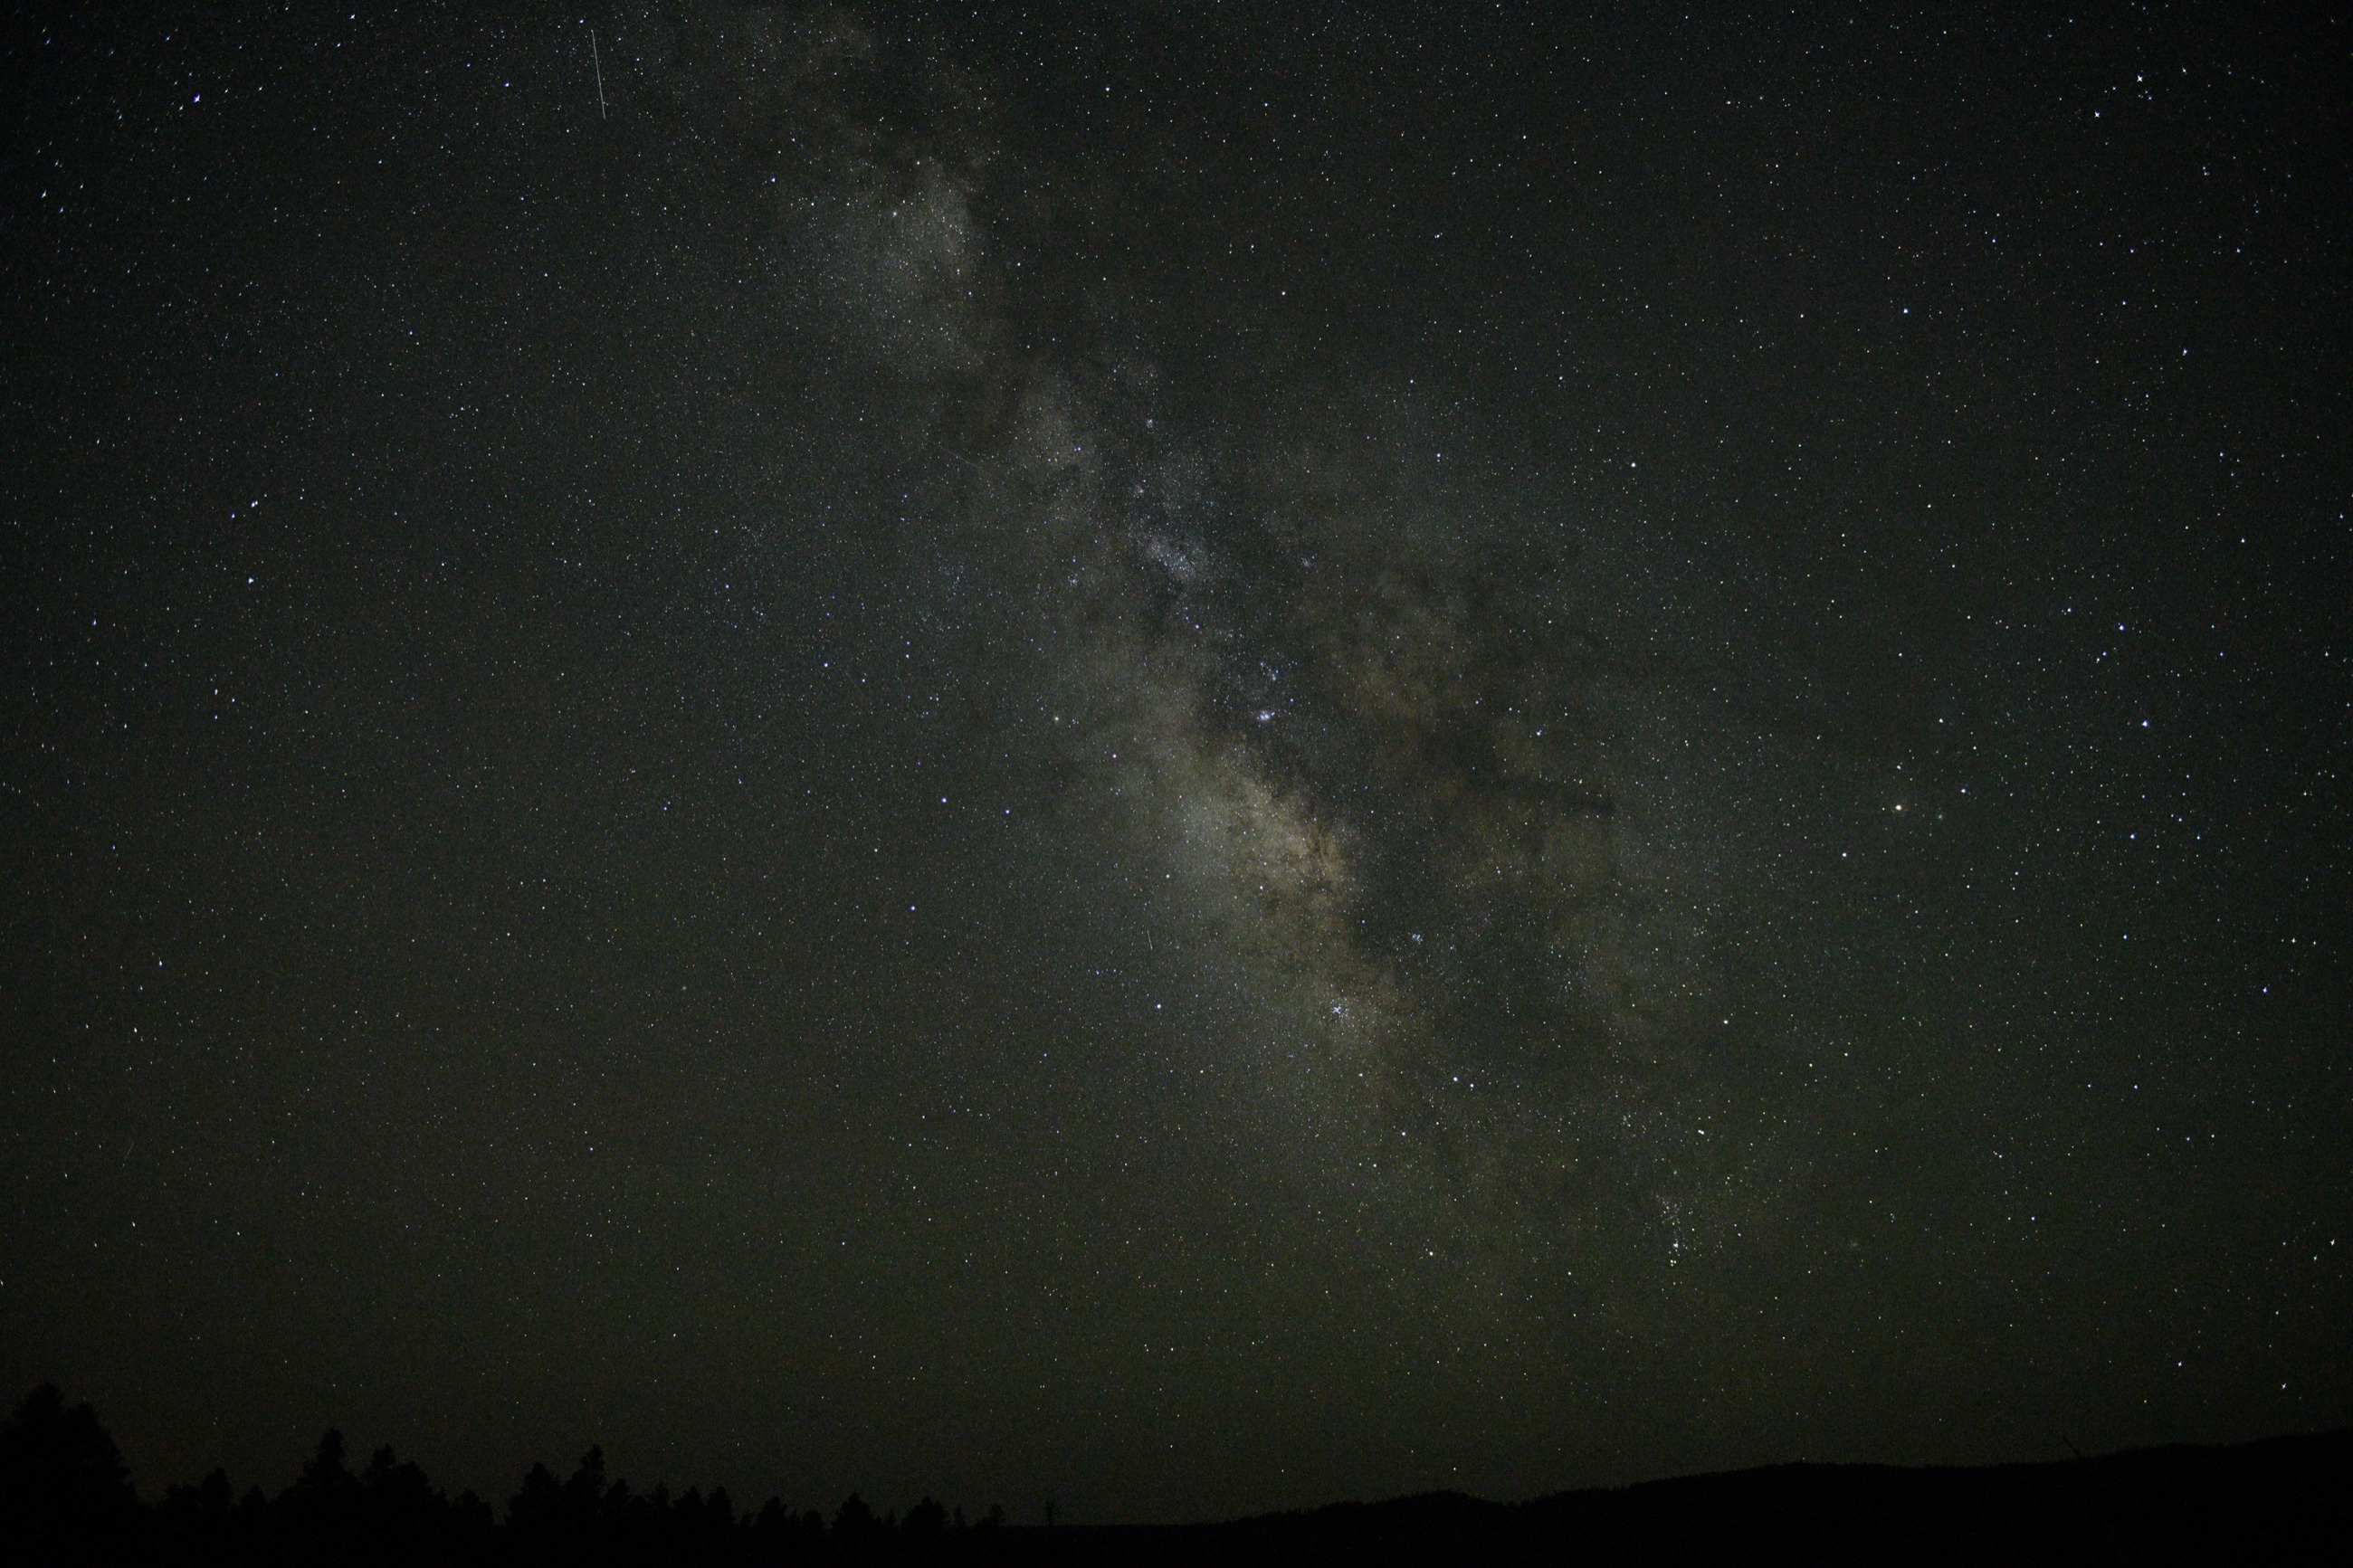
Milky Way source capture
- Camera
- Nikon D850
- Focal length
- 24mm
- Aperture
- f/2.8
- Shutter speed
- 5 seconds
- ISO
- 16,000
My blue hour + Milky Way workflow
The sky follows the same general process I use for many blue hour and Milky Way composites.
First, I prepare the sky sequence in Lightroom.
I establish the color direction on one frame, sync that across the sequence and export the files for stacking.
Then I stack the sequence in Starry Landscape Stacker.
That 25 frame stack gives me a much cleaner Milky Way source than relying on one high ISO frame.
For this episode, I have the entire progression saved:
Single RAW → untouched 25 frame stack → edited stack → composite integration → later star reduction and final polish → finished photograph
That progression is useful because it shows something photographers often miss.
The stacked result is not automatically the finished sky.
Stacking solves one technical problem.
It does not finish the photograph.
From one RAW frame to the edited stack
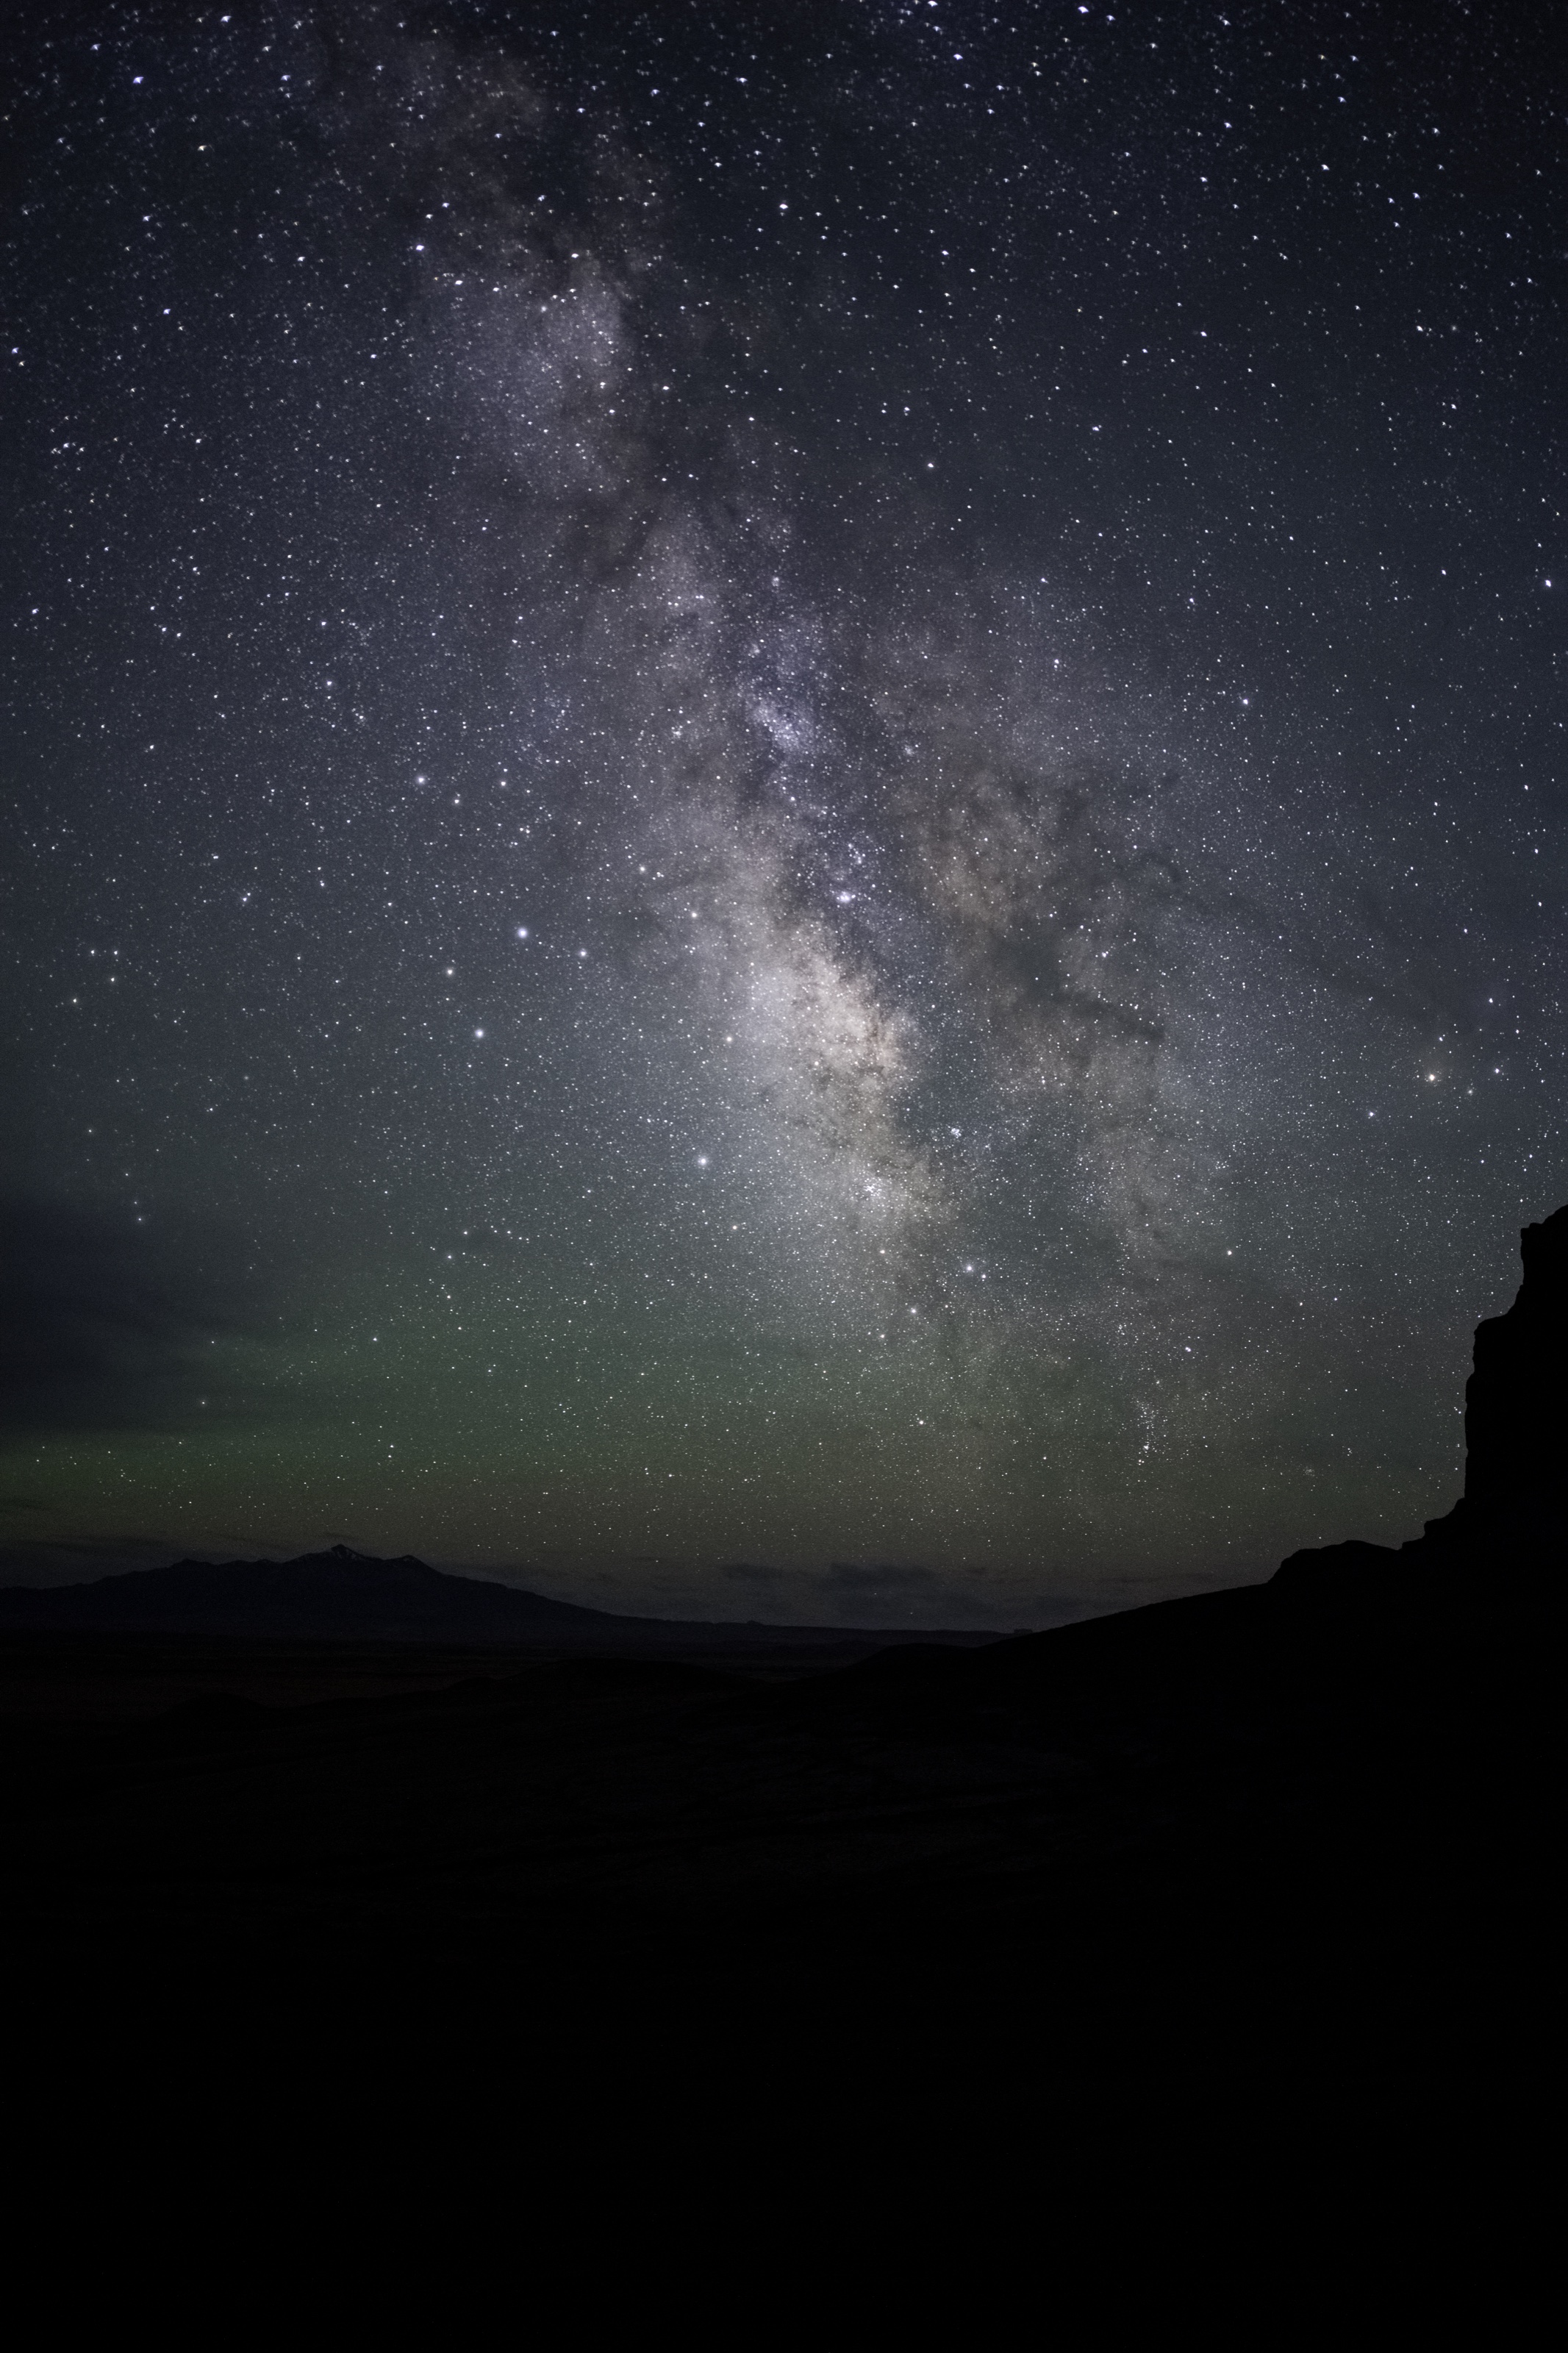
Bringing the sky into the foreground
Once the foreground lighting was assembled into one image, I placed the stacked Milky Way behind the arch and masked it into the scene.
That is where the technical composite becomes an artistic one.
The land and sky were photographed for different purposes, so they do not automatically belong together.
Exposure has to match.
Contrast has to match.
Color has to match.
Atmosphere has to make sense.
The cool blue hour sandstone establishes the environment.
The warmer Nanlite illumination draws the eye into the arch.
The warm Milky Way core continues that energy through the opening and into the sky.
The intended eye path becomes:
cool exterior sandstone → warm inner arch → Milky Way core
Match the behavior of the light, not just the color of the layers.
Star reduction comes later
Star reduction was not something I needed to do before I could composite the sky.
It came later as part of the refinement process.
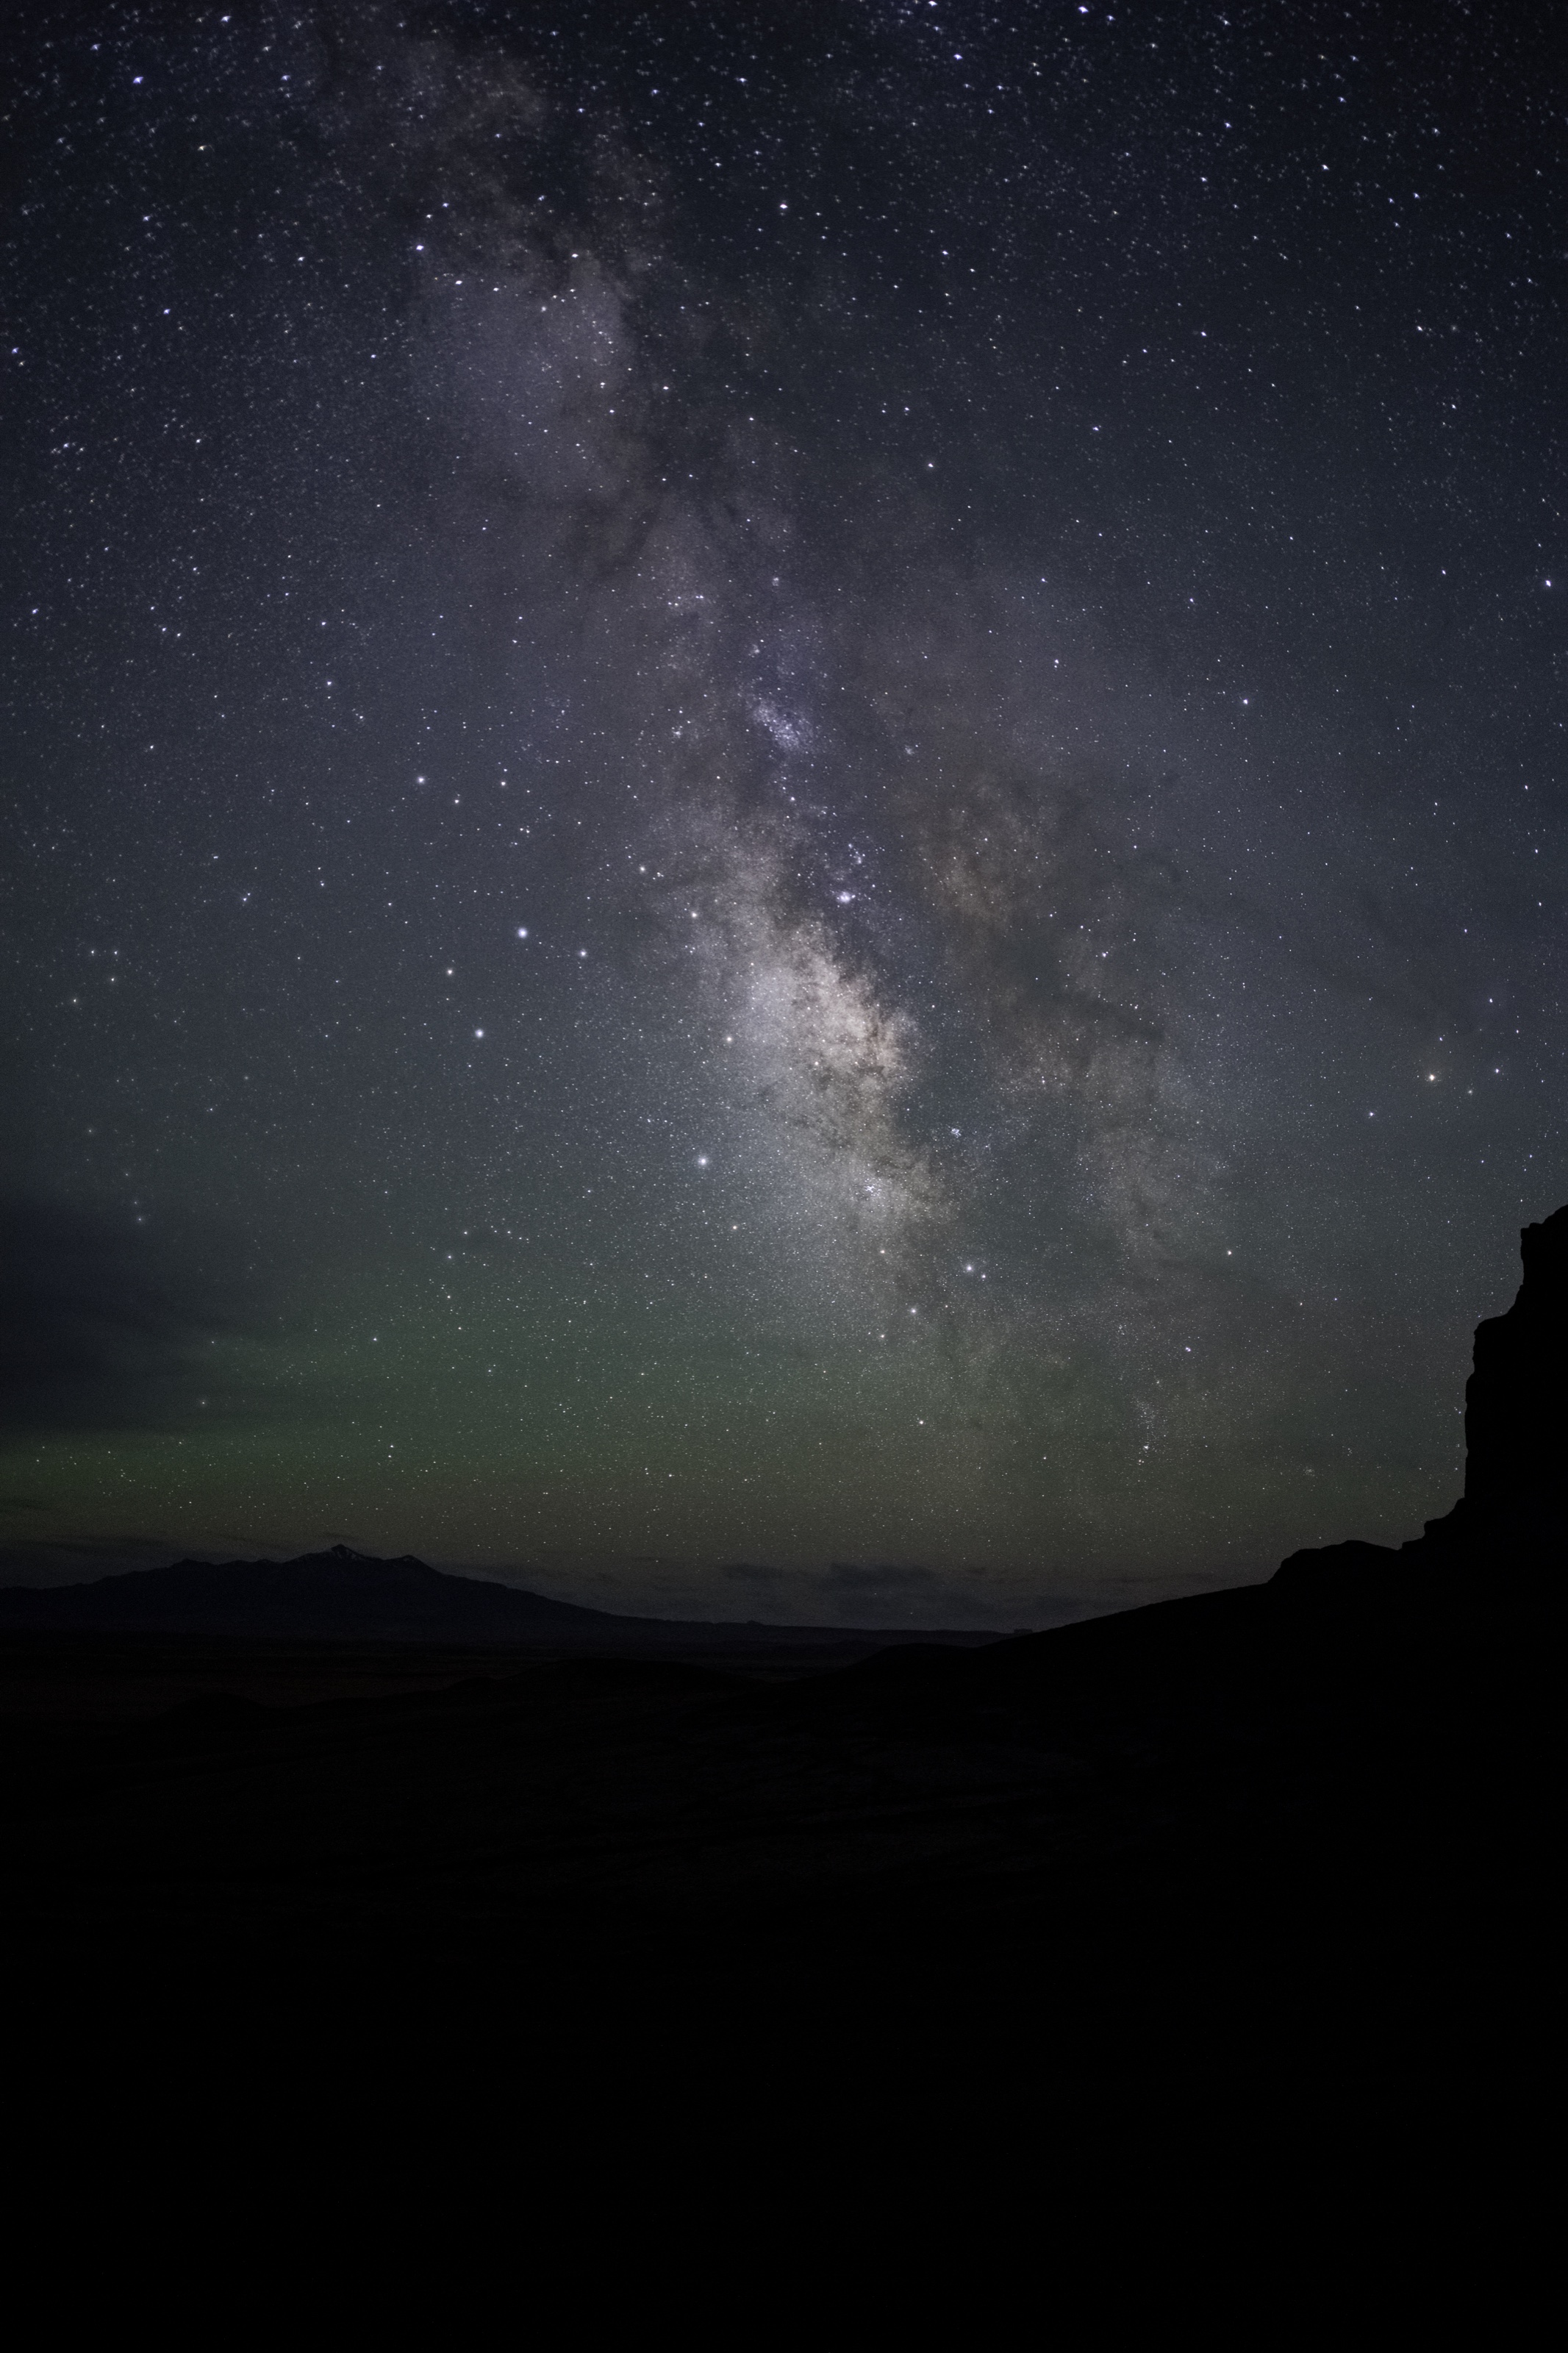
Once the major ingredients were already working together, I could decide how much visual weight I wanted the star field to carry.
Reducing the stars is another way of controlling hierarchy.
The Milky Way should feel rich and detailed without turning every tiny star into a competing point of contrast.
That is why I think of star reduction as a finishing decision, not a requirement for making the composite work.
Star reduction as a hierarchy decision
Why put the Milky Way somewhere it cannot exist?
Because the final photograph is not a scientific diagram.
It is an artistic interpretation.
The sandstone is real.
The blue hour ambient light is real.
Every Nanlite lit exposure is real.
The Milky Way is real and was photographed the same night.
What is invented is the relationship between them.
I placed the Milky Way core behind the arch because that completed the image I saw in the rock.
The arch felt like an ancient dragon curled around something luminous.
The Milky Way became that luminous object.
Almost an egg.
Something the dragon was protecting.
That is the story I wanted the photograph to tell.
The larger lesson
There are several very different photographic problems inside this one finished image.
A blue hour foreground needs clean ambient detail.
A 30 foot arch needs multiple lighting positions.
A clean Milky Way benefits from a multi frame stack.
The composite needs careful masking.
The final photograph needs color, luminosity and visual hierarchy.
Trying to force every one of those problems into one exposure would not make the image more authentic to me.
It would simply force every ingredient to accept a compromise.
Instead, I photograph each part for what it contributes.
Then I build the final image intentionally.
And when I make a major creative decision, like placing the Milky Way somewhere it could never naturally appear, I tell you.
That is the photograph.
Lock the composition, photograph each ingredient for what it contributes, then build the final image intentionally and disclose what you changed.