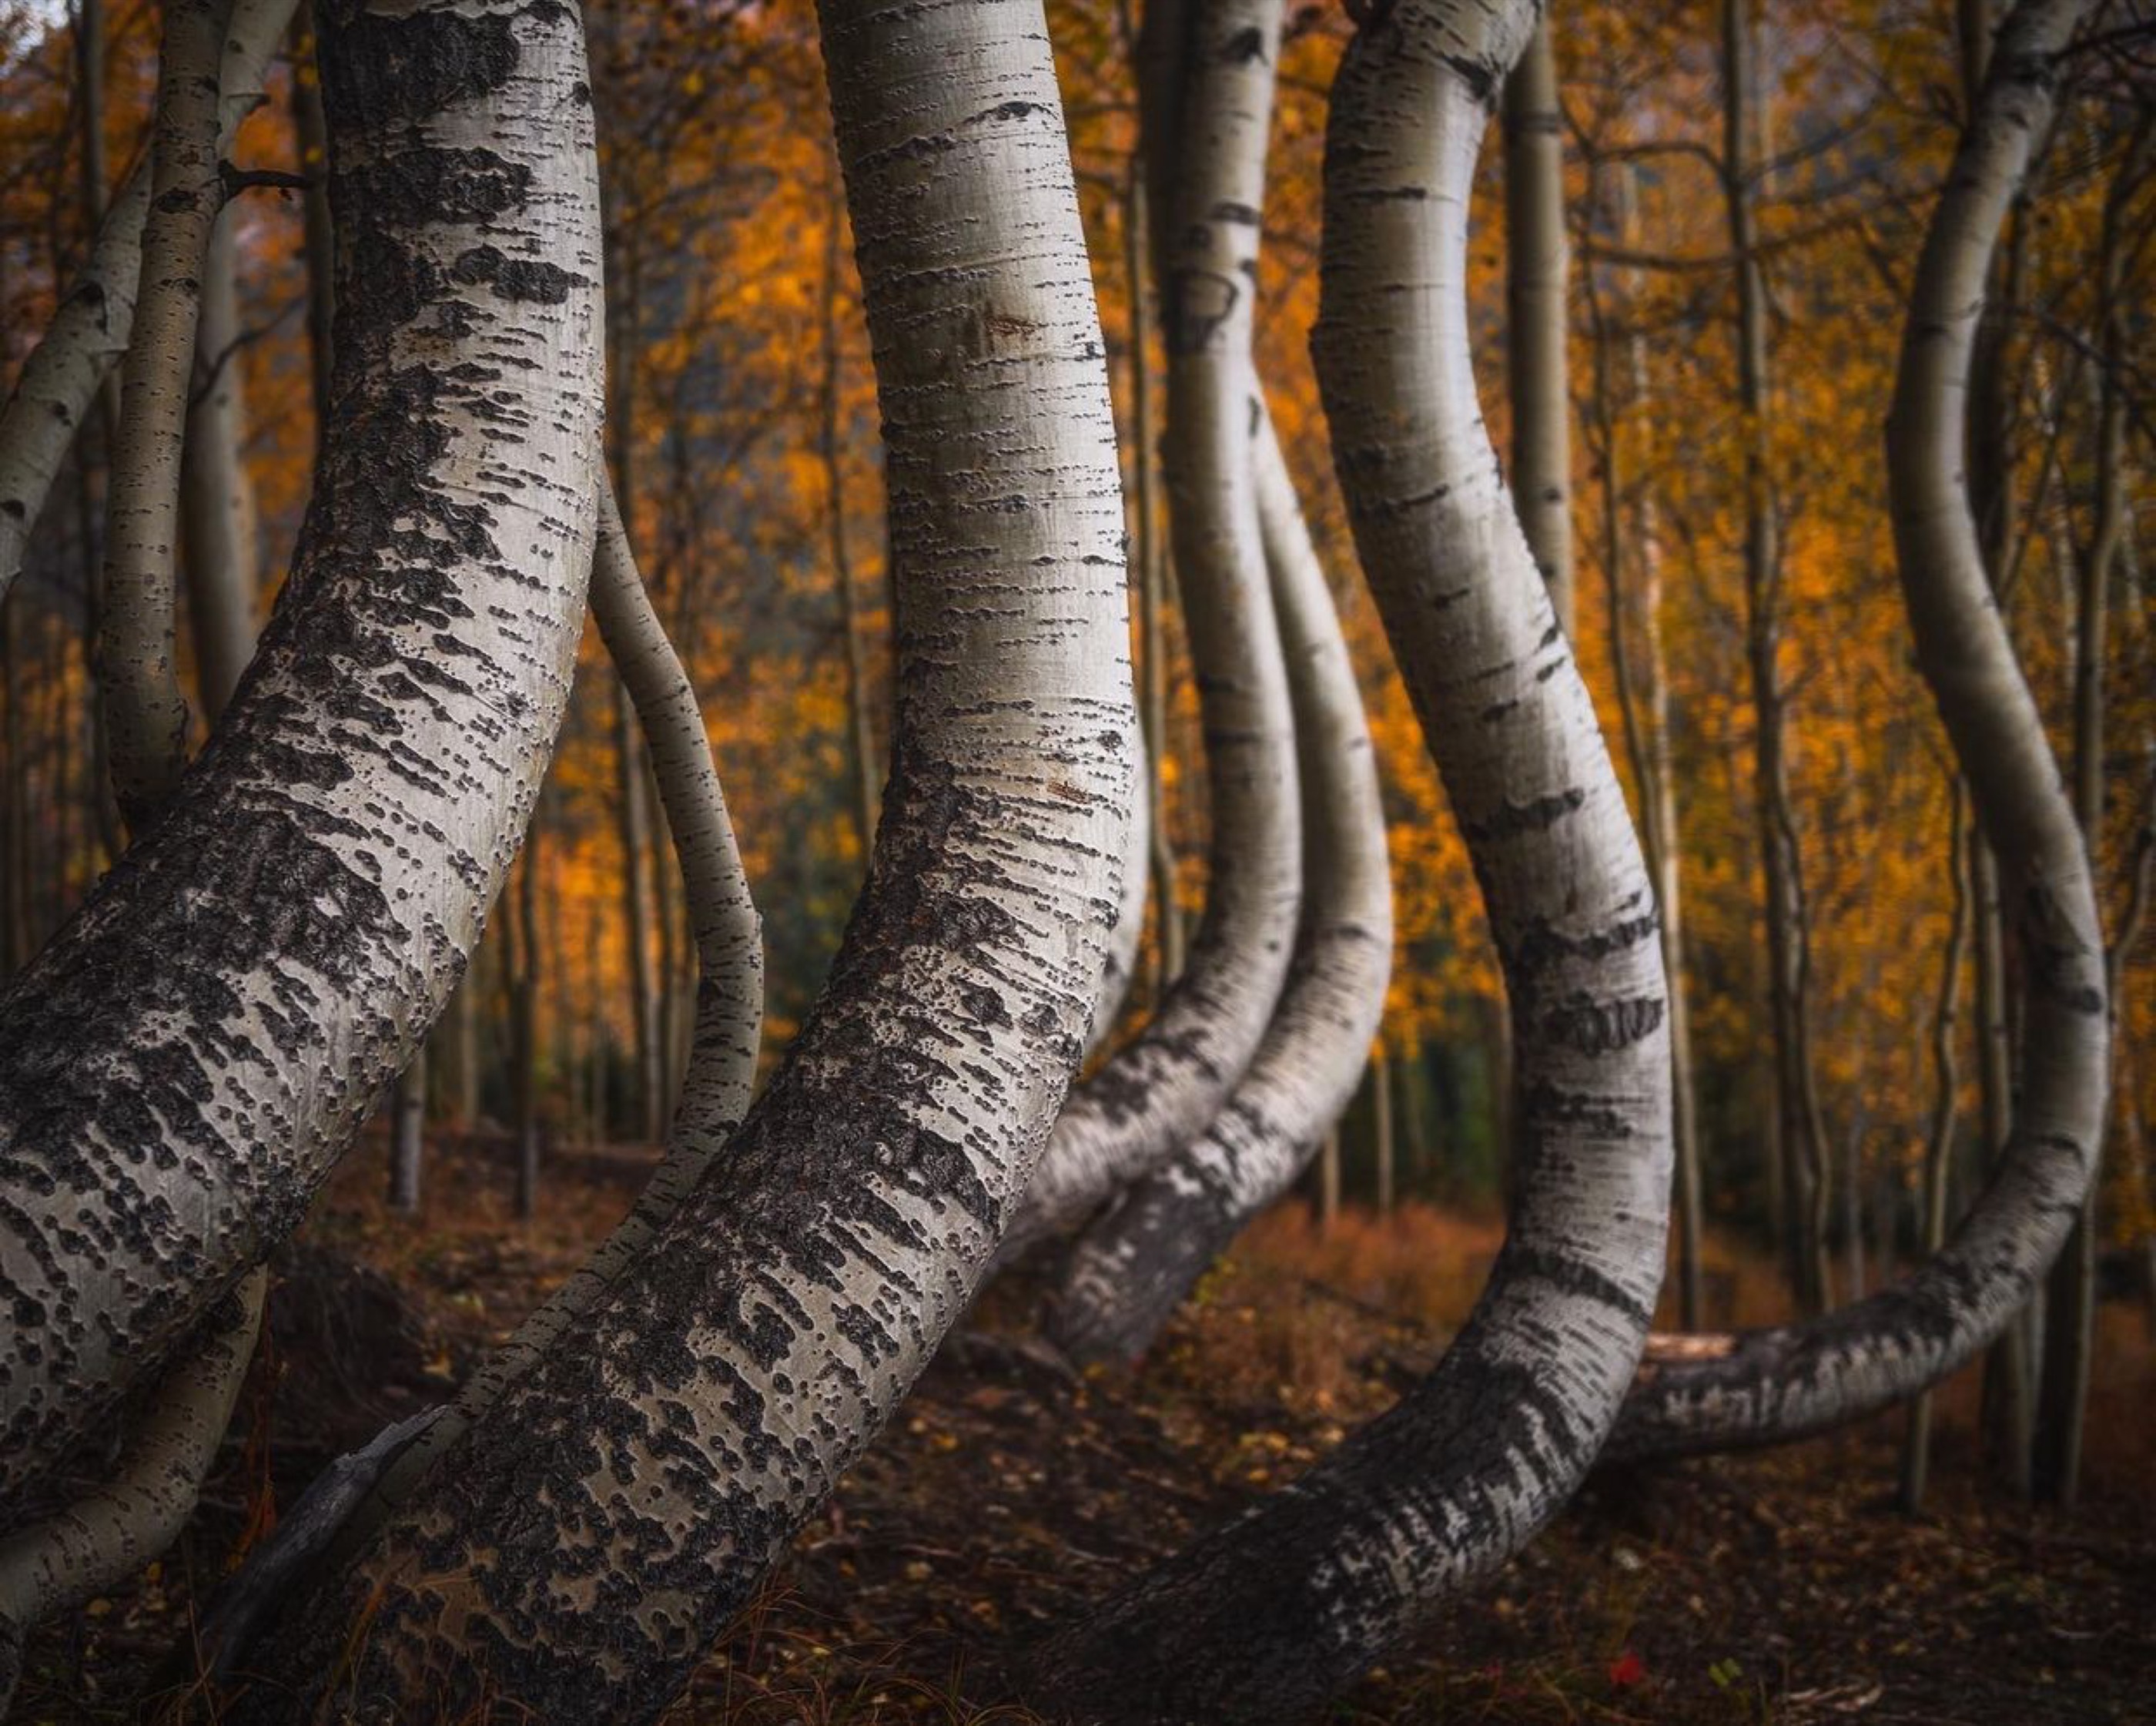
A photograph is flat. The landscape is not.
The landscape surrounds us in three dimensions, but the camera compresses that experience into a flat rectangle. The work of composition is to rebuild the feeling of space inside that rectangle. We cannot give the print physical depth, so we give the viewer visual evidence of it.
Depth comes from relationships: near against far, light against shadow, warm against cool, sharp against soft and large against small. None of those relationships has to be dramatic. A small difference in detail, color or scale can be enough for the eye to understand which form is close and which one is distant.
The five methods below are not five unrelated tips. They are parts of one visual system. The strongest landscape photographs often use several at once, but each choice should support the same subject and the same journey through the frame.
1. Build foreground, middle ground and background
Begin by dividing the scene into distances. The foreground is where the viewer enters. The middle ground connects the parts of the story. The background gives the eye a destination. These layers do not need equal visual weight, but they do need different jobs.
Move until the layers separate clearly. A step sideways may pull a tree away from a mountain. A lower camera can make foreground texture larger and more immersive. A slightly higher camera can reveal the river, trail or valley that links the near subject to the distance. The camera position changes the relationships before the lens or the edit does anything.
A foreground only creates depth when it belongs to the photograph. Look for a rock, flower, reflection, patch of ice or repeating texture that introduces the subject or establishes scale. If it blocks the route into the scene, demands more attention than the background or exists only because wide angle photographs are supposed to have foregrounds, remove it.
- Foreground: a clear entry point with shape, texture or direction
- Middle ground: the transition that keeps the eye from jumping between disconnected layers
- Background: the destination, atmosphere or larger context that completes the story
2. Use leading lines and visual pathways
A leading line is useful only when it leads somewhere meaningful. Roads, riverbanks, cracks, shadows and shorelines can pull the eye through the frame, but a strong line that exits a corner or ends in clutter creates movement without a destination.
Think beyond literal lines. I look for a visual pathway: a sequence of shapes, light or contrast that lets the eye travel. A bright rock can hand attention to a curve in the river, which carries it toward a mountain catching the last light. No single line connects the whole route, but the sequence feels continuous.
Trace that path before you press the shutter. Where does the eye enter? What does it touch next? Where does it stop? If a bright edge or isolated object pulls attention away halfway through the journey, change position or simplify the frame. The goal is not to force the viewer to follow an arrow. It is to make exploration feel natural.
- Let diagonals enter the frame instead of cutting directly across it
- Use curves to slow the eye and reveal the scene in stages
- Repeat shapes or pools of light when no physical line exists
- Give every strong pathway a subject, transition or destination
3. Use light, atmosphere and atmospheric perspective
Light separates forms by creating transitions between highlight and shadow. Side light reveals texture on dunes, ridges and rock faces. A break in the clouds can isolate one layer while another falls quiet. Backlight can turn fog, rain or blowing snow into a luminous veil between distances.
Atmospheric perspective is the way air changes what we see over distance. Haze, mist, dust and moisture reduce contrast, soften detail and often shift distant landforms toward cooler or lighter color. When the foreground remains crisp and the background grows progressively quieter, the eye reads the change as space.
Do not apply the same contrast and clarity everywhere in the edit. Protect texture and local contrast where you want the viewer to enter. Let distant layers keep some softness and reduced saturation. Removing all haze may make the file look clearer while destroying the very cue that made the landscape feel deep.
Flat light is not always unusable. Overcast conditions can separate layers through color, fog or tonal rhythm instead of hard shadows. Ask what the weather is giving the composition before deciding that the scene needs more contrast.
4. Create scale through perspective
Scale becomes visible when the frame includes a comparison. A person beneath a cliff, a tree against a valley or a small building below a mountain gives the viewer something familiar to measure. Without that reference, an immense formation can look like a tabletop object.
Perspective also changes with camera position. Move closer to a foreground subject and it becomes larger relative to the background. Move back and the relationship becomes quieter. A wide angle lens makes it easier to include both, but the depth comes from the distance between the camera and the subjects, not from the focal-length number by itself.
Size should serve the story. If the mountain is the subject, keep the near object supportive. If the foreground is the subject, let the background establish place without competing. The useful question is not, ‘How big can I make this?’ It is, ‘What size relationship helps the viewer feel the landscape?’
- Include a recognizable figure, tree, vehicle or structure when scale is otherwise ambiguous
- Use overlap so one object clearly sits in front of another
- Move the camera to change perspective before reaching for a different lens
- Keep the scale reference subordinate unless it is also the subject
5. Use color and contrast to separate distance
Warm colors tend to advance and cool colors tend to recede. A warm foreground against cooler distant mountains can strengthen the sense of space even when the landforms overlap. The effect is strongest when it supports the natural light rather than when orange and blue are added as a formula.
Contrast behaves in a similar way. Strong local contrast, dark-light transitions and visible texture make an area feel near. Lower contrast, softer edges and quieter detail make it feel farther away. That does not mean every foreground should be warm and sharp or every background should be blue and hazy. It means controlled differences help the eye order the scene.
Use color and contrast selectively in post-processing. Brighten or warm the path you want the eye to follow, cool or soften a distant layer that needs to recede and reduce small competing highlights near the frame edges. Keep those changes believable. The edit should reveal the space that was present, not manufacture a different landscape.
Depth does not mean adding more stuff
Depth is not a reason to fill every distance with an object. A foreground rock, a curving branch, three layers of hills, dramatic clouds and a bright sunset may all create depth cues on their own. Together they may create clutter. More information does not automatically create more space.
Every added element should either establish distance, guide the eye, clarify scale or strengthen the subject. If it does none of those jobs, it is probably competing with the composition. Negative space can create depth by giving one layer room to breathe. A quiet middle ground can make the separation between a strong foreground and distant subject easier to understand.
Simplification is often the final depth decision. Move until two shapes stop merging. Exclude the brightest distraction. Let one pathway carry the eye instead of three. The photograph feels more dimensional when the viewer can understand the relationships without untangling the frame first.
Apply the five methods in real landscapes
In a mountain scene, begin with the destination. If the peak is the subject, use a quieter foreground such as flowers, a river edge or a trail to establish scale and direction. Side light can separate ridgelines, while a person or cabin gives the terrain a familiar reference. Avoid moving so close to the foreground that the mountain becomes a small decoration.
On the coast, let the shoreline, foam or repeating rocks become the visual pathway. Time the water so its shape turns back into the frame. Sea haze can separate distant headlands. The shift from warm light on nearby rock to cooler water in the distance can reinforce the layers. Watch the corners; a bright patch of foam can pull the eye out as easily as a strong leading line can pull it in.
In a night landscape, depth must be built with fewer tonal cues. Use the silhouette or gentle light on a foreground form to establish place, then keep the sky as the destination. A path, arch, tree or pool of moonlight can connect the two. If every part of the foreground is lit equally, the scene often becomes flatter and less believable. Let darkness separate layers instead of trying to reveal everything.
Common depth mistakes
When a landscape still feels flat, diagnose the relationships before changing sliders. Most failures come from one of four structural problems.
- Everything is at the same distance: the frame has no clear near, middle and far relationship. Change position or choose a scene with overlapping layers.
- There is no visual path: the eye enters but has nowhere meaningful to travel. Connect the foreground to the subject with direction, repetition, light or contrast.
- The light is flat: every form has similar brightness and texture. Wait for directional light, use atmosphere or build separation through color and tonal restraint.
- There is too much foreground: the nearest object becomes a barricade and the background loses importance. Step back, raise the camera or simplify the lower frame.
Build depth as one visual system
Start with the subject, not the technique. Decide what the photograph is about and where the viewer should arrive. Then choose the distance, pathway, light, scale and color relationships that make that journey possible.
This way of seeing also supports the rest of composition. Balance determines how the layers share visual weight. Repetition connects one distance to another. Negative space protects the path. Subject separation prevents the destination from disappearing into the background. Those ideas are worth studying on their own, but they work because they serve the same visual story.
Before leaving a composition, trace it one last time: enter through the foreground, cross the middle ground and arrive at the subject. If the route is clear and every strong element has a job, the photograph can feel deep without looking busy or overworked.
Frequently asked questions
How do I make landscape photos look deeper?
Create a clear relationship among foreground, middle ground and background, then connect those layers with a visual pathway. Differences in light, atmosphere, scale, color and detail help the eye understand the distance.
Why do my landscape photos look flat?
A landscape often looks flat when everything sits at a similar distance, the eye has no path through the frame, the light does not separate forms or the foreground blocks the background instead of supporting it.
What lens is best for creating depth in landscape photography?
There is no single best lens. Wide angle lenses make near far relationships easier to exaggerate, while normal and telephoto lenses can build depth through overlapping layers, atmosphere, light and scale. Choose the lens that supports the subject.
Does a wide angle lens always create more depth?
No. A wide lens only includes a broader view. Depth becomes stronger when you change camera position, move close to a useful foreground and connect that foreground to the distance. Used without intention, a wide lens can make the subject small and the frame empty.
How do I create a sense of scale in a landscape photo?
Include a recognizable reference such as a person, tree, cabin or vehicle. Place it where its size can be compared with the landscape. Overlap and camera position can strengthen that relationship.
How does light create depth in a photograph?
Directional light creates highlights, shadows and texture that separate forms. Haze, fog and backlight can also soften distant layers, while selective contrast helps the foreground feel nearer and the background recede.
Depth is not a collection of tricks. It is the path the viewer takes through the photograph.